How to Redesign Your Room with AI from a Photo

Redesign your room with AI from one photo: upload it to Home Planner, pick a style or describe the change, and get a new interior for the same room.
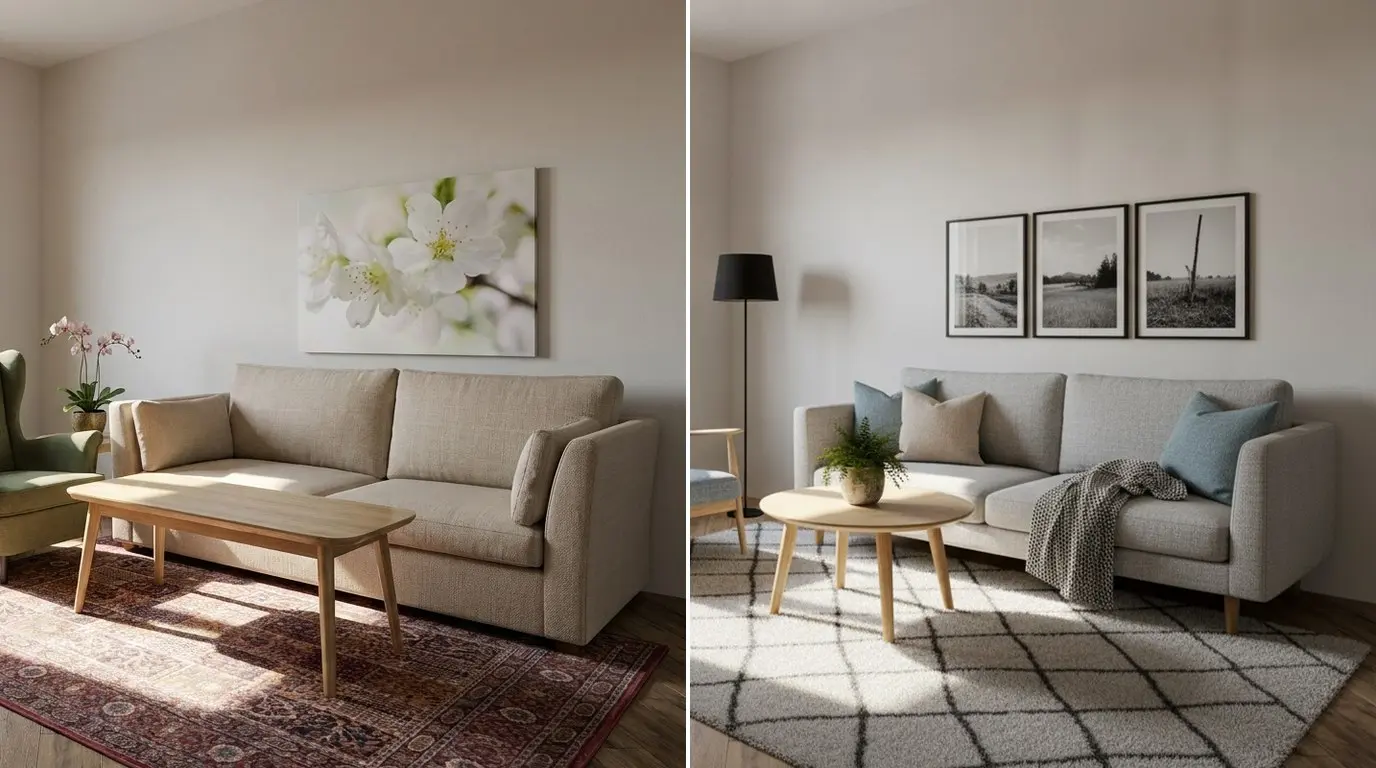
Before you repaint the walls or buy a new sofa, you can redesign your room with AI and see the result on a photo of the room itself. Upload the photo to Home Planner, pick a style or describe the change, and select Generate. The AI is designed to keep the walls, windows and doors in place; the furniture, colors, materials and light change.
Below: the quick path in 3 steps, then the tools for exact changes: one wall, one sofa, your own tile. AI Redesign works on iPhone, iPad, Android, Mac and Windows. For general advice on AI interior design, read How to Use AI for Interior Design.
How AI Redesign works
Home Planner AI Redesign turns one photo of a real room into new design ideas for the same room.
- Upload a photo of your room: interior or exterior, from your gallery or the camera.
- Choose what to change: a style, a tool preset, or your own description in the prompt.
- Generate and continue: the result replaces the photo, so you can change it again, compare it with the original, and download or share it.
Before you start
You need Home Planner and a clear photo of the room. You can try AI Redesign for free; more redesigns need a subscription.
| You need | Why |
|---|---|
| Home Planner on iPhone, iPad, Android, Mac or Windows | AI Redesign is in the app on every platform. |
| A photo of the room | A sharp, bright photo taken from a corner or a doorway gives the best result. One photo is one room. |
| An internet connection | The redesign is made online, on Home Planner servers and the external AI providers they use, not on your device. |
| Free redesigns or Home Planner PRO | New users get free AI redesigns to try. The number depends on your account and shows under Generate as Credits available. When it reaches zero, Home Planner offers PRO, which includes a daily allowance of AI redesigns. |
| PRO or PRO+ for higher quality (optional) | HD quality is available to everyone. 2K needs PRO, 4K needs PRO+. PRO+ also removes the Home Planner watermark from saved images. |
Redesign a room from a photo
In Home Planner, open AI Redesign, upload a photo and select a style. This is the quickest way to see your room in a new look.
Open AI Redesign and upload a photo
- Open Home Planner. On a phone, open the Create tab and select Start on the AI Redesign card. On a tablet or a computer, select AI Redesign in the side menu.
- On a phone, select New design. On a tablet or a computer, select Upload Photo in the Redesign Your Space card.
- On a phone or a tablet, choose Photo Gallery, Camera or Files. On Mac or Windows, a file window opens: choose a photo.
- The Adjust photo window opens. Crop or adjust the photo if you want, then select Continue. The photo opens in the editor, with the tool bar at the bottom and no panel open.
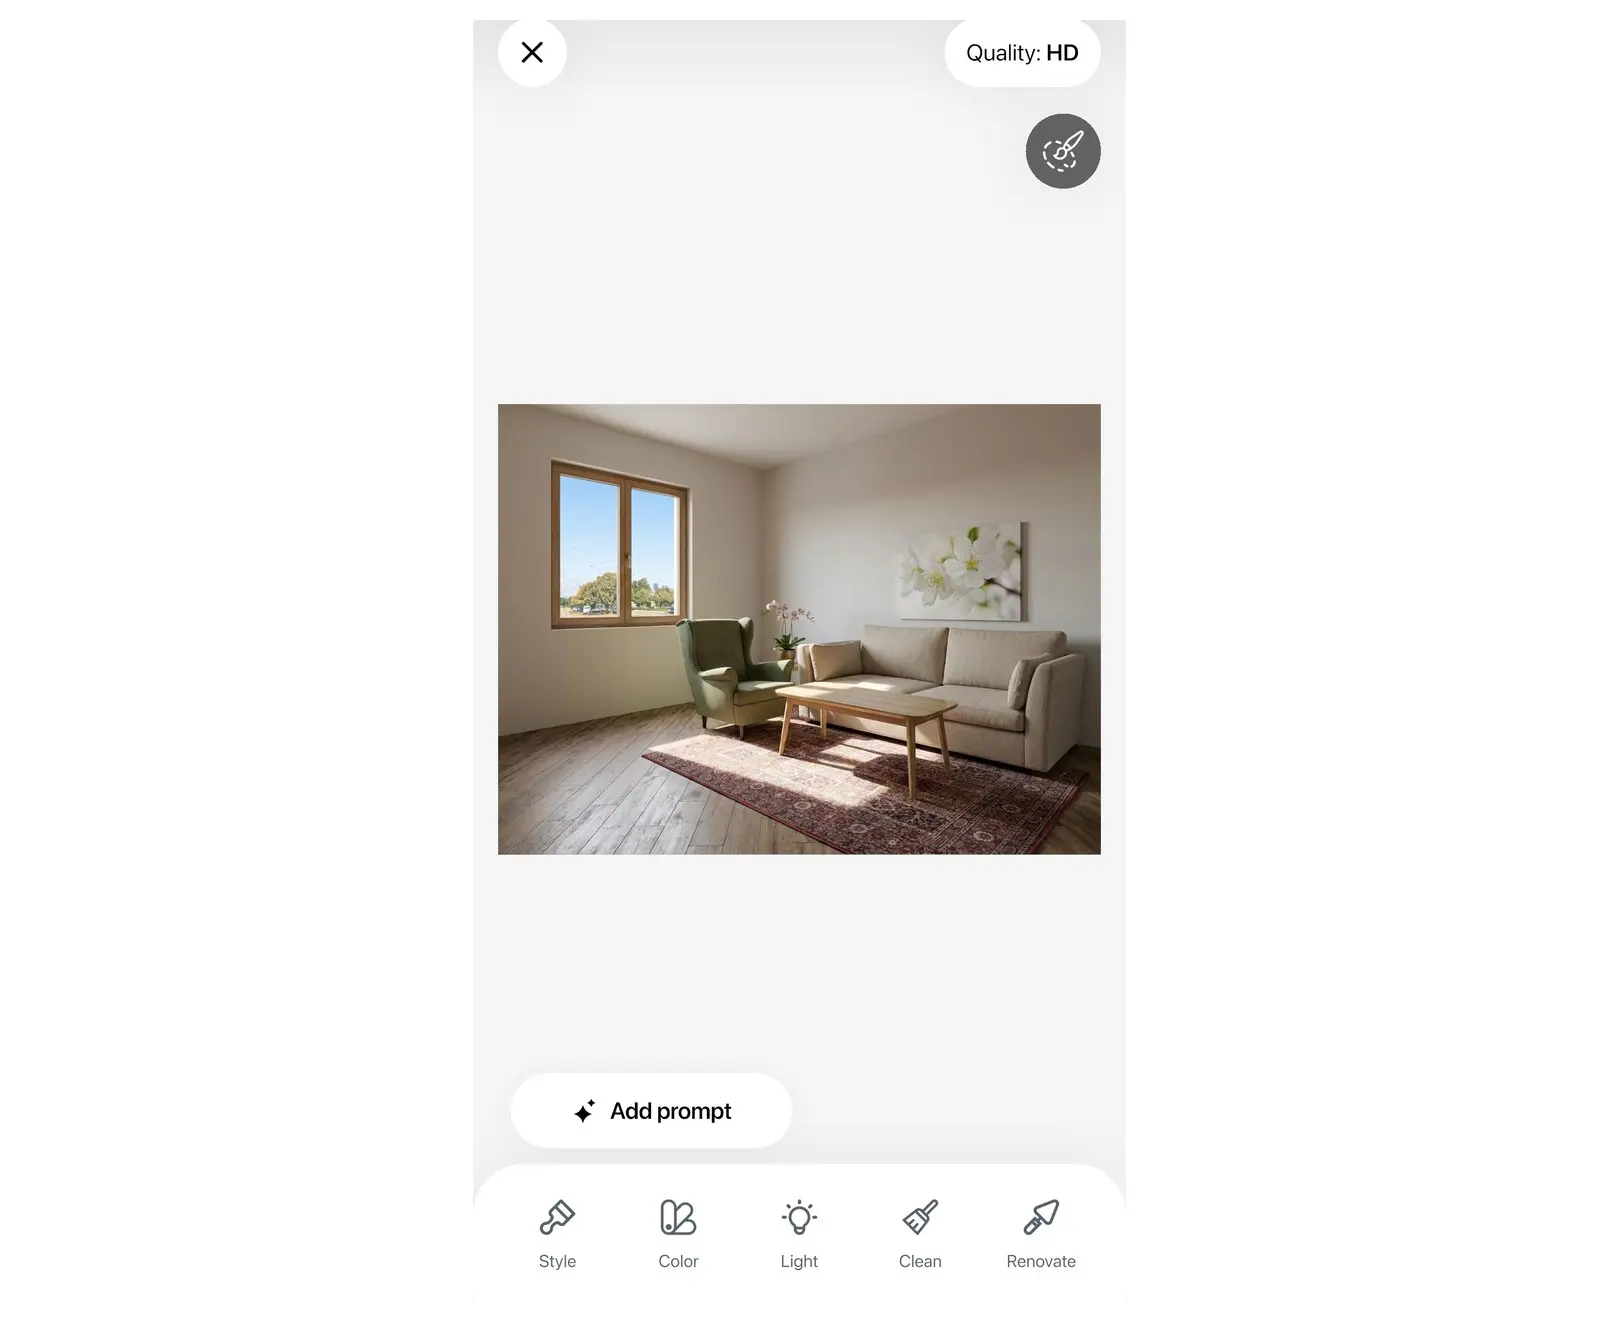
Choose a style and generate
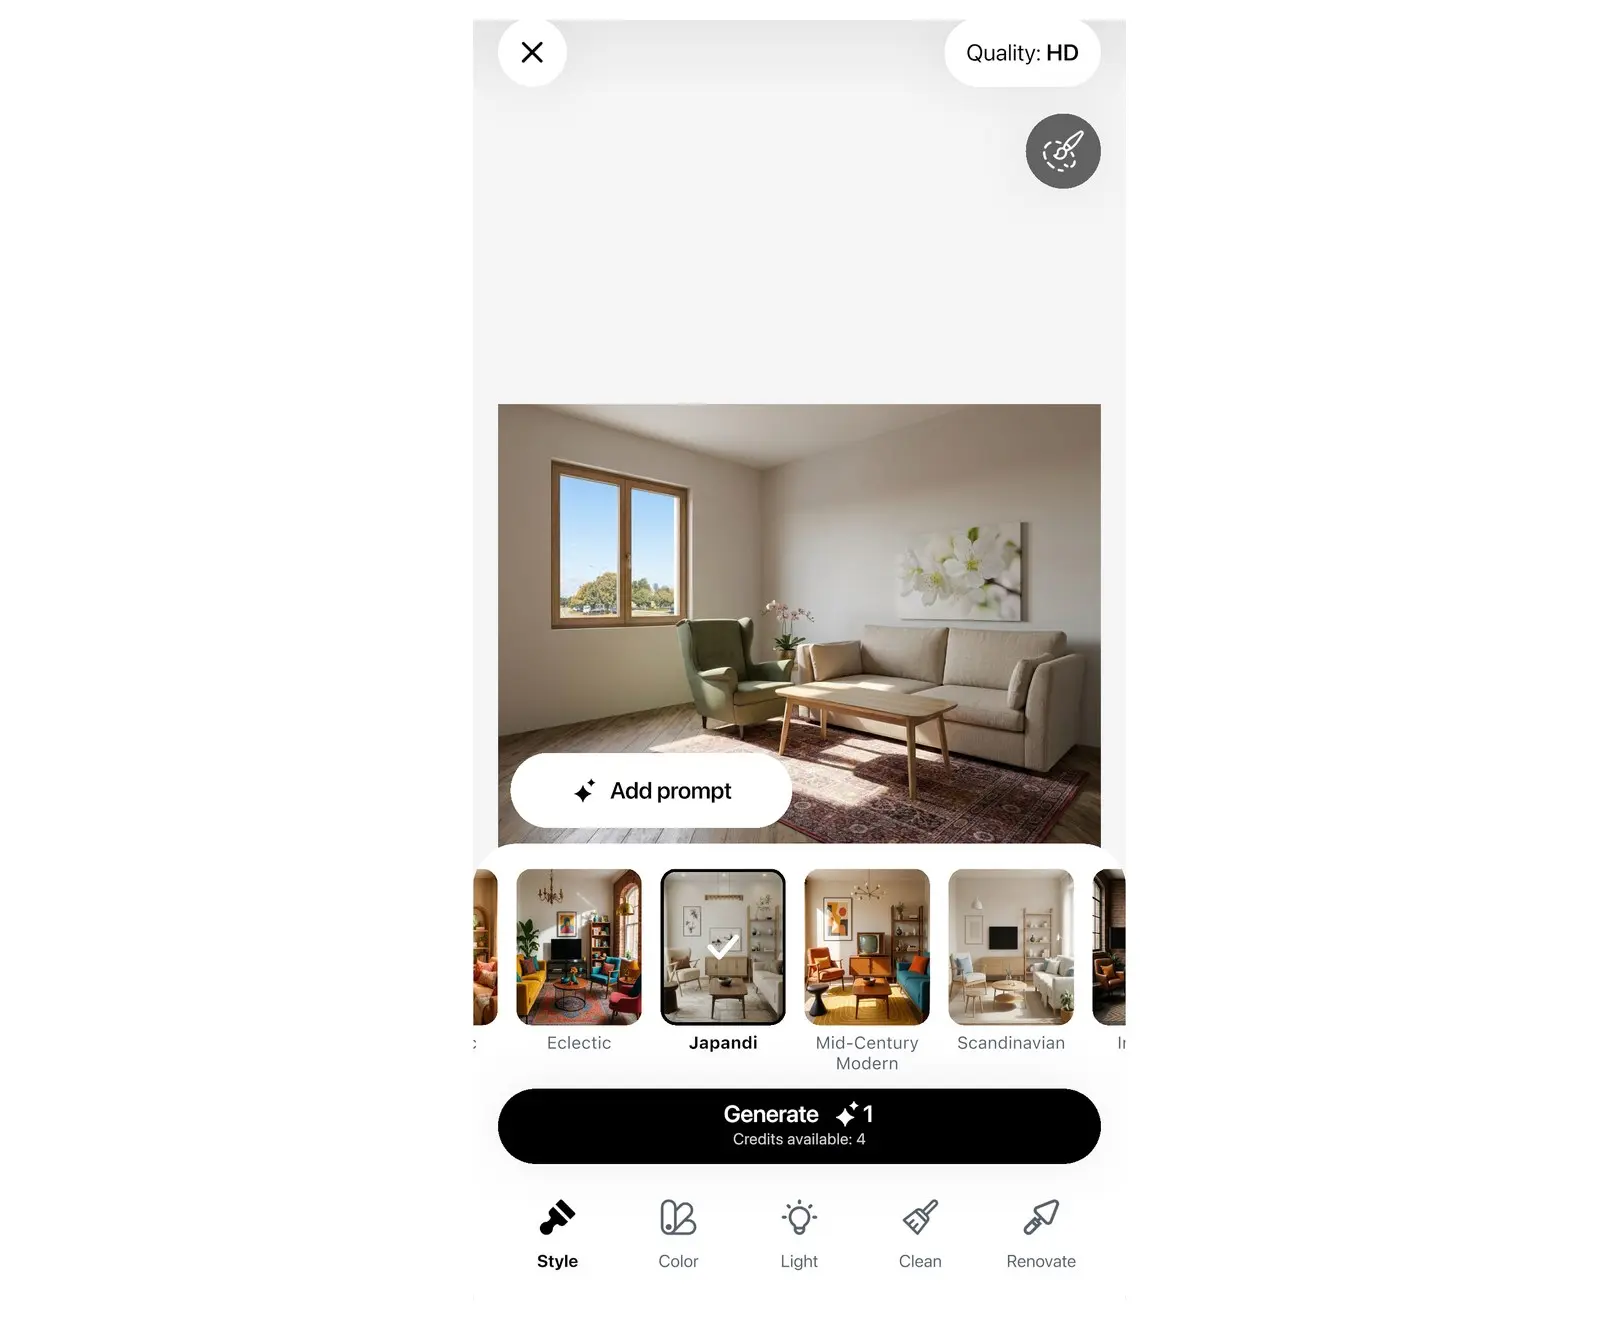
- Select Style in the tool bar. The style list opens with more than 40 interior styles, for example Scandinavian, Japandi, Industrial, Boho Chic, Mid-Century Modern and Coastal.
- The first style tile is selected for you. Select another tile to change it. Each tile shows the style in a room of the same type.
- Check the Quality pill at the top. It shows the quality of the next design: Quality: HD without a subscription, 2K with PRO, 4K with PRO+. To change it, select the pill. If you select a locked quality, the app opens the PRO offer.
- Select Generate. One generation uses one credit. If a redesign fails, Home Planner returns the credit and offers Try again.
- The first time, Home Planner asks "Would you like to get notified when your photo is ready?" Select Ok, sure or No, thanks. Ok, sure opens the notification permission window of your device.
While the AI works, the app shows "Magic takes a little time. We'll let you know when it's ready". You can wait on this screen, or select New design to start a design from another photo. On a phone you can also select Ok to go to the AI Redesign gallery. Home Planner tells you when the design is ready.
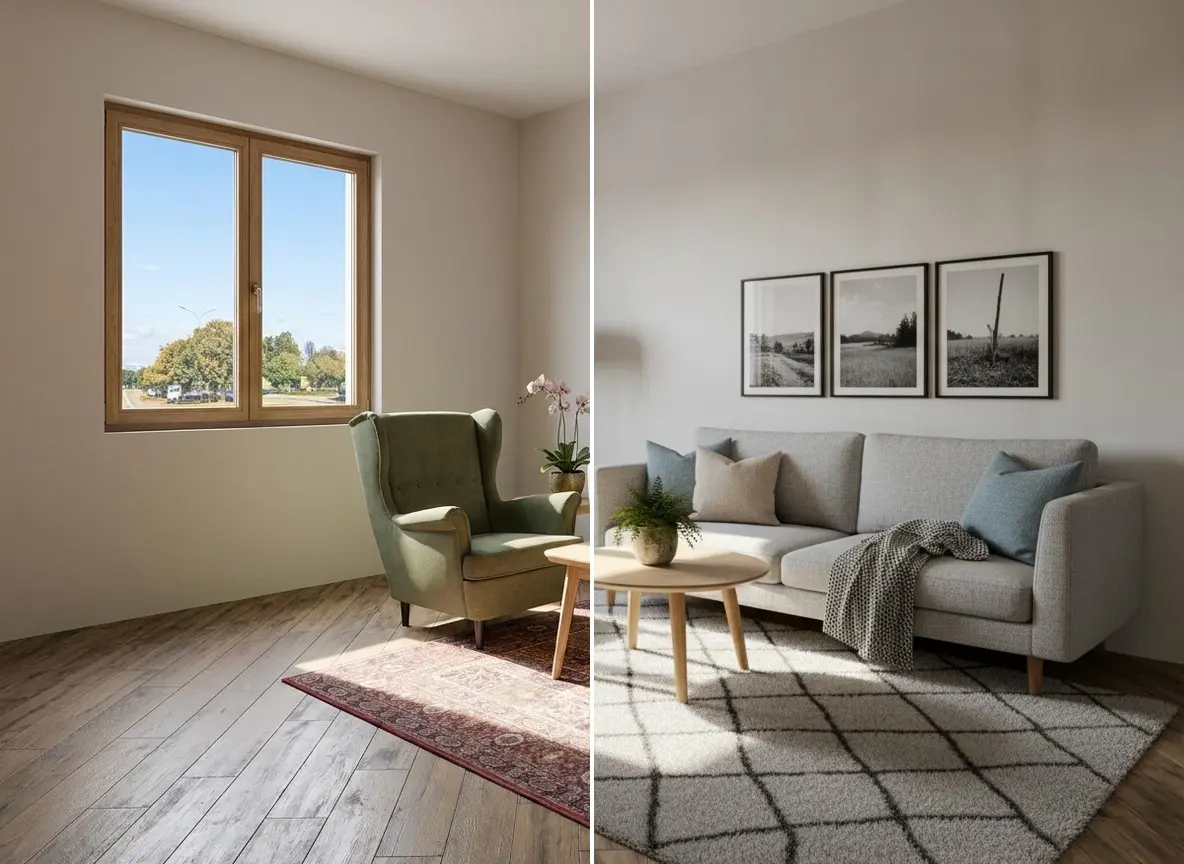
AI Redesign tools
Home Planner AI Redesign has five tools: Style, Color, Light, Clean and Renovate. Each tool has ready presets, so you can change one part of the room without writing a prompt.
| Tool | What it changes | Presets |
|---|---|---|
| Style | The whole interior in a new style. | More than 40 interior styles |
| Color | The colors of surfaces and textiles. Furniture stays where it is. | 21 palettes, for example Scandi Light, Modern Greige, Japandi Warm, Sage Harmony, Coastal Breeze |
| Light | The time of day and the lighting. | Cloudy Day, Day, Morning, Evening |
| Clean | Removes things from the room. | Empty room, Remove object, Declutter |
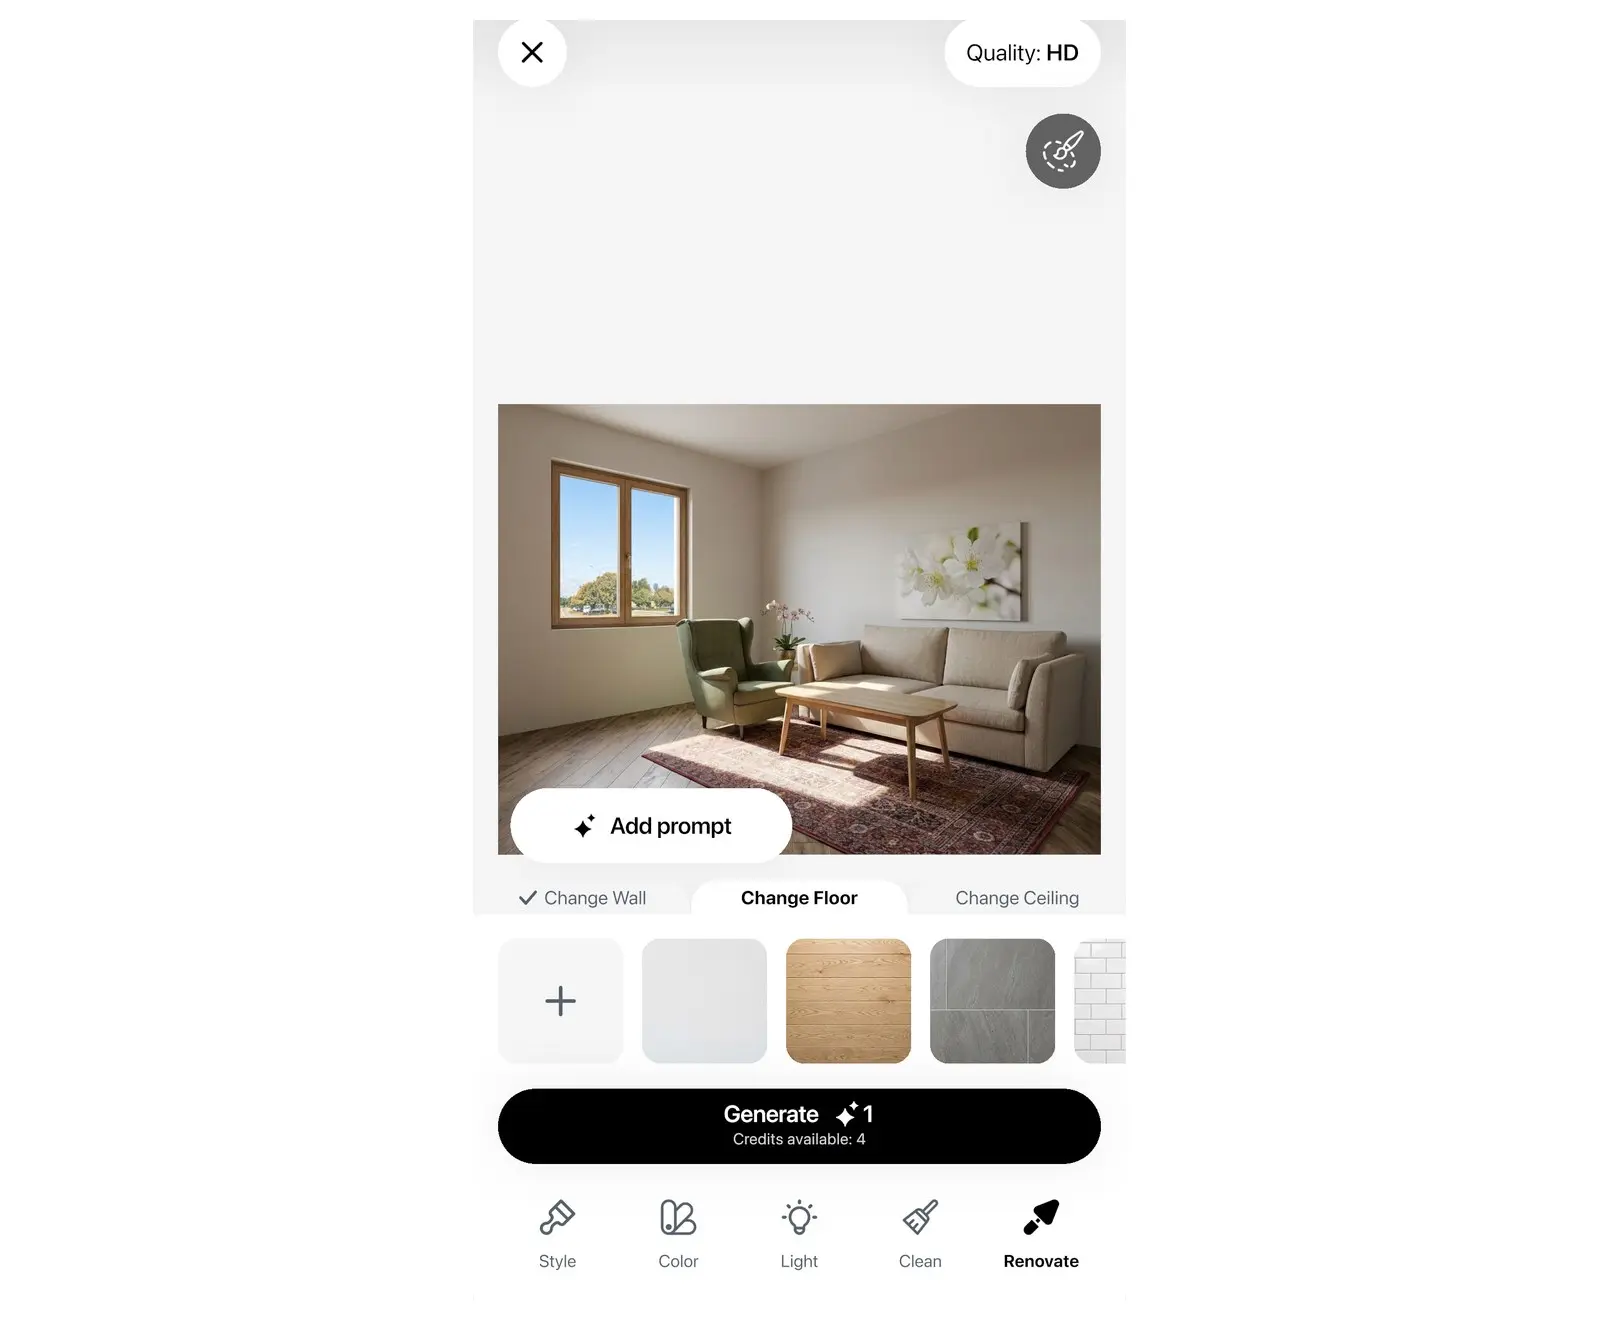
| Renovate | The material of the walls, the floor or the ceiling. | Wall, Floor, Ceiling, each with materials such as Venetian Plaster, Exposed Brick, White Oak, Terrazzo, Carrara Marble; or Your Material |
- Select the tool in the tool bar.
- The first preset is selected for you. Select another preset to change it. For Renovate, first choose Wall, Floor or Ceiling.
- Select Generate.
Remove object works on an area. When you select it, the brush turns on: paint over the object, select Done, then select Generate. Empty room removes all furniture and keeps the walls, floor, windows and doors. Declutter removes small items and keeps the furniture.
Describe changes with a prompt
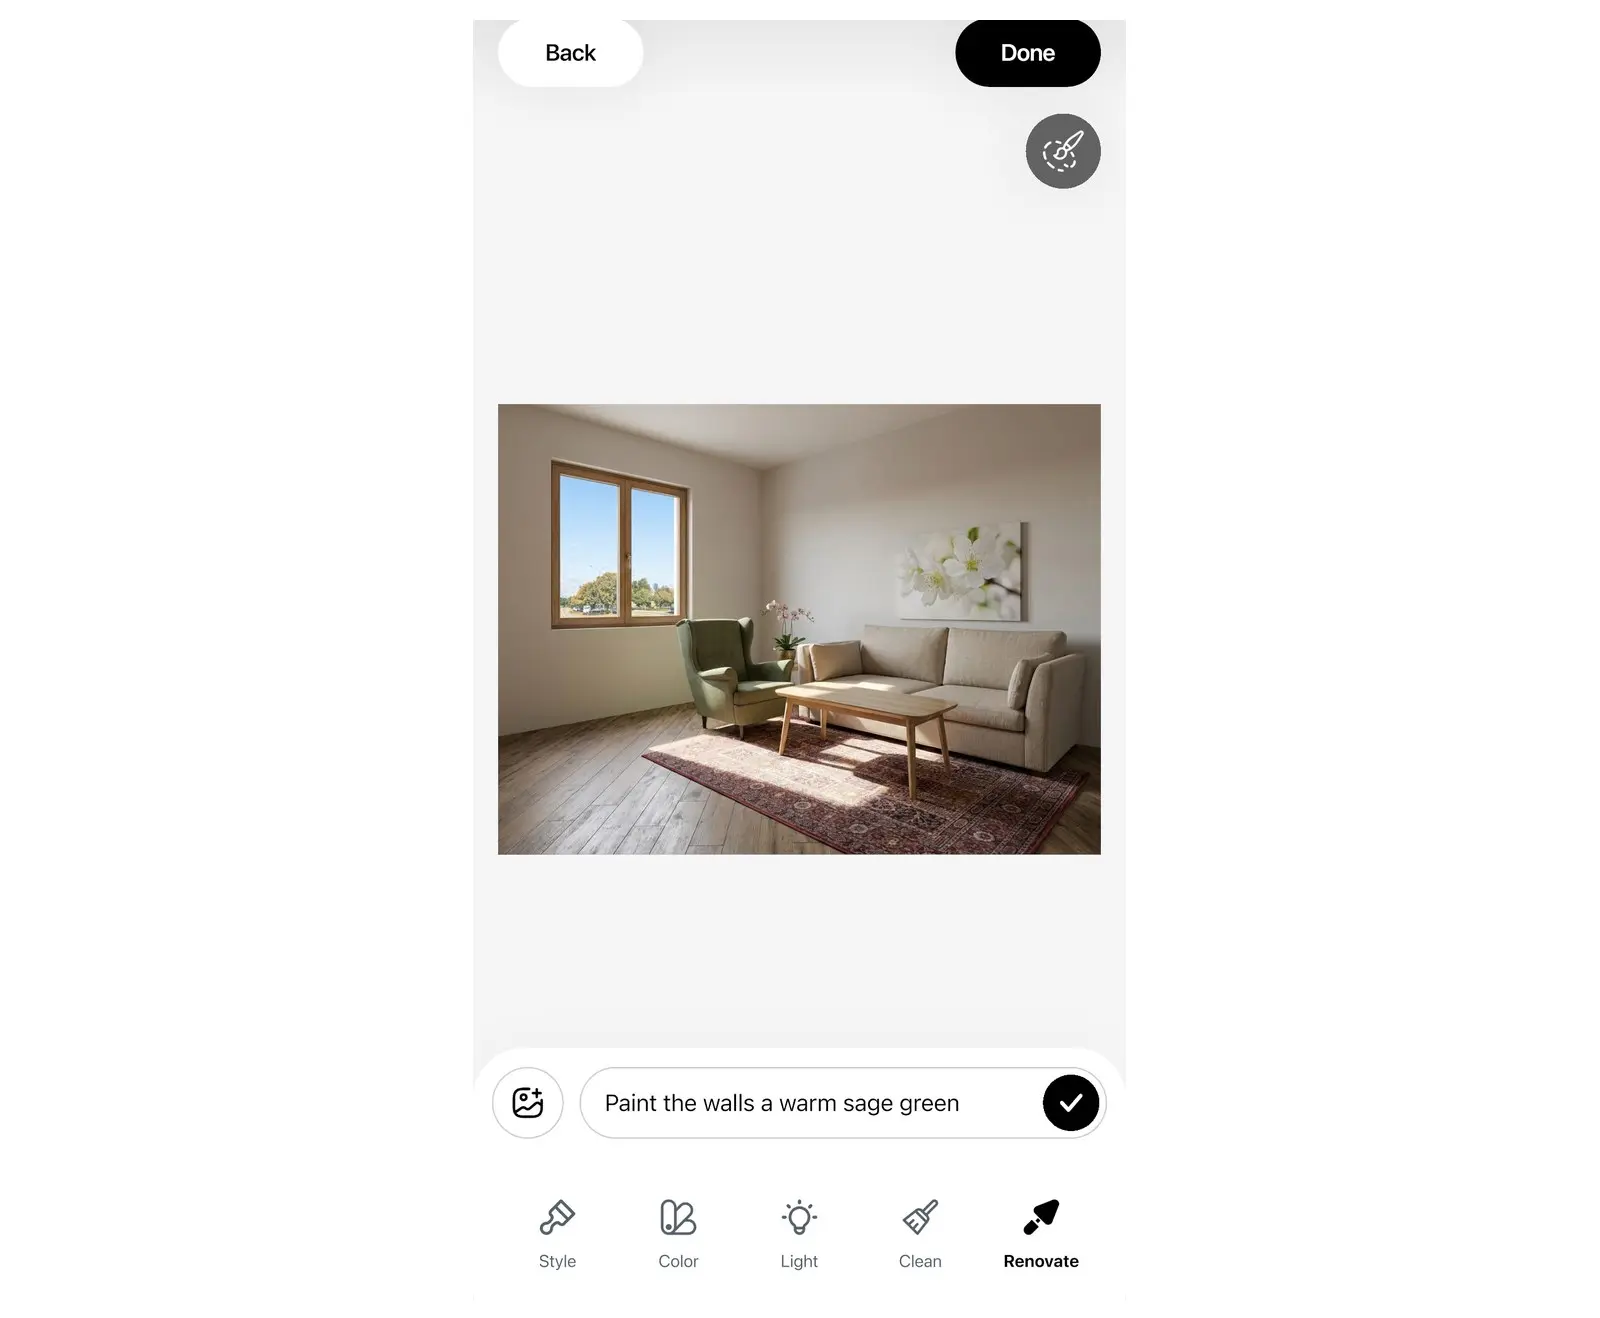
The prompt lets you ask for any change in your own words, for example "Replace the chair" or "Change the color of the walls".
- Select Add prompt.
- Type what you want to change in Describe the changes, or select one of the suggestions.
- Select the send button in the text field. The Prompt sheet opens with your text.
- Select Generate.
Write one or two clear changes per prompt. A prompt can be up to 2,000 characters. If a result is not right, change one detail in the prompt and generate again.
Change only one area with the brush
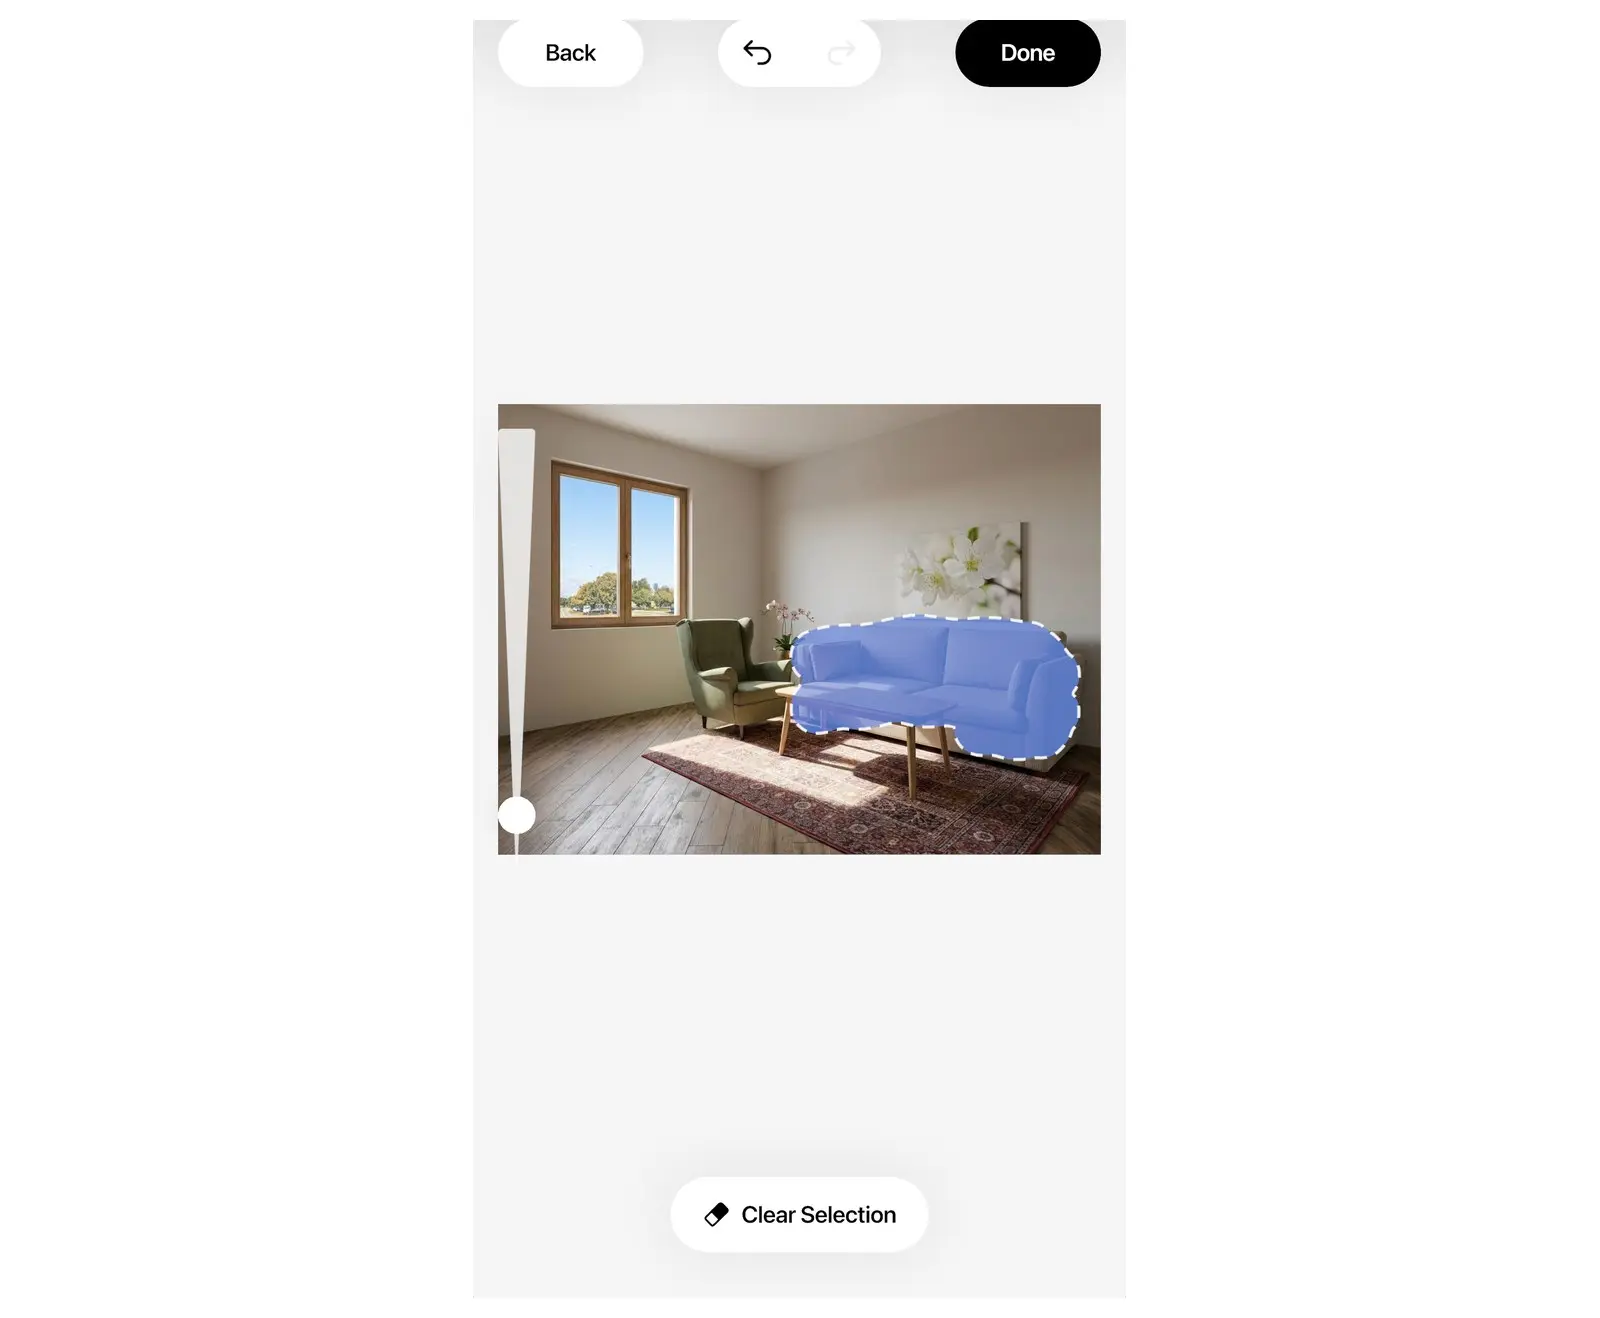
The area brush limits a change to the part of the photo you paint over. The rest of the photo stays the same.
- Select Select Area, the brush button at the top right of the editor.
- Paint over the part of the photo you want to change, for example a sofa or one wall.
- Select Done. The area stays marked, and the button changes to Edit Area.
- Choose a tool preset or write a prompt, then select Generate. Only the selected area changes.
To change the marked area, select Edit Area. While you paint, select Clear Selection to start again.
Add reference photos and your own material
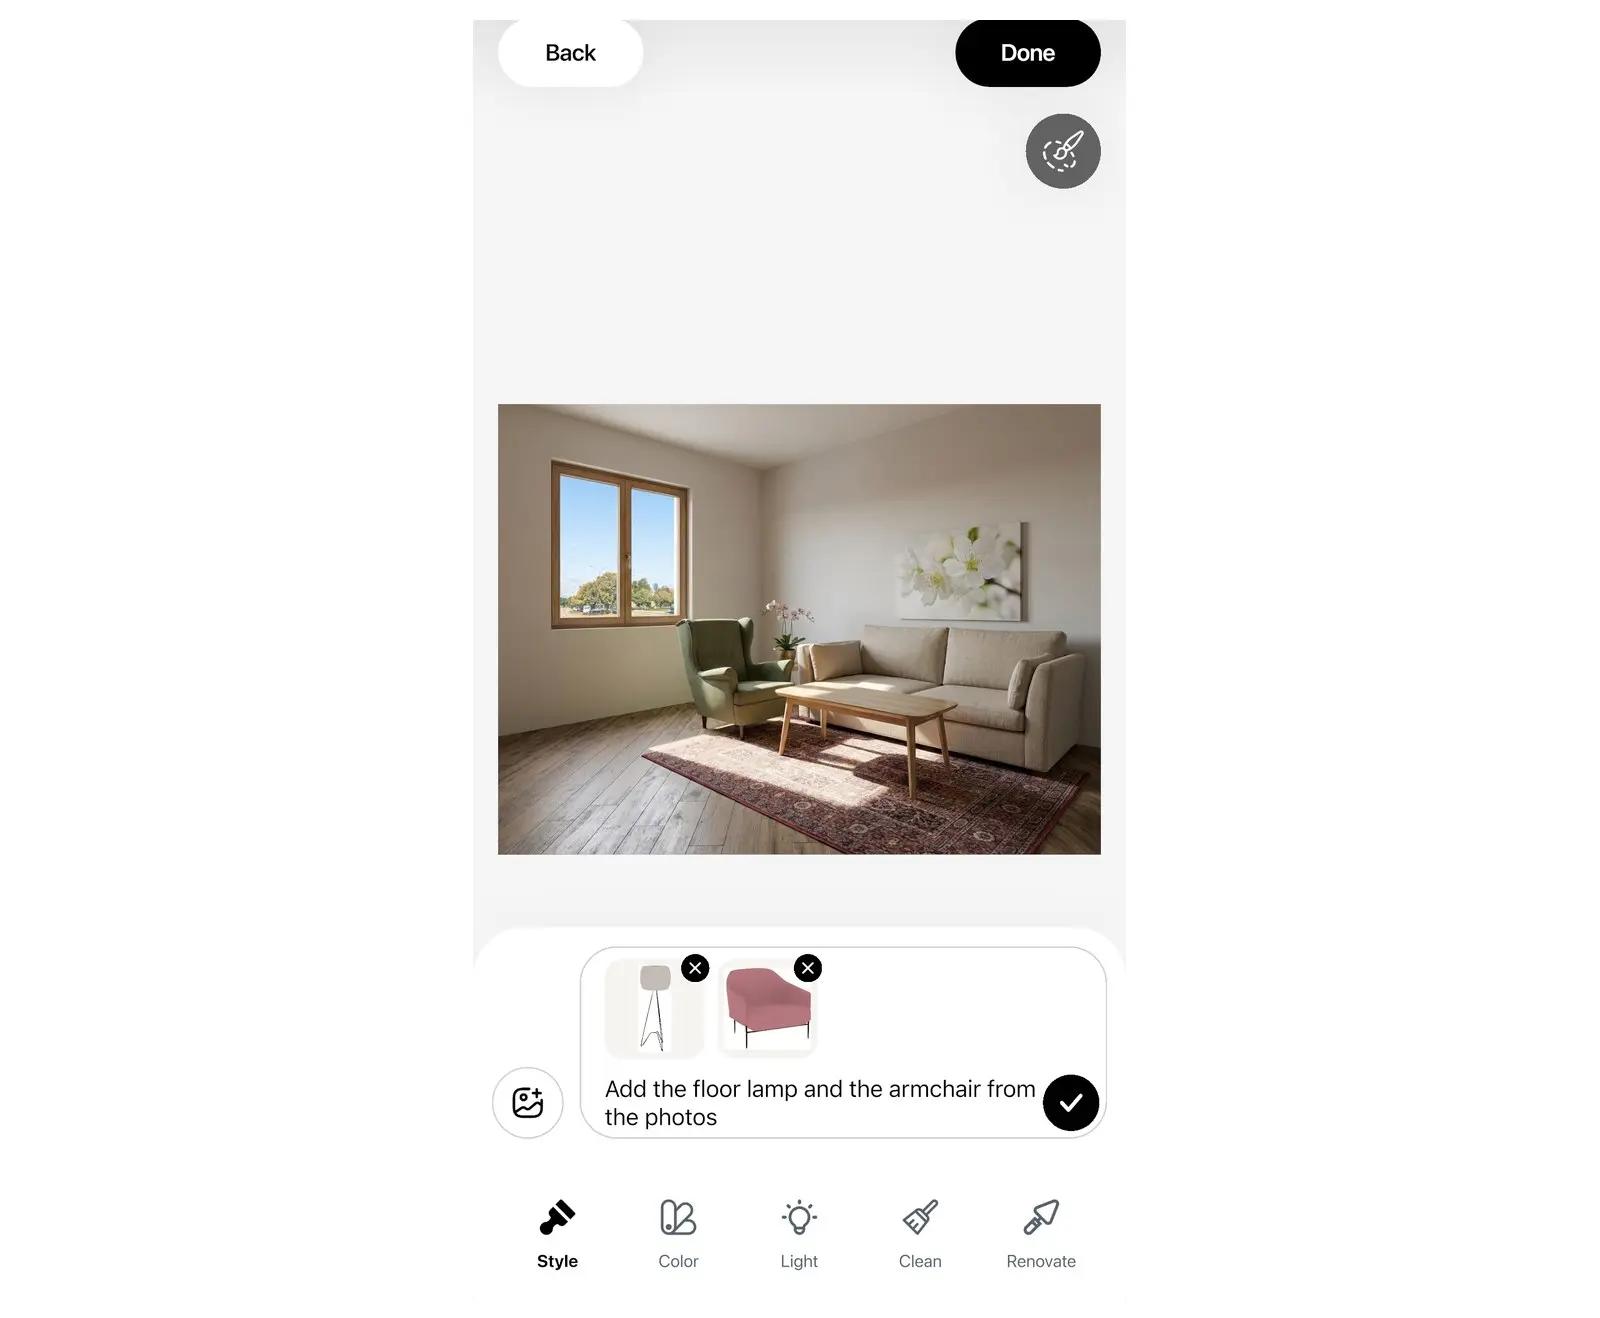
Reference photos show the AI an example instead of a description: a piece of furniture, a color or a finish you like.
- Reference photos: in the prompt panel, select the add image button and choose up to 5 photos. Then say in the prompt what to take from them, for example "use the lamp from the photo".
- Your material: in Renovate, choose Wall, Floor or Ceiling, then select Your Material and add a photo of the tile, wood, wallpaper or paint sample you want to try.
Compare, keep versions and download
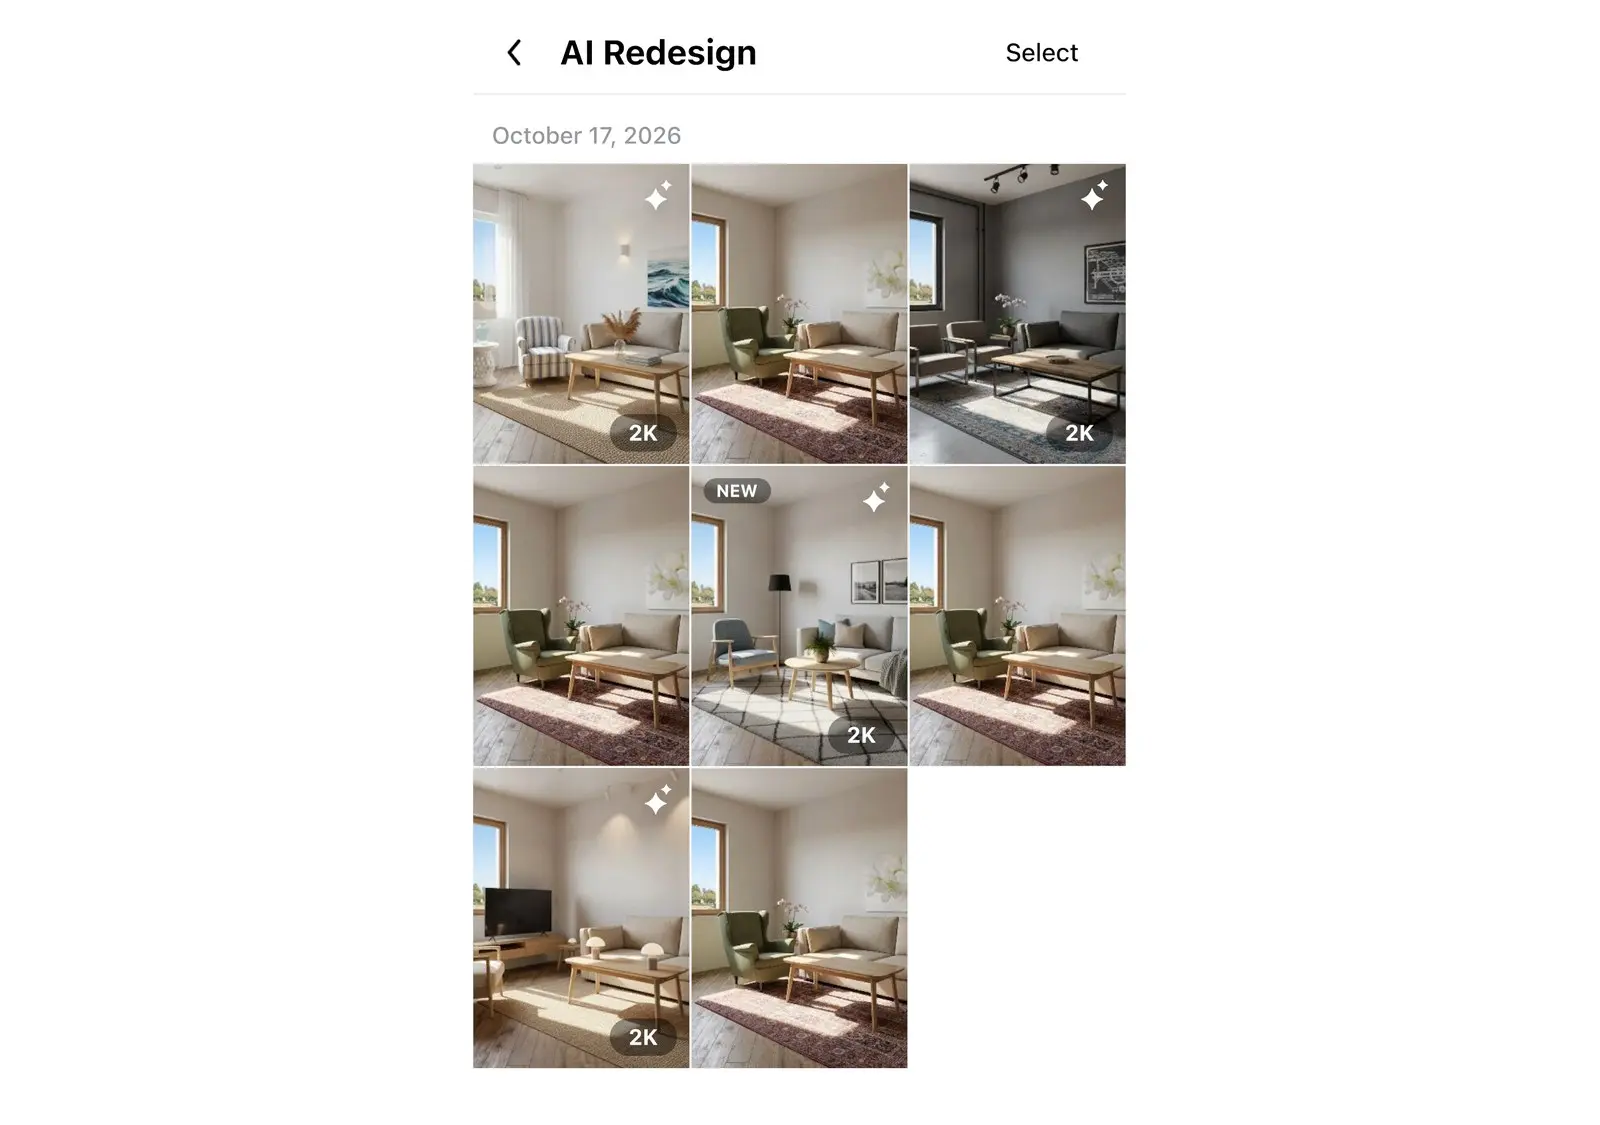
Every result becomes the new photo in the editor, so each change builds on the last one. All versions stay in your gallery.
- Compare: press and hold the compare button at the top of the editor to see the photo before the last change.
- Keep editing: open a finished design and select Keep editing to change it again.
- Gallery: your designs and the original photos are in the gallery. On a tablet or a computer, open it from the top of the editor.
- Download on a phone: open a design on the AI Redesign screen and select the download button.
- Download on a tablet or computer: open the gallery, open the menu of a design, and select Download or Share.
- Watermark: without PRO+, the saved image has a Home Planner watermark.
- Copy prompt: in the menu of a design, select Copy prompt to reuse a prompt that worked.
Like the result? Draw the room as a plan in Home Planner and furnish it with real products at their real size.
Tips for a better AI redesign
The photo has the largest effect on the result.
- Take the photo in daylight, with the lights on, from a corner of the room at chest height.
- Keep the camera straight. Do not use a wide-angle lens with strong distortion.
- Show the floor and at least two walls. The AI keeps what it can see.
- If your photo is dark, first use Light and the Day preset, then continue with the result.
- Make one change per generation. For a full makeover, start with Style, then use Light, Color or Renovate on the result.
- Use the brush for a single object. A prompt for the whole photo can also change other things.
Trademark notice. Home Planner is not affiliated with, endorsed or sponsored by Apple Inc., Google LLC or Microsoft Corporation; their names and marks belong to their owners. iPhone, iPad and Mac are trademarks of Apple Inc., registered in the U.S. and other countries. Android is a trademark of Google LLC. Other trademarks are the property of their respective owners.
Try it on your own project
Free app for iPhone, iPad, Mac, Android and Windows.