How to Share a 3D Floor Plan and Edit It Together

How to share a 3D floor plan in Home Planner with family, a partner or a builder: a link or e-mail invitation, view or edit access, and real-time co-editing.
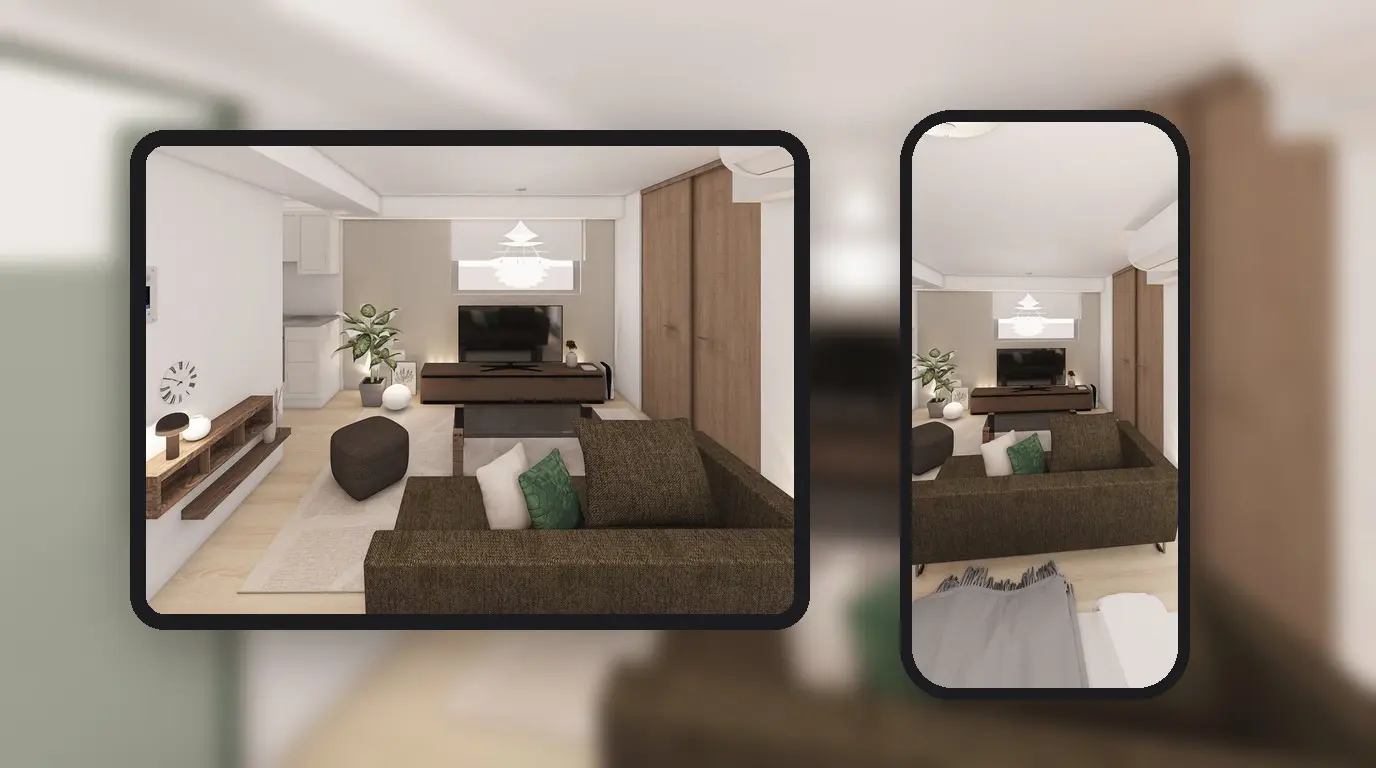
Your partner is at work, your parents live in another city, and a screenshot in a chat cannot show how the sofa sits next to the window. To share a 3D floor plan, send a link or an e-mail invitation from Home Planner: they open the same 3D project on their own device and look around it in 3D. You decide if they can only look or can also move the sofa with you.
Show the plan to your family before you buy furniture, or to your builder before the work starts. Home Planner runs on iPhone, iPad, Android, Mac and Windows, so everyone uses their own device.
Ways to share your 3D floor plan
Pick a way based on what the other person needs: to change the plan with you, or only to look at it.
| Way | What the other person gets | What they need |
|---|---|---|
| Co-editing link or e-mail invitation | The live 3D project. As an Editor, they change it with you in real time | Home Planner on any device |
| Image | A picture of the room in a message or an e-mail | Nothing |
To send an image, select the share icon, then Image. With PRO+ or PRO++, you can also share a link to a 360° photo of the room that opens in any web browser.
How it works
Sharing a project for co-editing in Home Planner takes three steps.
- Sign in and open sharing: sign in to your Home Planner account, then open the share menu in your project and select Share.
- Set the access: choose who can open the link and if they can view or edit.
- Send it: invite people by e-mail, or send the link in any messenger.
Before you start
You need to be signed in and online. Sharing, inviting people and joining a shared project need no subscription.
| You need | Why |
|---|---|
| Home Planner on iPhone, iPad, Android, Mac or Windows | Everyone in the project can use a different device. |
| An internet connection | Changes travel between devices through the Home Planner server. |
| Your own project | You can share only your own projects. If a project belongs to someone else, Home Planner offers Make my own copy. |
| The other person's e-mail (optional) | For a personal invitation. Without it, send the link. |
Not signed in? On the home screen, open the Profile tab (your avatar), select Edit profile, then Connect, and sign in; the button then reads Connected. If you are not signed in, choosing Anyone shows "Could not update sharing settings. Please try again.", and Invite asks you to sign in.
Step 1: Open sharing in your project
The share icon has no caption: look for it in the right toolbar of the project.
- Open the project you want to share.
- Select the share icon in the right toolbar. The share menu opens.
- Select Share. If Home Planner says the project is still uploading, wait a moment and select Share again.
Cannot see the share icon? On the 2D plan, it is hidden while you edit walls in Edit Walls. Select Done at the top left, and the icon comes back. The icon is also hidden in photo mode; select Done to leave it.
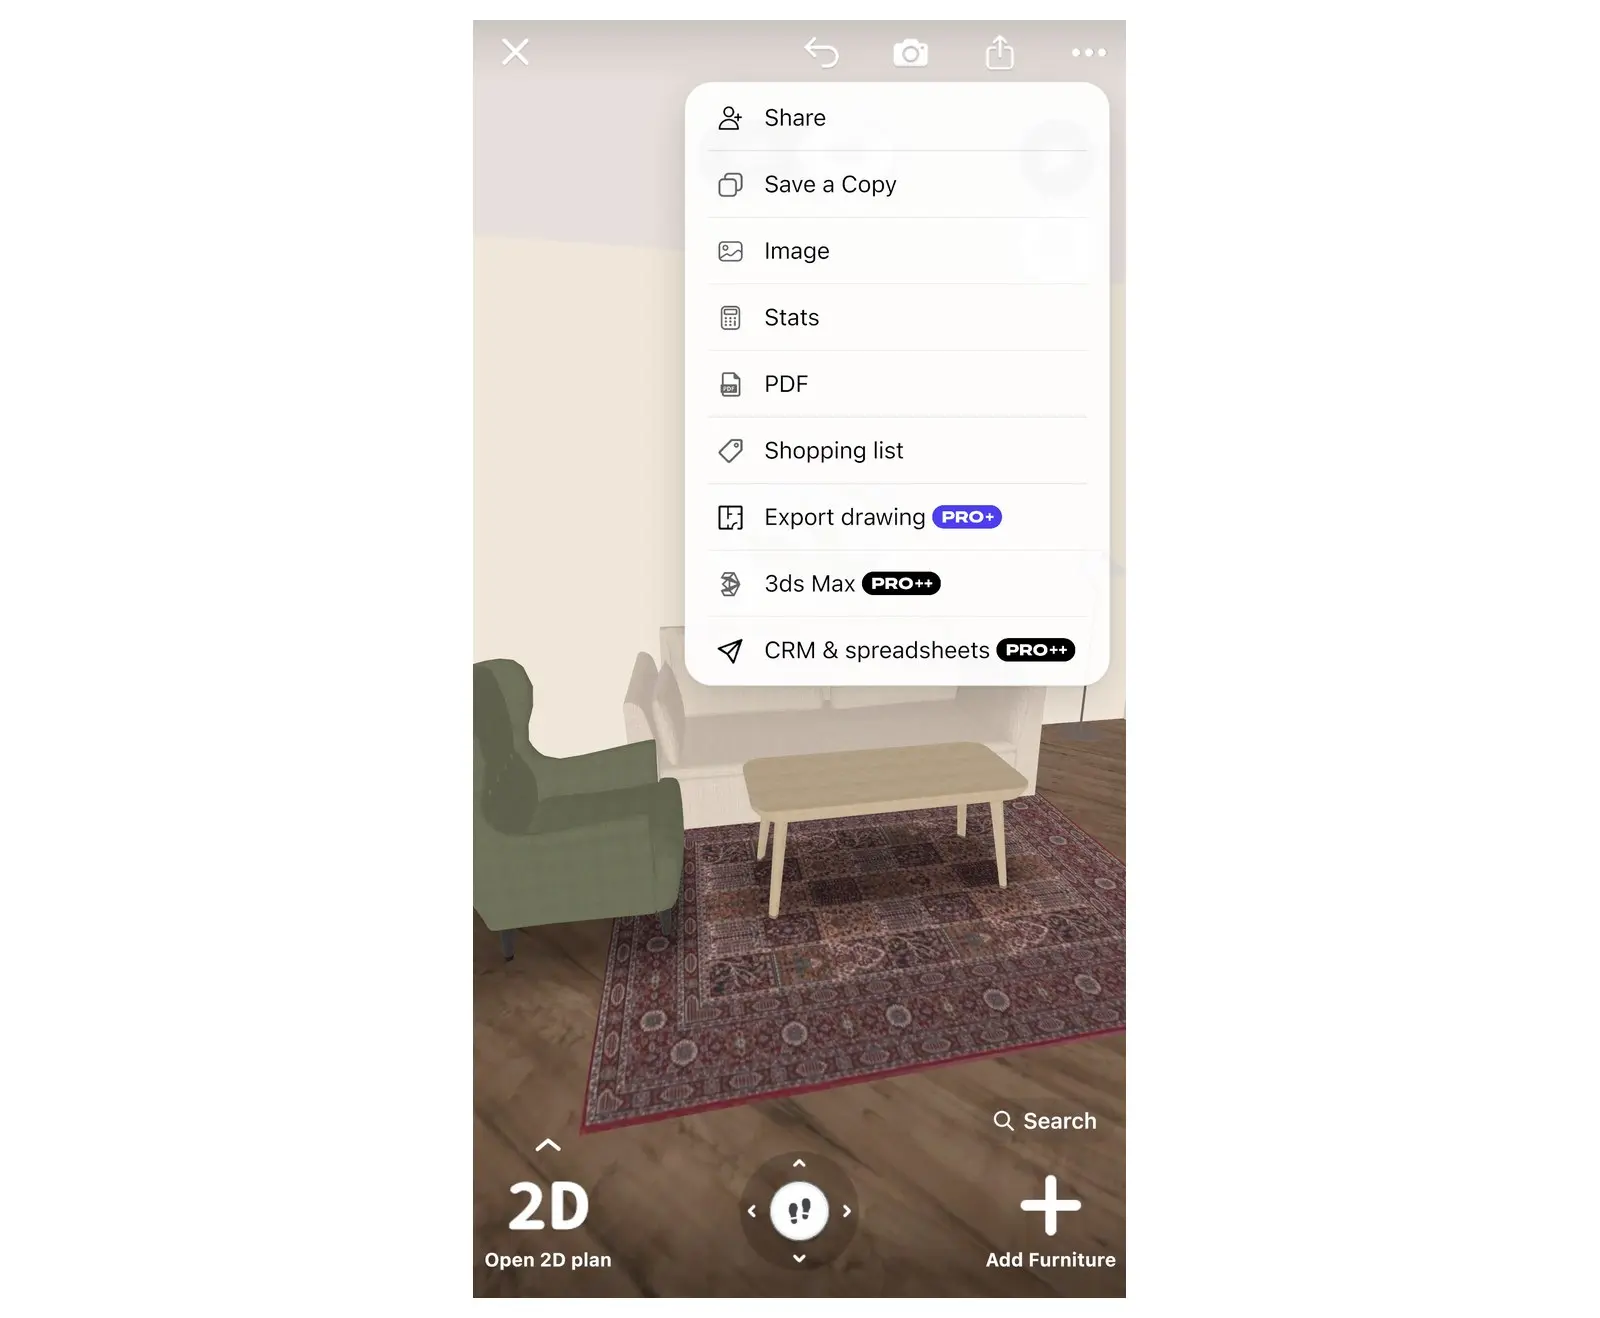
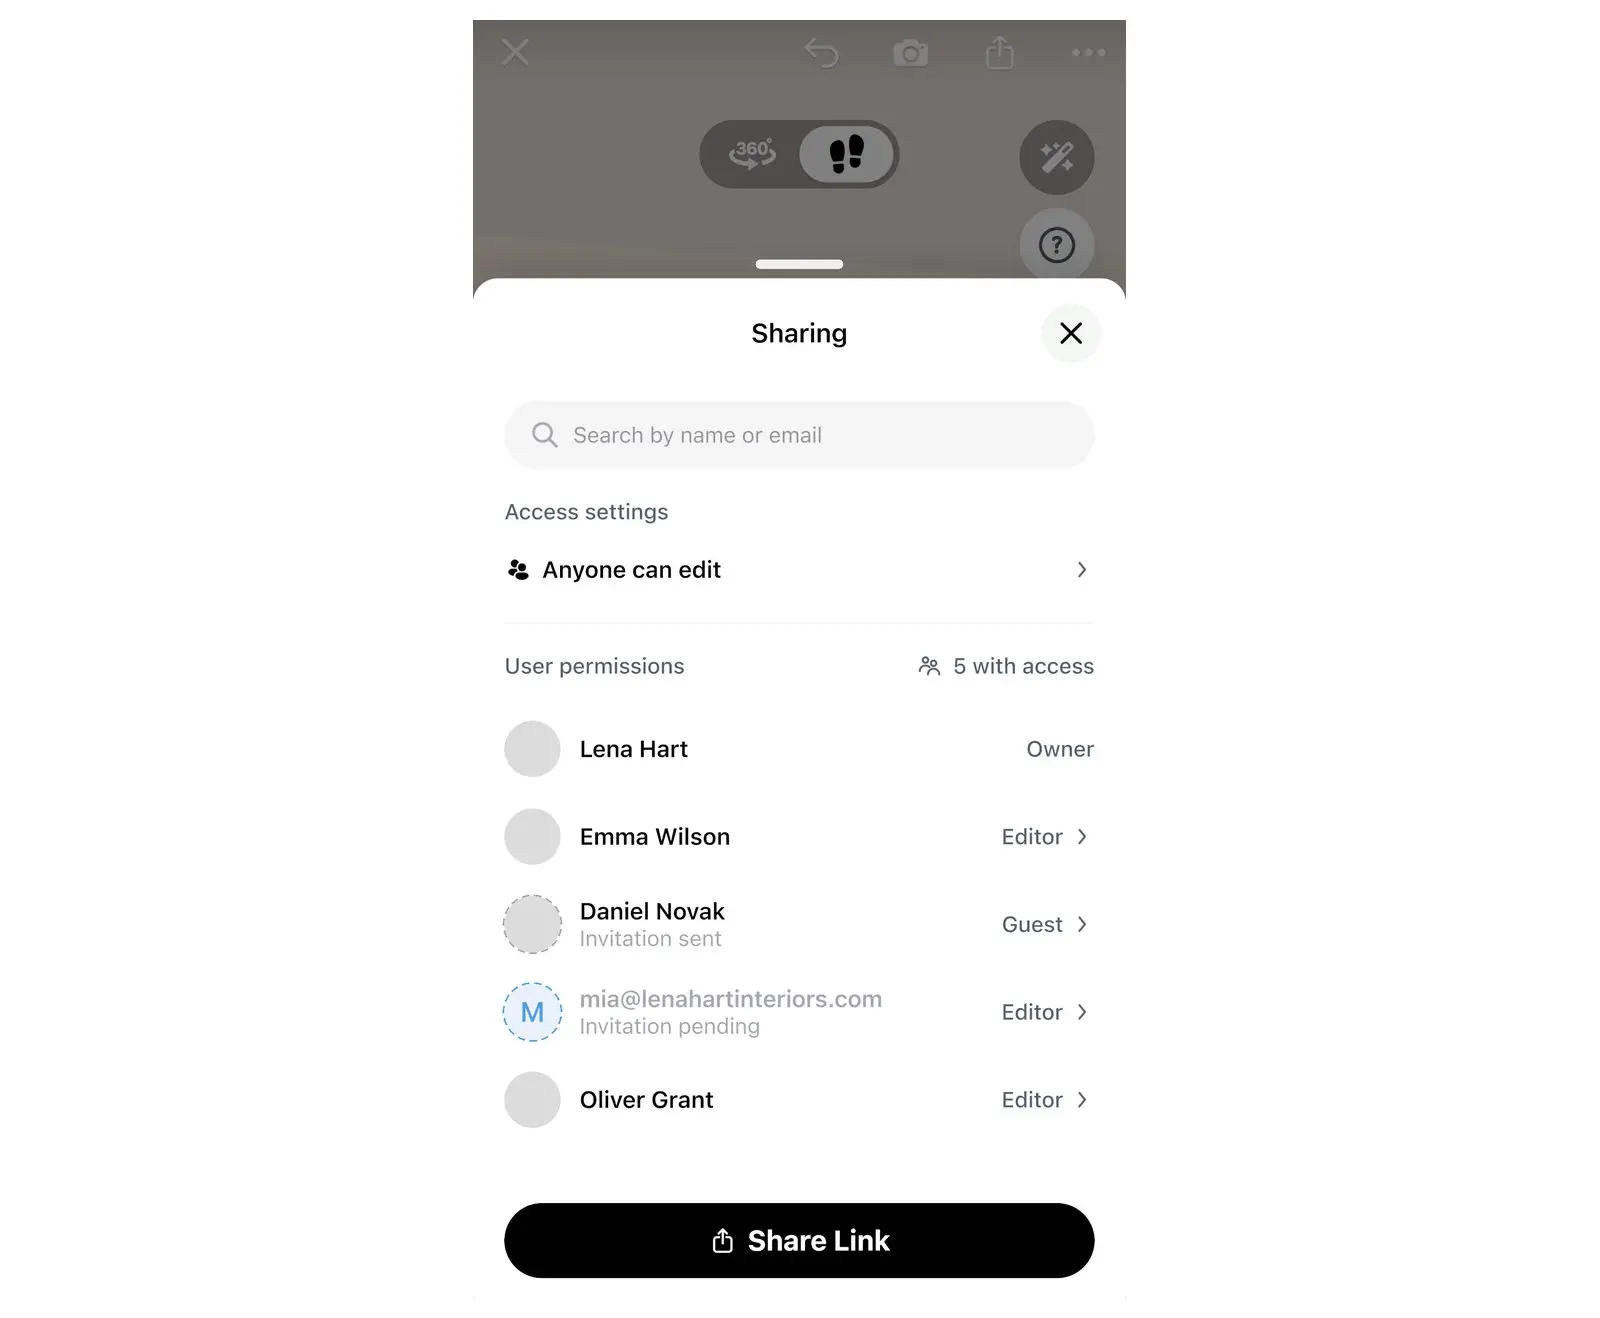
The Sharing window opens. Continue with Step 2. After the first share, you can also open Sharing by selecting the avatars in the project.
Step 2: Choose who can open the link and what they can do
People in a shared project have one of two roles: a Guest looks around the plan, and an Editor changes it with you. First decide what the other person should do:
| You want | Do this |
|---|---|
| They edit with you, the link stays private | Keep Only invited people and invite them by e-mail (Step 3). Invited people join as Guest: make them Editor after they sign in. |
| They edit with you, quickly | Set Anyone + Can edit, then send the link. Anyone who gets the link can change the plan, so share it only with people you trust. |
| They only look | Set Anyone + Can view, then send the link. |
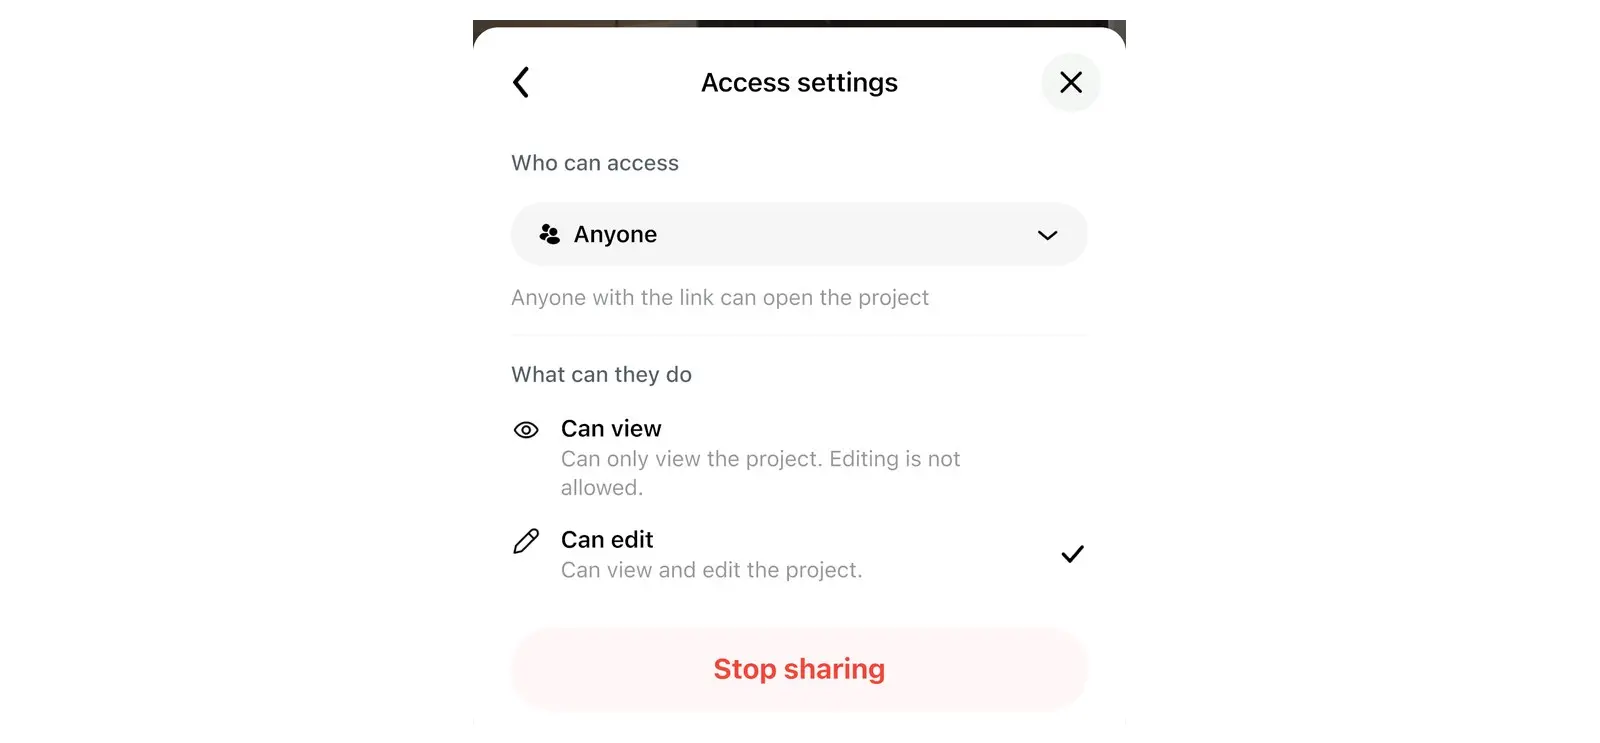
Access settings controls your project link: who can open it and what they can do. You open it from the Sharing window.
- In the Sharing window, select the access row. It shows the current link access, for example Only invited people or Anyone can view. The Access settings window opens.
- Under Who can access, choose Only invited people or Anyone. With Only invited people, only people you invited by e-mail can open the project; people who came in by the link lose access. With Anyone, anyone with the link can open the project.
- With Anyone, choose Can view or Can edit under What can they do. This permission applies to everyone who opens the link. With Only invited people, What can they do is not available.
Step 3: Invite people or send the link
Invite by e-mail
- In the Sharing window, select Search by name or email.
- Type their e-mail address.
- Select Invite. Home Planner shows "Invitation sent" (with the address, when the person has no Home Planner account yet).
The invited person opens the link in the invitation e-mail, or signs in to Home Planner with the invited address and opens the project from Shared projects on the My Projects screen.
- To make an invited person an Editor: see Change what one person can do below.
- The person has no account yet: the pending invitation offers only Resend invitation and Cancel invitation. Change the role after they sign in.
No e-mail arrived? Ask them to check the spam folder, or just to sign in with the invited address.
Send the link
Set Who can access to Anyone first. The link button shows only when the link is open.
- On a phone or tablet: select Share Link at the bottom of the Sharing window, then choose a messenger or e-mail app.
- On a Mac or Windows computer: select Copy link at the bottom of the Sharing window, then paste the link into a message or an e-mail.
What the other person sees
The link opens your 3D project in the Home Planner app. They see the same plan as you, in 2D and in 3D.
- Home Planner is installed: the link usually opens the project in the app. If a messenger shows a web page first, select Open in App.
- Home Planner is not installed: the link opens a web page with the invitation, an Open in App button and an Install App button. After the install, they open the link again if the project does not open by itself.
- Later: a signed-in person finds the project in the Shared projects folder on the My Projects screen, until you stop sharing or remove them. A person without an account has no Shared projects folder: they open the same link again on the same device.
Edit a collaborative floor plan in real time
Each change an editor makes appears at once on everyone's device.
- Each person in the project has an avatar in a different color.
- A green dot on an avatar in the Sharing window shows who is online now.
- Only the project owner invites people, changes access and stops sharing. An Editor changes the plan.
- A Guest who gets edit permission sees "You can now edit this project". An Editor who loses it sees "Your access has been changed to view-only".
Change what one person can do
As the project owner, you change the access of one person in two places: in the Sharing window or on the plan.
- In the Sharing window: select a person. In Access settings, choose Guest or Editor, or Remove access. For a person who came by the link, Use link settings is also available.
- On the plan: select the colored circle of a person. A User details card opens. Select the three-dot button on the card, then Promote to Editor, Demote to Guest or Remove access.
Stop sharing or leave a project
Shared by mistake? Set Who can access to Only invited people (Step 2), or remove one person (see Change what one person can do).
- Owner: in the Sharing window, select the access row to open Access settings, then select Stop sharing and confirm. Others no longer have access to the project. The button appears after you first share the project.
- Invited person: in the Shared projects folder on the My Projects screen, open the menu of the project and select Leave project. Or, in the open project, select the avatars, select your own row, then Leave project. The project stays with the owner and other members.
Deleting a shared project also stops sharing: everyone loses access to the project.
Trademark notice. Home Planner is not affiliated with, endorsed or sponsored by Apple Inc., Google LLC or Microsoft Corporation; their names and marks belong to their owners. iPhone, iPad and Mac are trademarks of Apple Inc., registered in the U.S. and other countries. Android is a trademark of Google LLC. Other trademarks are the property of their respective owners.
Try it on your own project
Free app for iPhone, iPad, Mac, Android and Windows.