How to Make a 3D Render of a Room

Turn your 3D room design into a realistic render in HD, Full HD or 4K, choose the light, and share the photo.

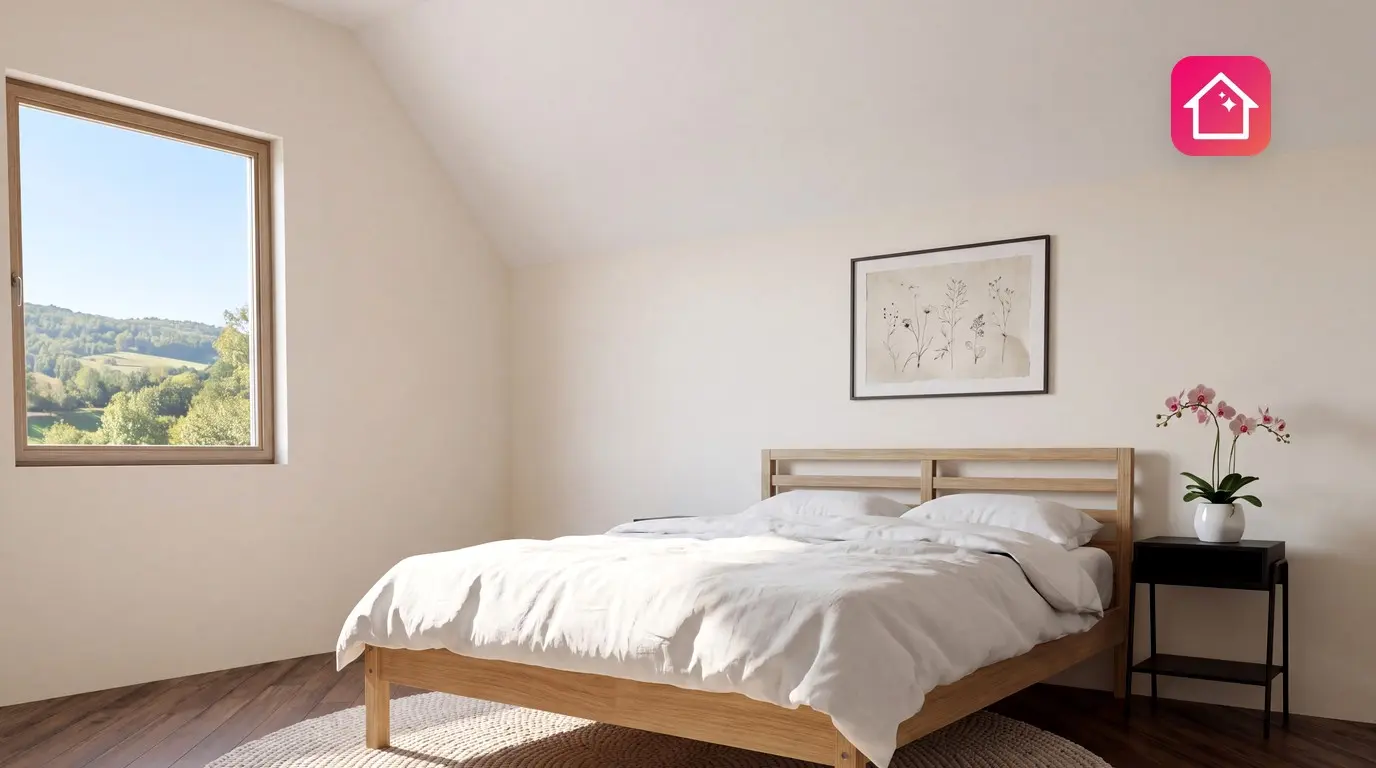
You have picked the sofa and the wall color, but the 3D view still looks like a game. A render turns that exact view into a photo-like picture with real daylight, lamps and shadows, so you can judge the colors before you paint or buy. Home Planner is your 3D room rendering app: no other program needed.
Choose the light and the quality, from HD to 4K. Home Planner makes the render on its servers, so a phone gives the same result as a computer. The free version gives 3 HD photos; the table below shows what each plan adds.
How it works
Home Planner makes a render from the 3D view you see on the screen, on its servers, with realistic light and shadows.
- Open your room in 3D and choose the camera angle.
- Choose the light and the quality: a light mode such as Cloudy Day or Day, and HD, Full HD or 4K.
- Take the photo. The finished render appears in My Photos, where you can download it or share a link.
If a choice needs a higher plan, Home Planner opens the upgrade window first.
Before you start
You need a room with furniture in the 3D view. What you can make depends on your Home Planner plan.
| You need | Why |
|---|---|
| A room in Home Planner | Draw a room, import a floor plan or open an existing project. Renders are made from the 3D view only. |
| Furniture, lamps and materials | An empty room looks flat in a render. If the room has too little furniture, the app suggests adding more first. |
| An internet connection | The render is made on Home Planner servers, not on your device. |
| The right plan for the result you want | See the table below. |
What each plan includes:
| Result | Free | PRO | PRO+ | PRO++ |
|---|---|---|---|---|
| Realistic photo | 3 photos in HD | Unlimited, HD or Full HD | Unlimited, up to 4K Ultra HD | Unlimited, up to 4K Ultra HD |
| Light modes | Cloudy Day (all settings), Day (Brightness only) | Cloudy Day (all settings), Day (Brightness only) | All modes and all light settings | All modes and all light settings |
| Home Planner watermark | Yes | Yes | No | No |
| Your photos are made first | — | — | Yes | Yes |
Prices for each plan are shown in the app before you buy.
How to make a 3D render of a room
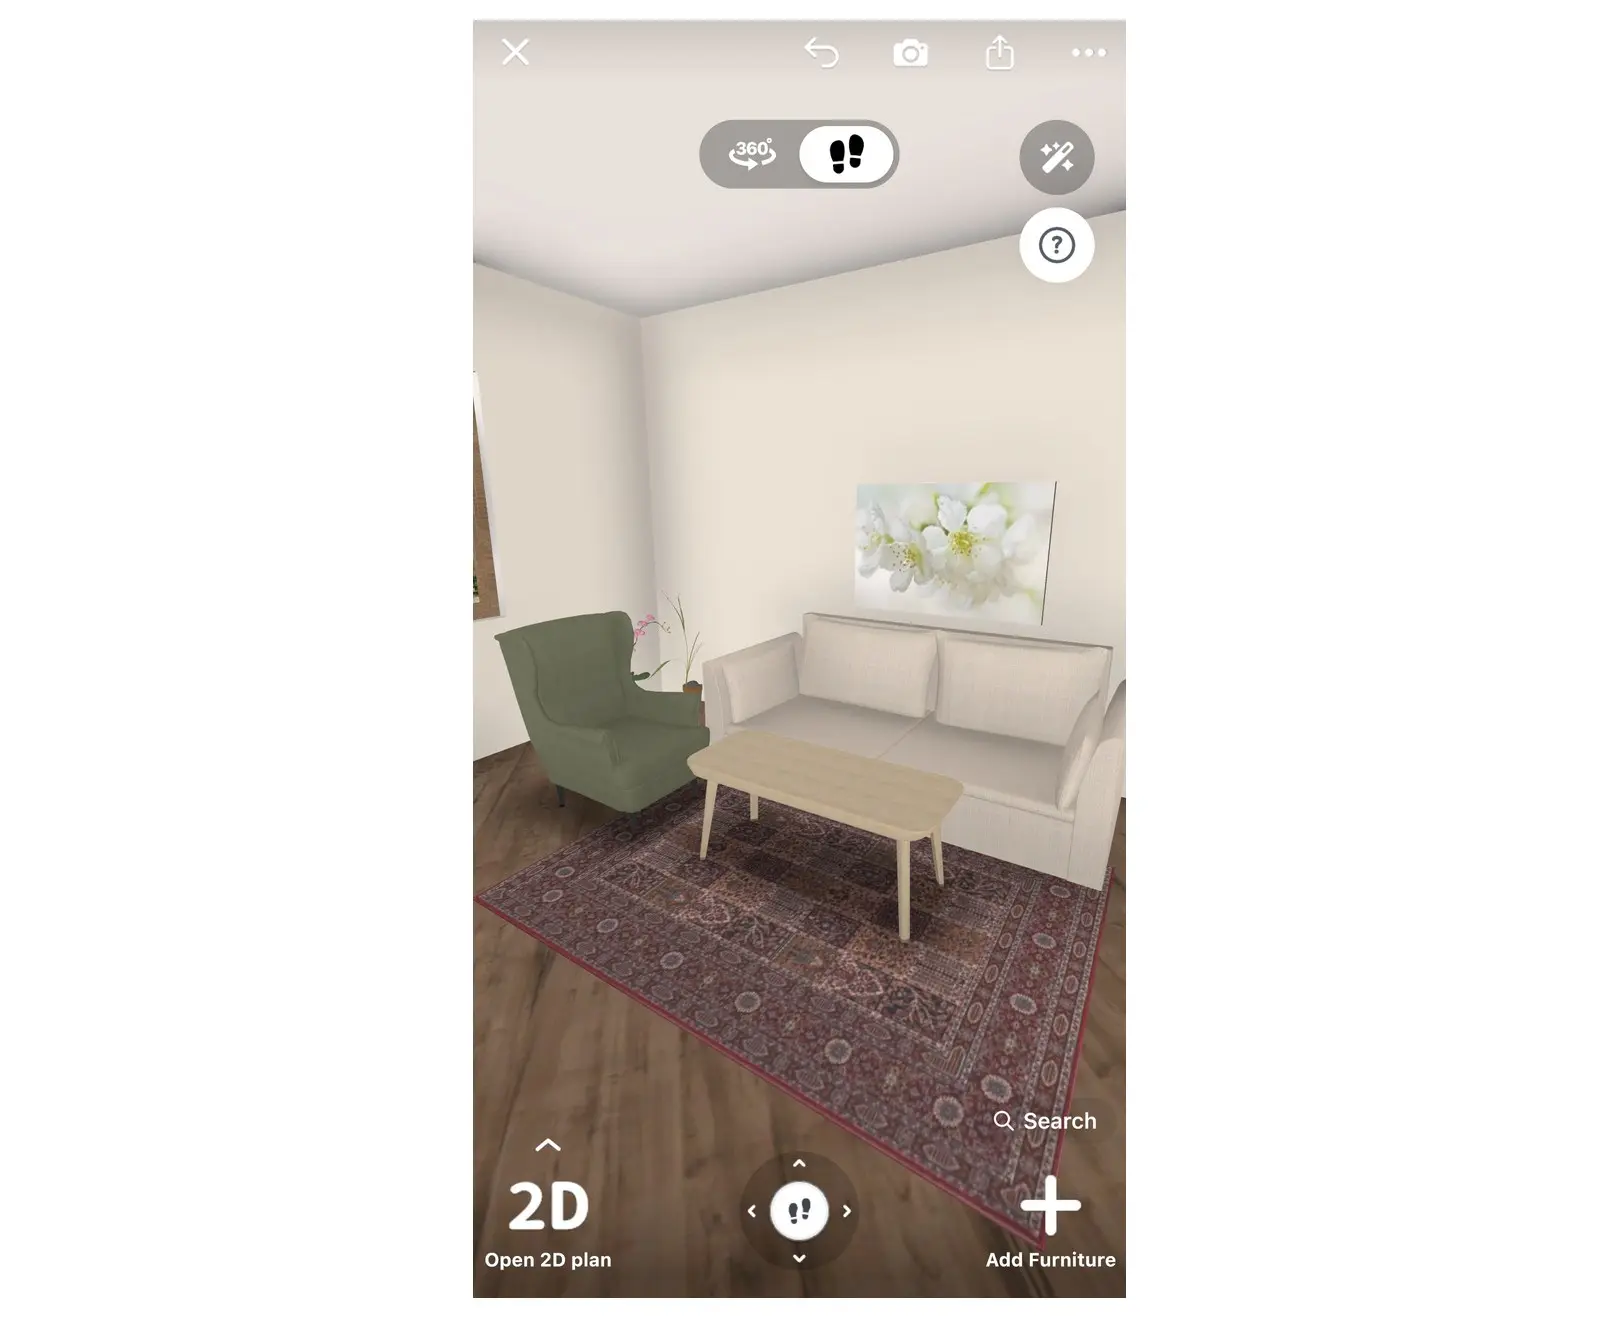
A realistic photo in Home Planner is a 3D render of the exact view on your screen. Set up the view first, then the light and the quality.
Button names are given in English. In another app language, look for the same options.
1. Set up the view
- Open your project: on a phone from the Home tab at the bottom of the screen, on a tablet or computer from Home in the side menu. If you see the 2D plan, select Open 3D plan at the bottom left.
- Move and rotate the view until the room looks the way you want it in the photo.
- Make sure you see the room in 3D. In the 2D plan the camera button makes a picture of the plan, not a render.
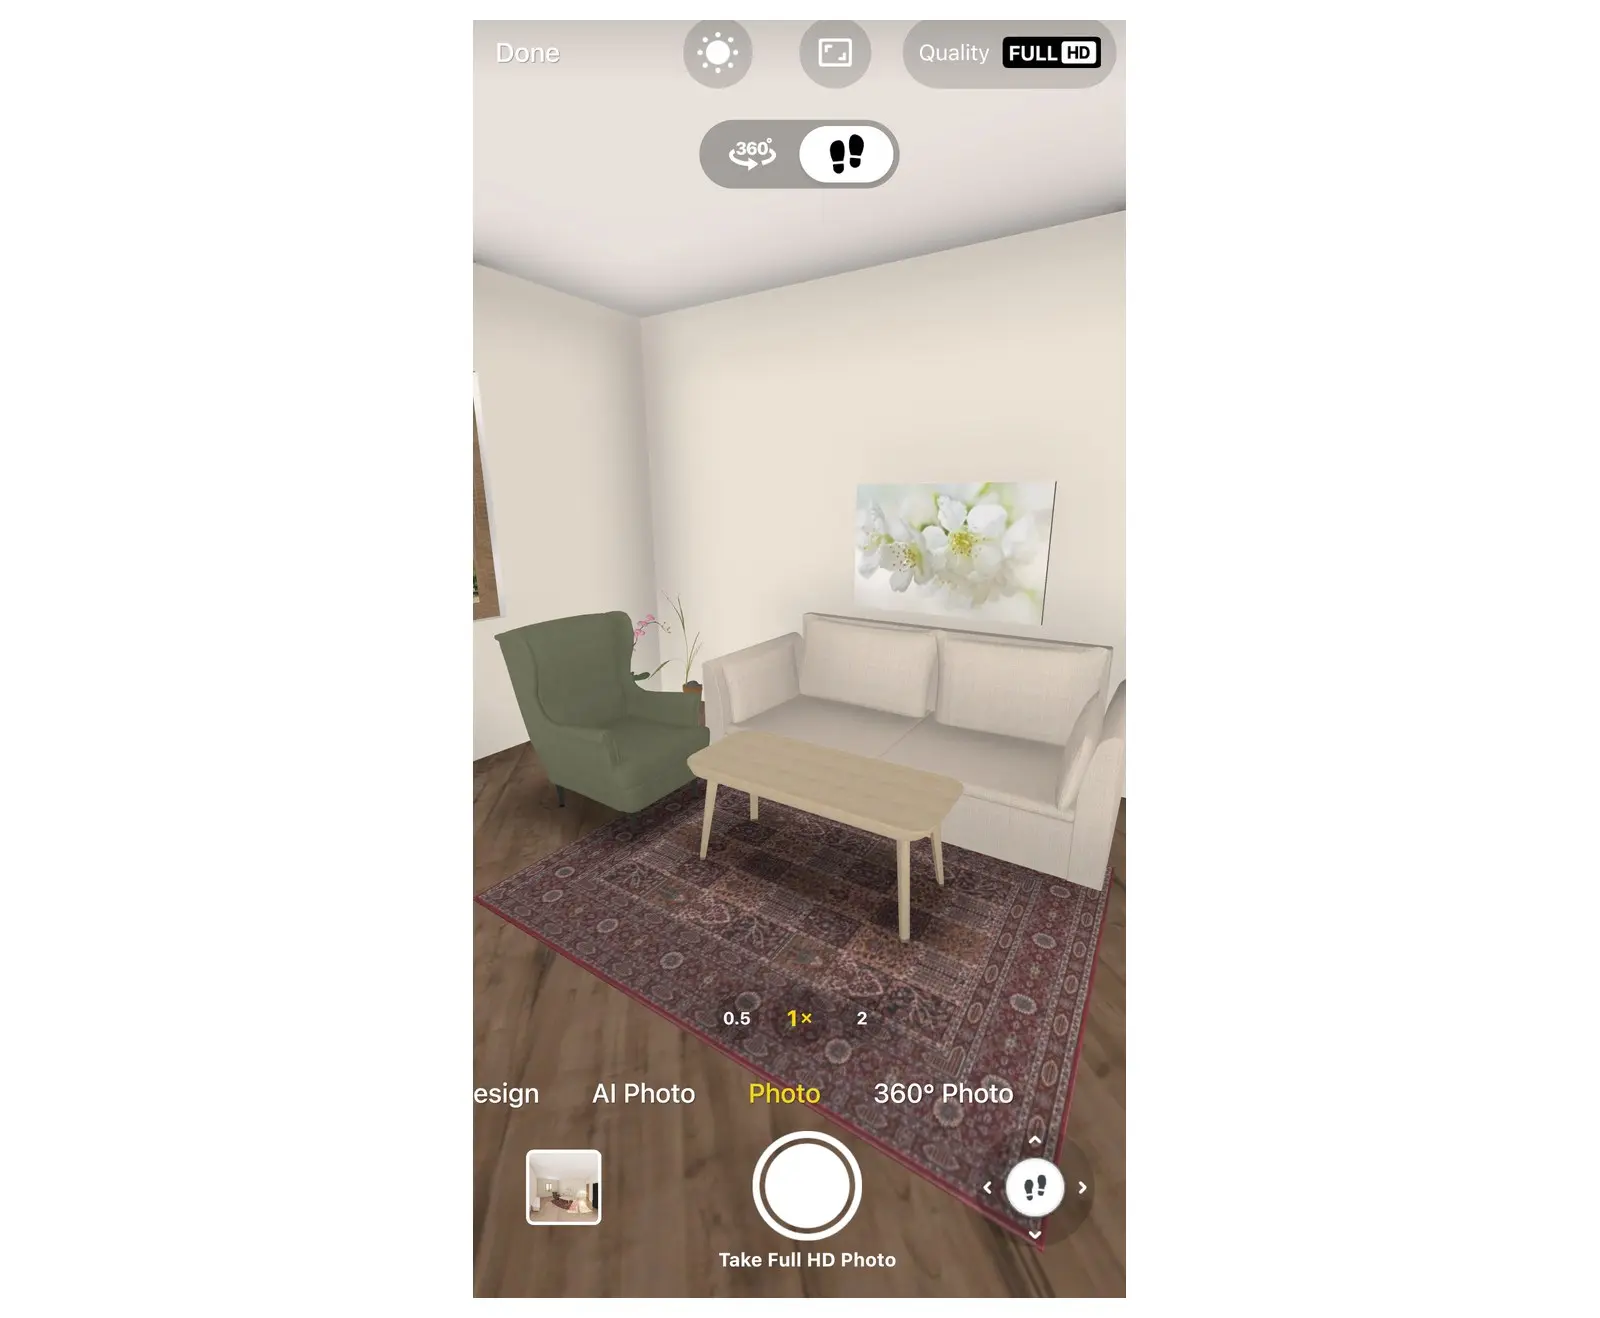
- Select the camera button. On a phone it is the camera icon in the top bar, with no label; on a tablet or computer it is labelled Take a Photo. The app opens render mode.
- If the room is almost empty, the window "Looks empty. Shall we add some coziness?" opens first. Select Add more furniture to furnish the room, or Make a realistic photo to go on.
- Render mode usually opens on AI Photo. In the row of modes at the bottom (scroll sideways) select Photo.
2. Choose the light
- Open the light settings: on a phone held upright select the sun button in the toolbar; on a phone held sideways, a tablet or a computer select Lighting at the top of the screen.
- Choose a light mode: Cloudy Day (soft light without sun), Day, Morning or Evening. Morning and Evening carry a PRO+ label. The 3D view shows the light right away.
- To fine-tune it, change Brightness, Sun brightness, Color Temperature, Sun Position, Sun Height or turn Artificial Lighting on or off.
- Close the window to keep your settings, or select Reset to go back to the default values of the mode.
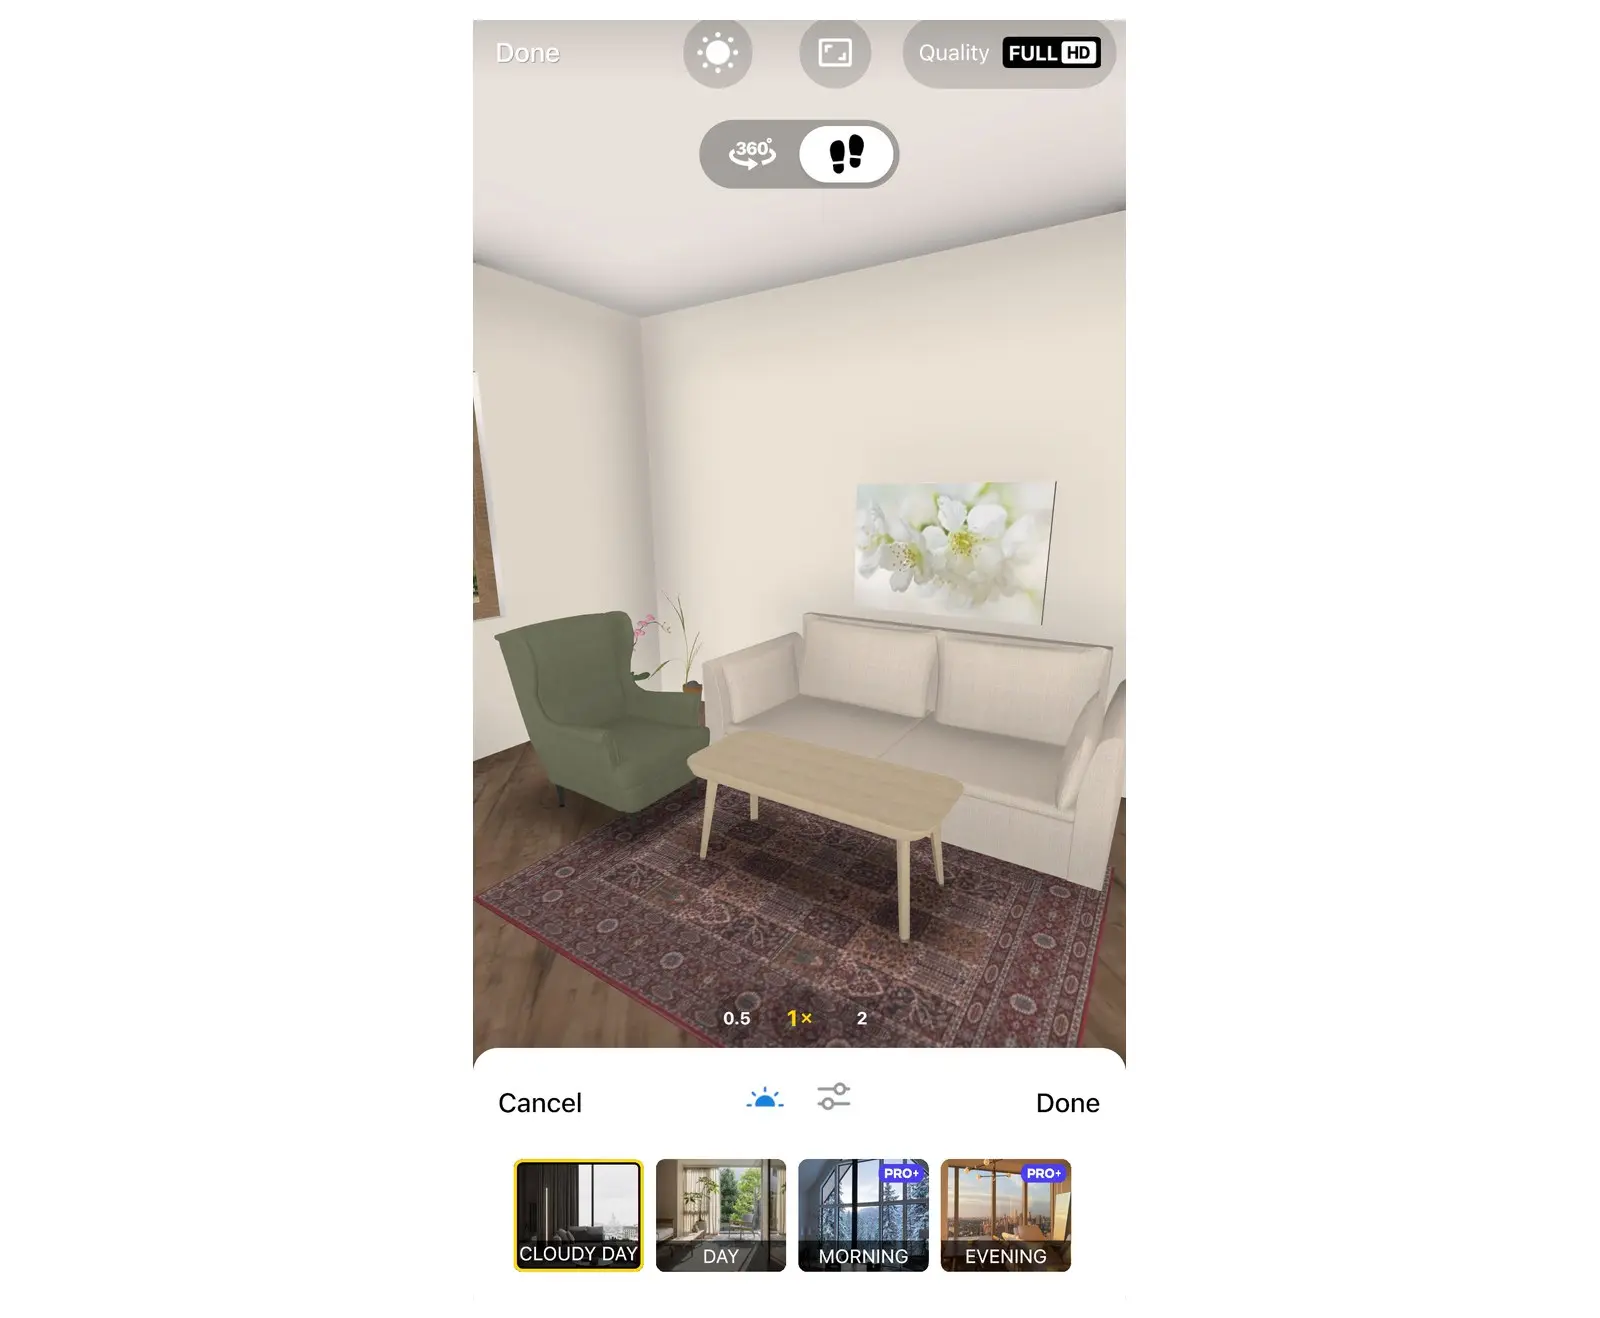
Without PRO+ you can preview Morning, Evening and the Day settings. When you close Lighting, the upgrade window opens; without an upgrade, the light goes back to what it was.
3. Choose the quality and take the photo
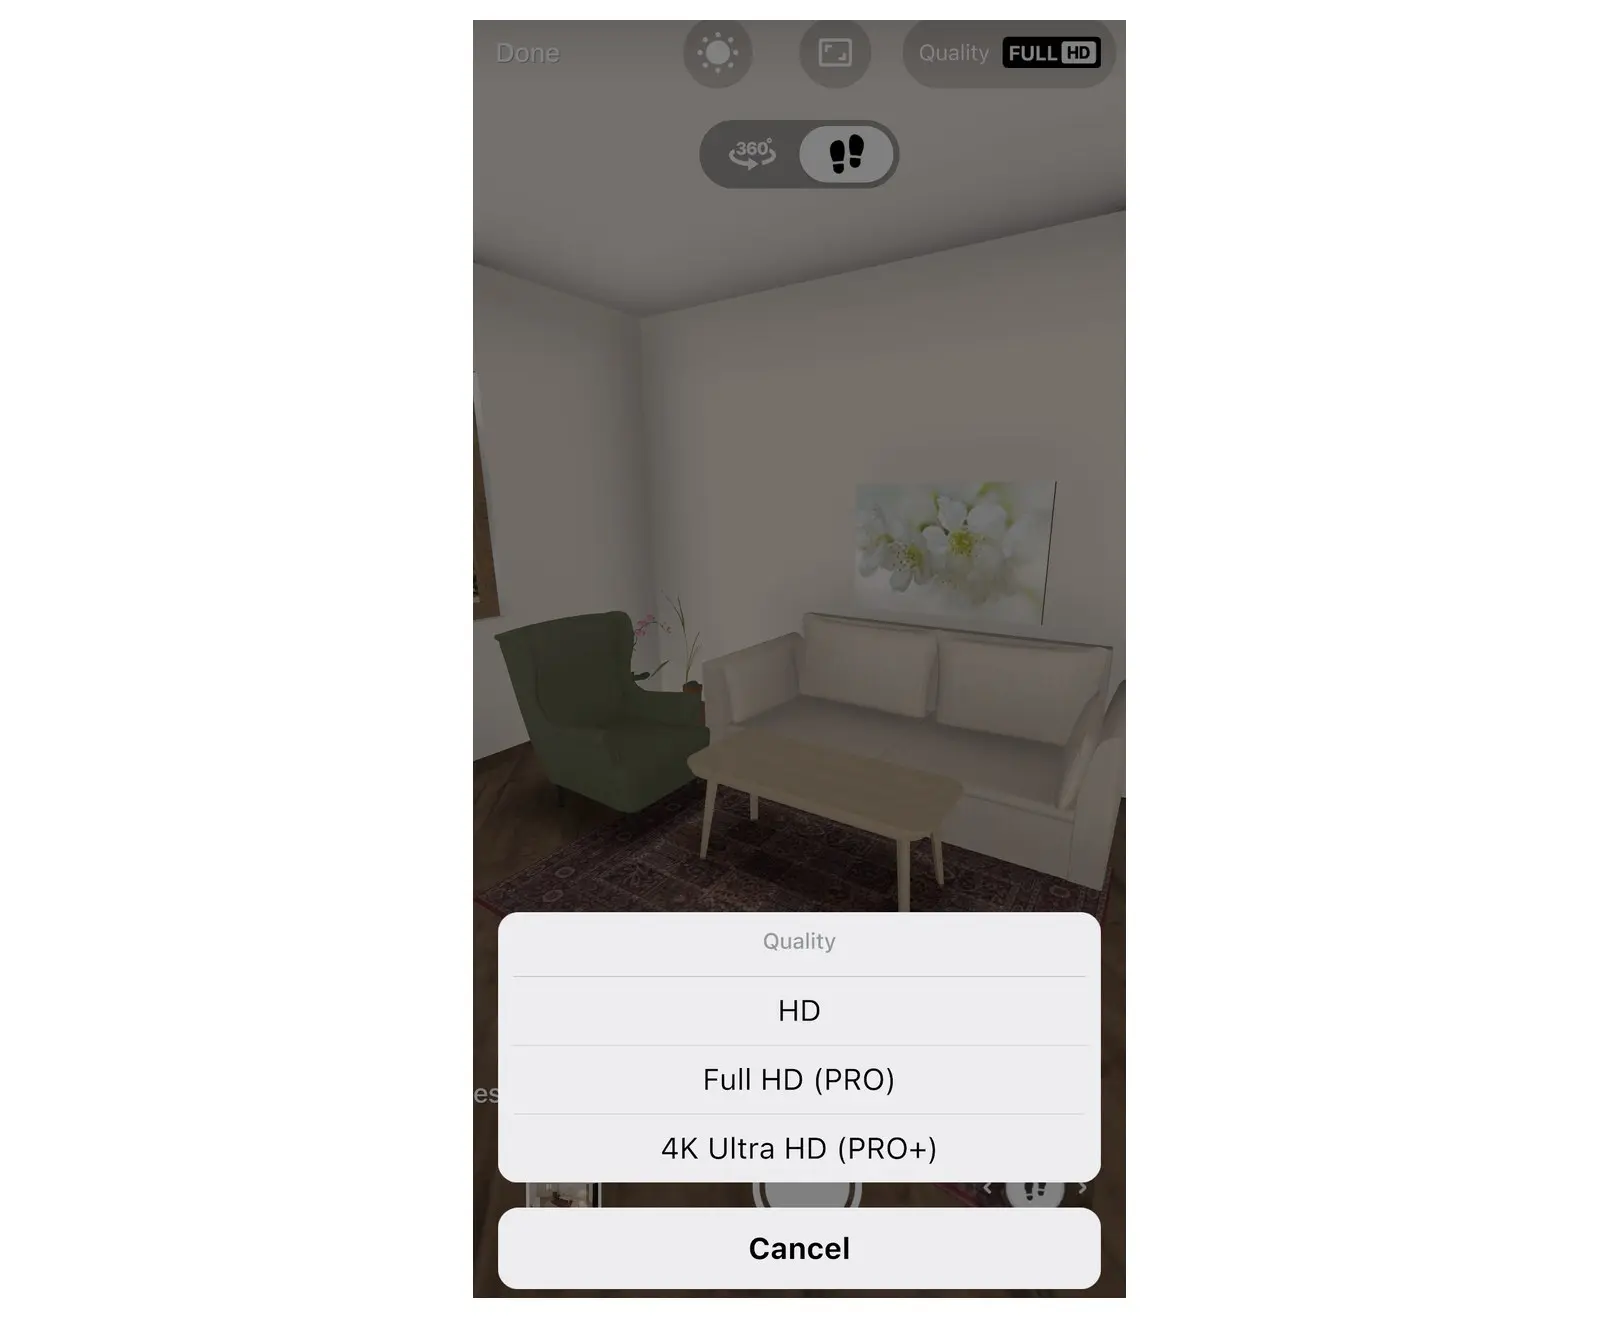
- Select Quality and choose HD, Full HD (PRO) or 4K Ultra HD (PRO+). In the free version this button reads Enhance Quality and opens the upgrade window.
- Select the main button: Take a Realistic Photo in HD, or for example Take Full HD Photo. Without a subscription, the button also shows how many free photos you have left. If the room has too few windows and lamps, Home Planner warns that the photo will be dark: select Add Lights or Continue Anyway.
- If Home Planner asks "Would you like to get notified when your photo is ready?", select Ok, sure or No, thanks. Ok, sure opens the notification permission window of your device.
- Wait for the notice with the wait time: a few minutes in HD, about 15 minutes in Full HD, up to an hour in 4K Ultra HD. A slow connection adds time.
- Leave the app if you like; open My Photos or select the notice when the photo is ready. Render mode closes after the photo starts: select the camera button again for the next angle. If a render fails, take the photo again; a free photo it used comes back.
Share or download the result
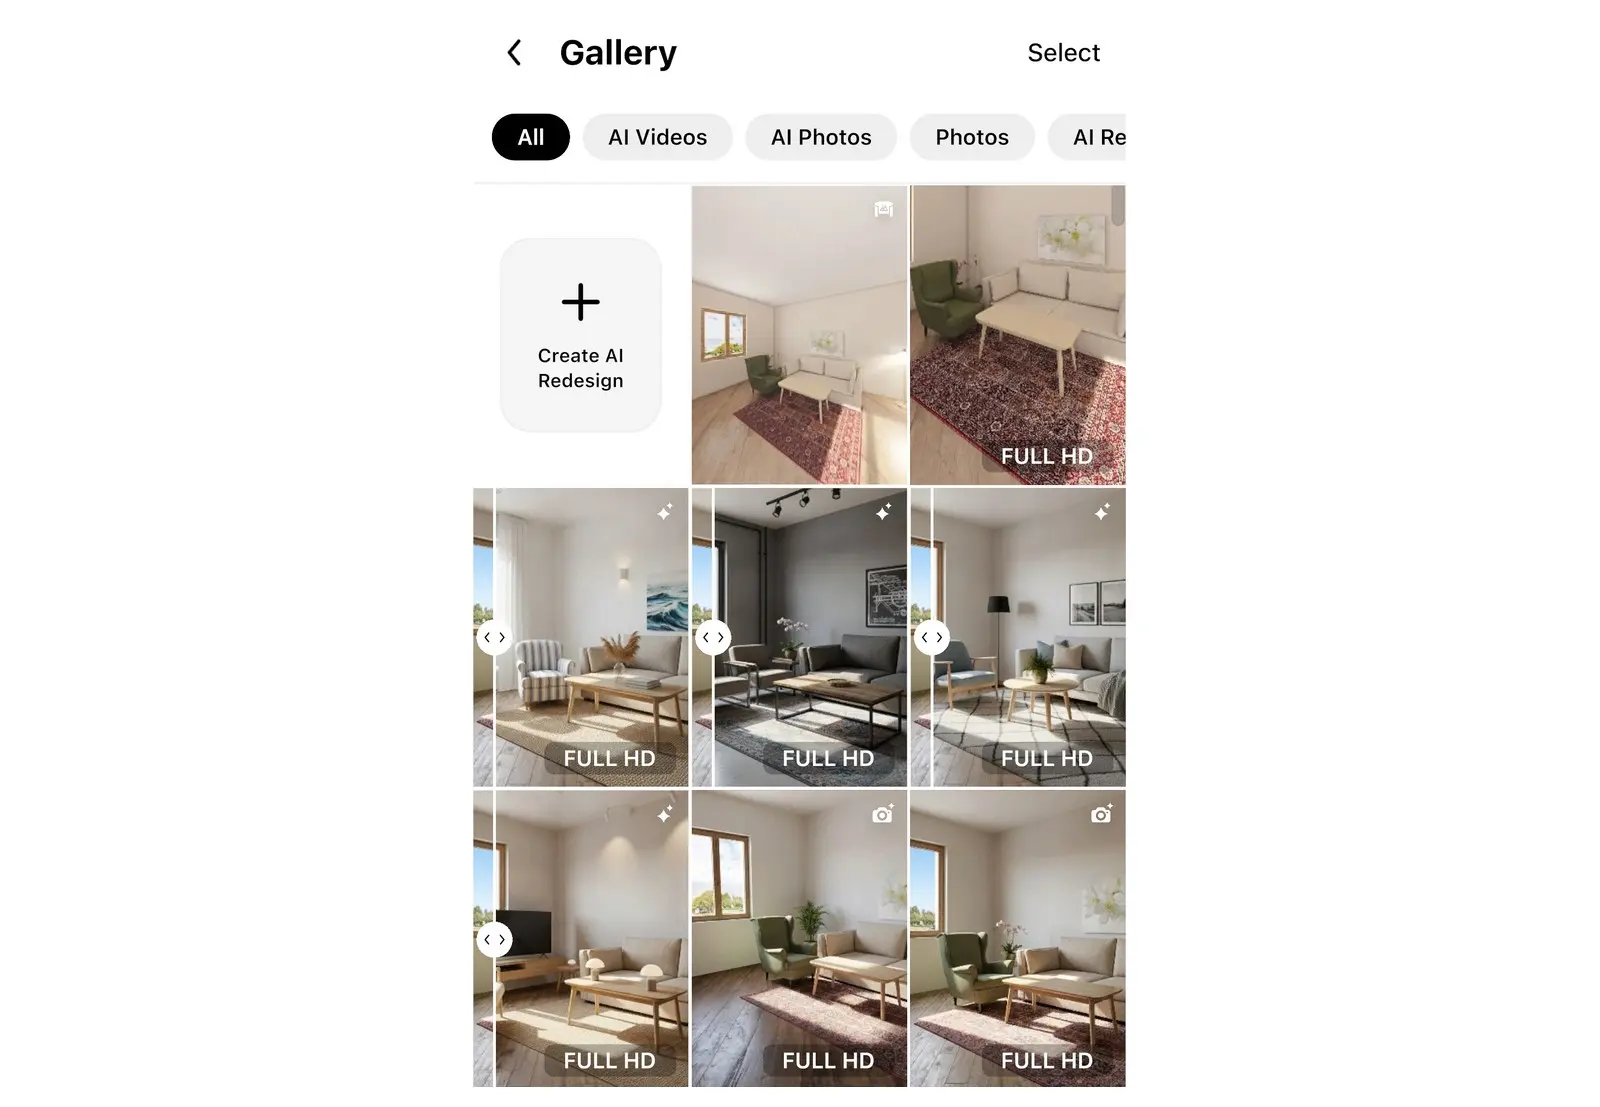
Every render is saved in My Photos in Home Planner.
- Open My Photos: on a phone it is a tab at the bottom of the screen, on a tablet or computer it is in the side menu. The screen is titled Gallery. Select the render.
- Open the photo, then use the download button to save the image to your device, or select the share button at the top.
- In the Share window, select Share Link to get a web link. For a photo, the window can also offer Share Image to send the picture to another app.
To share the whole project, see how to share a 3D floor plan with clients.
Tips for a better 3D render
Most of the quality of a Home Planner render comes from the room itself and from the light.
- Add lamps: ceiling lights, floor lamps and table lamps light the room in the render. They matter most in Evening mode.
- Keep windows in the frame or near it: daylight comes through windows and glass doors.
- Use Cloudy Day for soft, even light without hard shadows; use Day or Evening for sunlight and mood.
- If the colours look too warm or too cold, open Lighting and change Color Temperature. Evening light is warm by design; Cloudy Day is neutral.
- Check the angle before you take the photo: the render shows exactly the view on your screen.
3D render or AI Photo?
Use a 3D render when the picture must match your exact room: it calculates light and shadows from your furniture and materials. Use AI Photo for the look of real interior photography; it also has a Night light mode. Choose it in the same row of modes in render mode.
With PRO+ or PRO++, Home Planner can also make a 360° panorama of the room: a viewer opens it in a web browser and looks around.
Try it on your own project
Free app for iPhone, iPad, Mac, Android and Windows.