How to Draw Angled Walls on a Floor Plan: Thickness and Slopes

How to draw angled walls on a floor plan in Home Planner, build a curved wall from short walls, change wall thickness and add a sloped attic ceiling.
Few homes are all right angles: a bay window, a cut corner, a wall at 30°. In Home Planner every wall is a straight line between two corners, so any angle is just a corner you move. To draw angled walls on a floor plan in Home Planner, open the 2D plan, select Edit Walls, then Draw Wall, and drag in any direction. To add an angle to an existing wall, split it and drag the new corner.
This guide also covers a curved wall, wall thickness and a sloped attic ceiling. The wall steps work on iPhone, iPad, Android, Mac and Windows.
Drawing and editing walls in Home Planner is free. Typing the length or thickness of an existing wall or room needs PRO; the thickness for new walls is free.
How it works
Three steps take a room from square to any shape.
- Open the walls: on the 2D plan of your project, select Edit Walls.
- Shape the walls: draw a new wall at any angle with Draw Wall, or add a corner to a wall and drag it.
- Set the sizes: type the wall length and thickness in Wall Size (PRO), or drag the walls on the grid.
Before you start
You need a project with a room and the 2D plan open. Button names are the English ones.
| You need | Why |
|---|---|
| Home Planner on iPhone, iPad, Android, Mac or Windows | The wall tools are the same on every device. Only the place of some buttons changes, and a few helpers differ by device. |
| A project with a room | You edit the walls of a room. To start a room, create a new project. |
| The 2D plan | Walls are drawn and edited on the 2D plan. In 3D, select Open 2D plan at the bottom left. |
| PRO (optional) | For smooth wall movement and for exact typed lengths and thickness. Without PRO, dragged walls and corners move in grid steps. |
Step 1: Open Edit Walls on the 2D plan
In Home Planner, all wall changes start in Edit Walls on the 2D plan. Use one of two ways to open it:
- Select Edit Walls at the bottom of the screen. On a tablet, a Mac or a Windows computer, and on a phone held sideways, it is at the bottom right. On a phone held upright, it is at the bottom center.
- Or select the room on the 2D plan, then select one of its walls. Home Planner opens Edit Walls for you.
Can't find Edit Walls? It is not shown on a wall view or on the ceiling plan. Select Open 3D plan, then Open 2D plan, to come back to the floor plan.
When you finish, select Done at the top left.
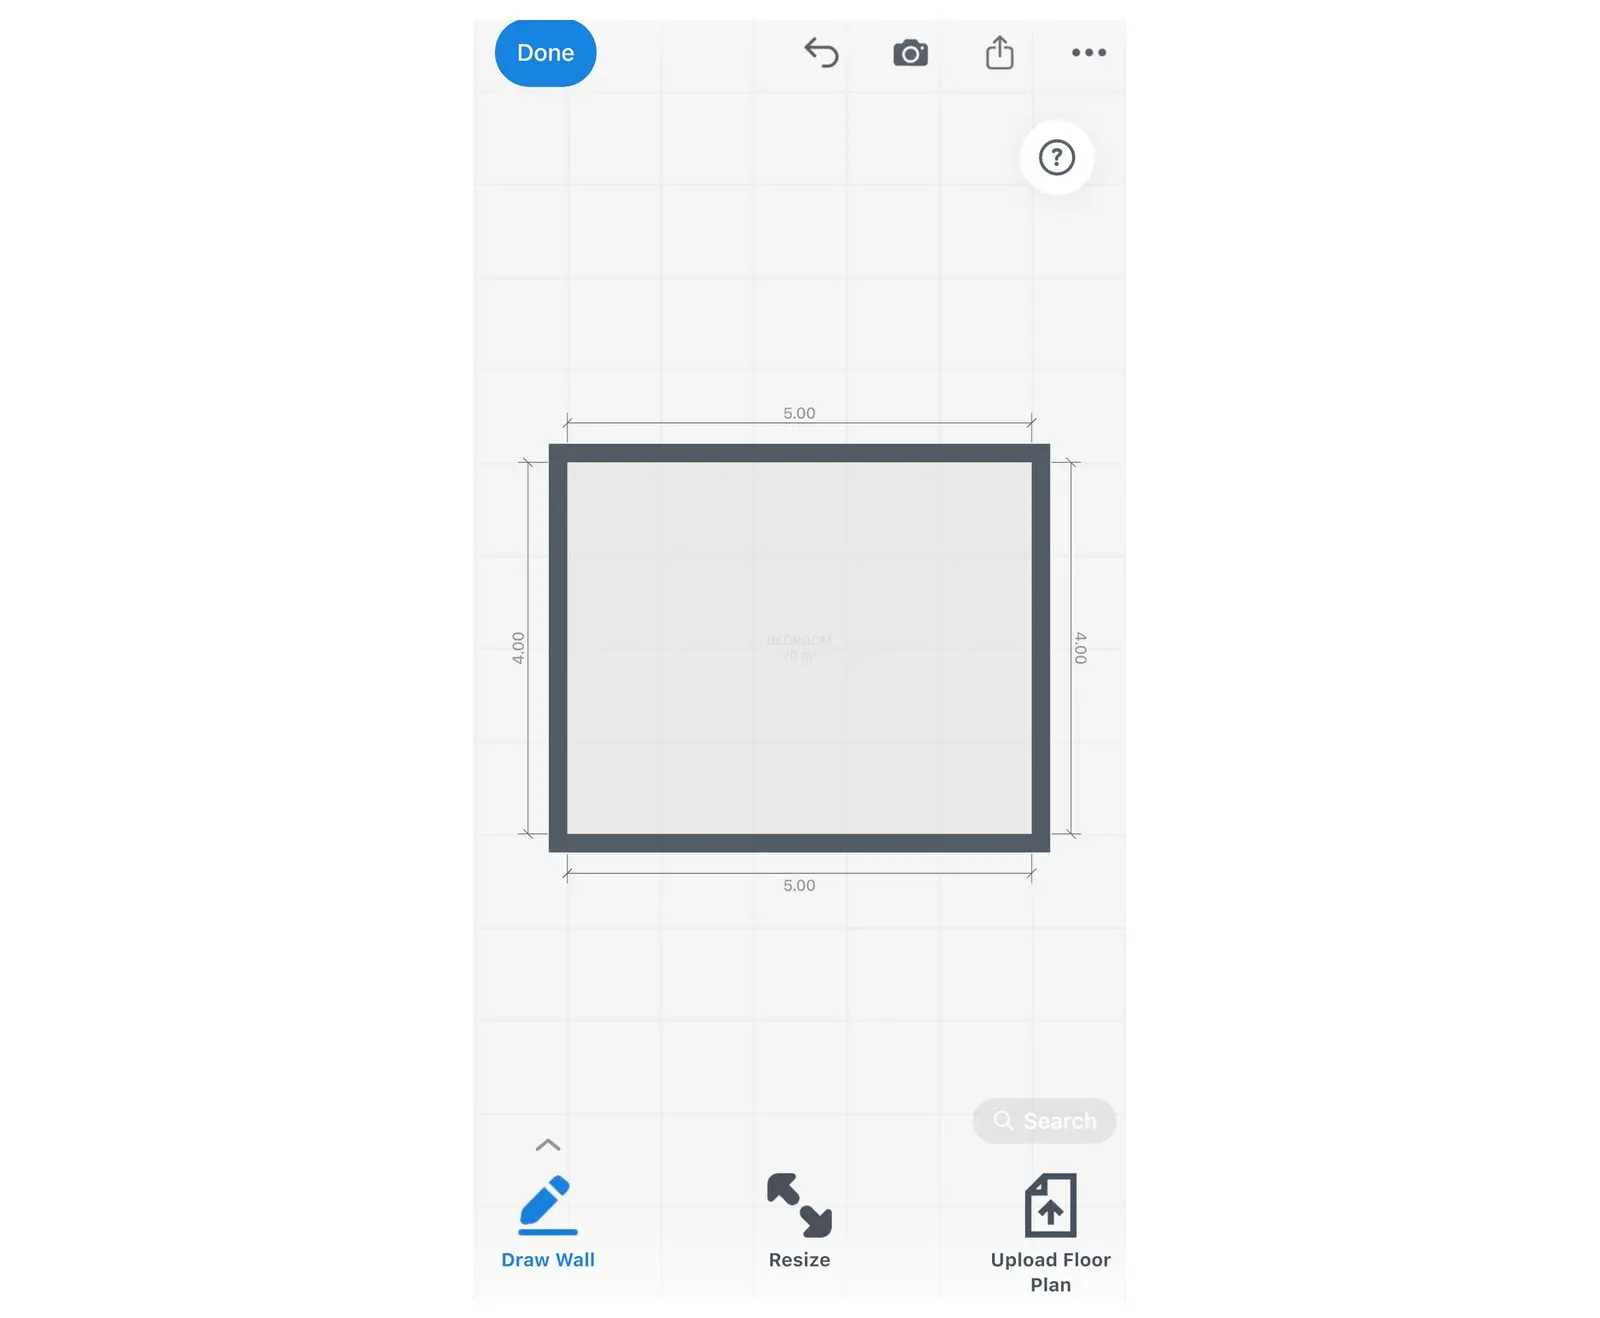
How to draw angled walls on a floor plan
There are two ways: draw a new wall at any angle, or add a corner to a wall and drag it.
Draw a new wall at an angle
- In Edit Walls, select Draw Wall at the bottom left. The button turns blue and stays selected.
- Drag on the plan from the start point of the wall to its end point, in any direction.
- Release. Home Planner places the wall. When the end is near another wall, it connects to it. A wall that is almost horizontal or vertical can jump to a straight line: to keep a small angle, drag further from that line.
- To stop drawing, select Draw Wall again or select Done.
On your first run without PRO, Home Planner may show a PRO offer when you start or stop drawing. Close it and keep drawing: drawing stays free.
While Draw Wall is on, use two fingers to move or zoom the plan. On a computer with a mouse, use the mouse wheel to zoom and the middle (wheel) button to pan.
On a phone or a tablet, the arrow button at the bottom left opens a menu with Show Magnifier and Wall Thickness. The magnifier shows the area under your finger while you draw.
Add an angle to an existing wall
- In Edit Walls, select the wall.
- In the toolbar above the wall, select the plus (+) icon.
- Select Split wall. Home Planner adds a corner at the point where you selected the wall.
- Drag the new corner. The wall becomes two walls with an angle between them, and the plan shows their lengths.
Change the angle of a corner
Drag any corner of the room to a new place. The two walls at this corner change their angle and length together.
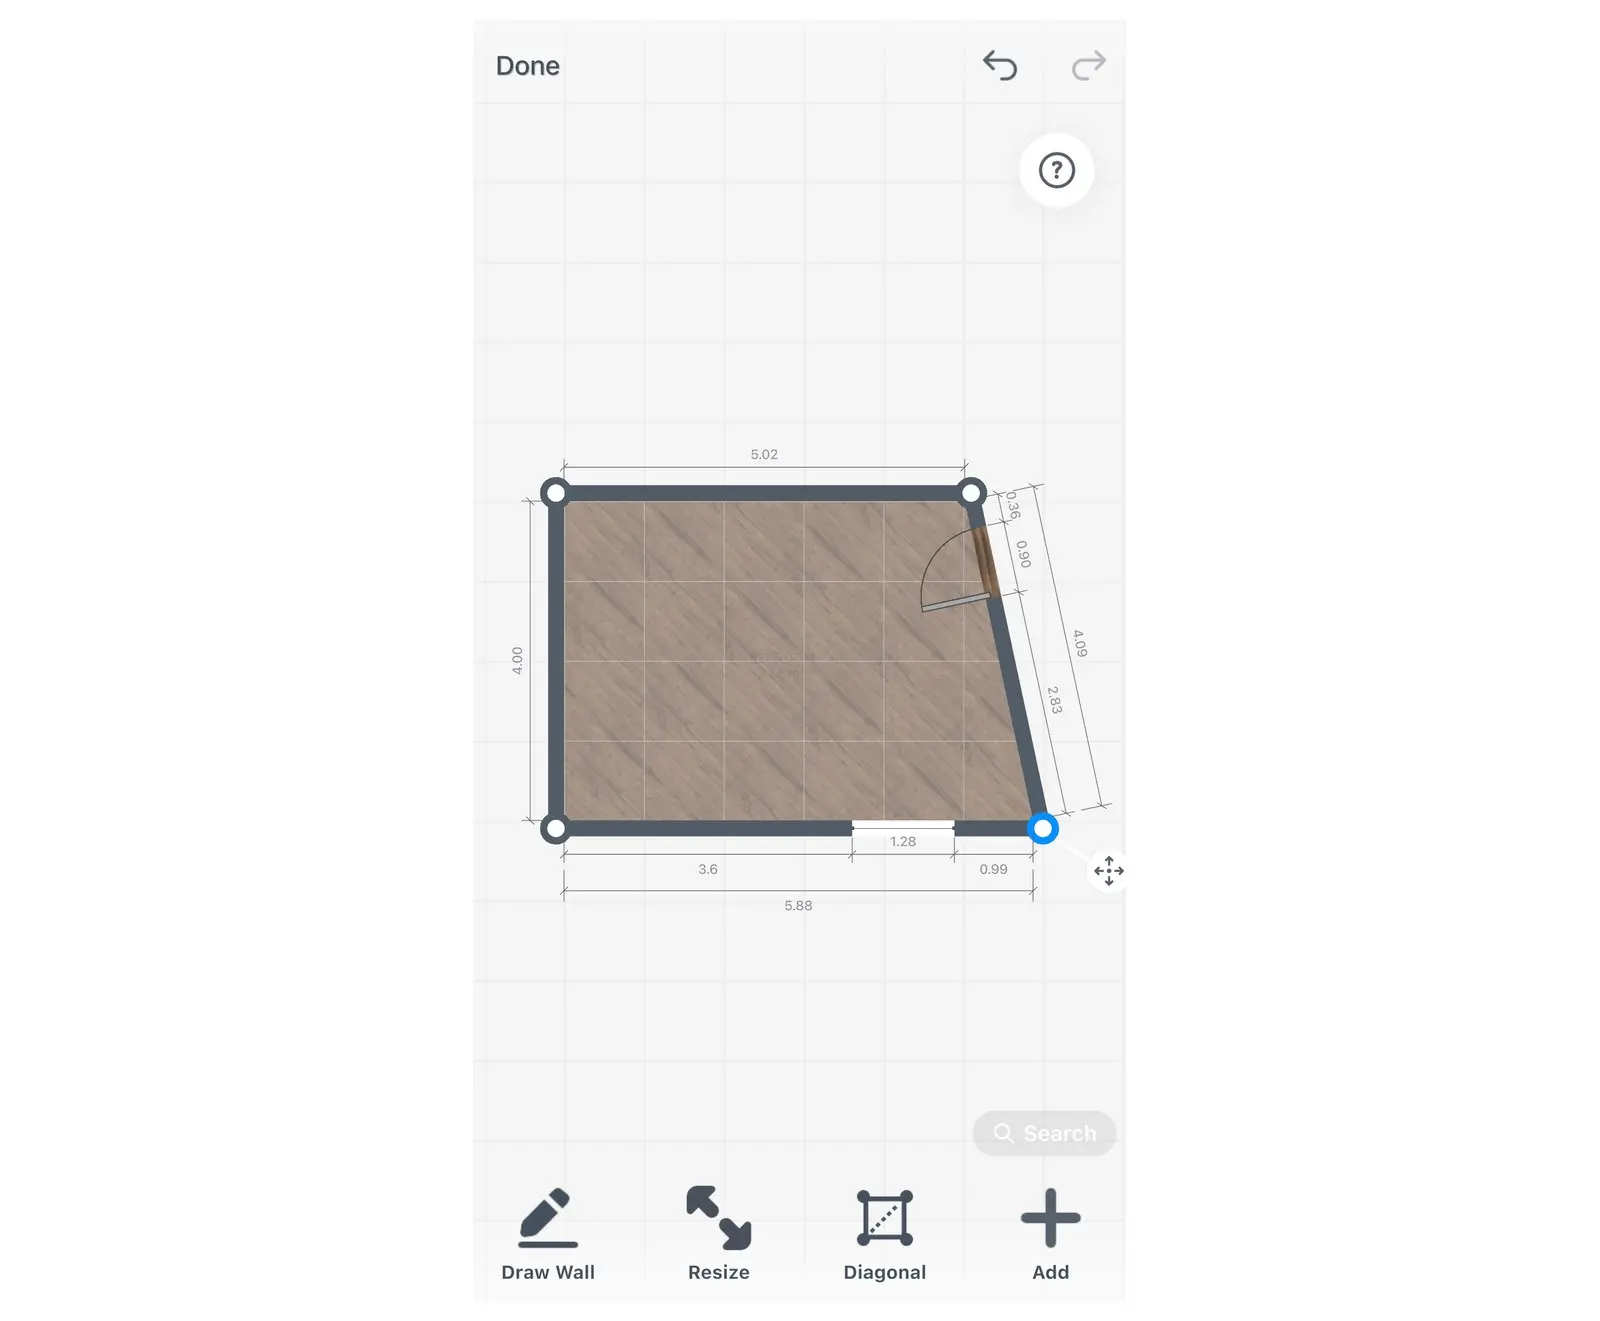
- Bay window: split a wall twice and drag both new corners out by the same distance.
- Cut corner: split each of the two walls a short way from the corner. Then drag the old corner toward the room until it sits on the straight line between the two new corners.
Home Planner shows wall lengths, not angles in degrees. To fix an angle exactly, set the wall lengths, then use the Diagonal button.
Set exact angles with diagonals
The Diagonal button in Edit Walls sets the exact angles of a room from its wall lengths and one measured diagonal.
- Set the exact length of every wall of the room. With PRO, type each length in Wall Size. Without PRO, drag the walls until the lengths on the plan are as close to your measurements as the grid allows. Diagonal itself is free.
- Measure a diagonal in the real room: the distance from one corner to the opposite corner.
- In Edit Walls, select Diagonal. The corners of the room get numbers.
- Select the first corner, then the opposite corner.
- Type the measured length. Home Planner moves the corners, keeps the wall lengths, and shows "Room shape updated".
You can also select a corner, then Diagonal from here. On a phone held upright, the Diagonal button can be hidden on the 2D plan: use Diagonal from here instead.
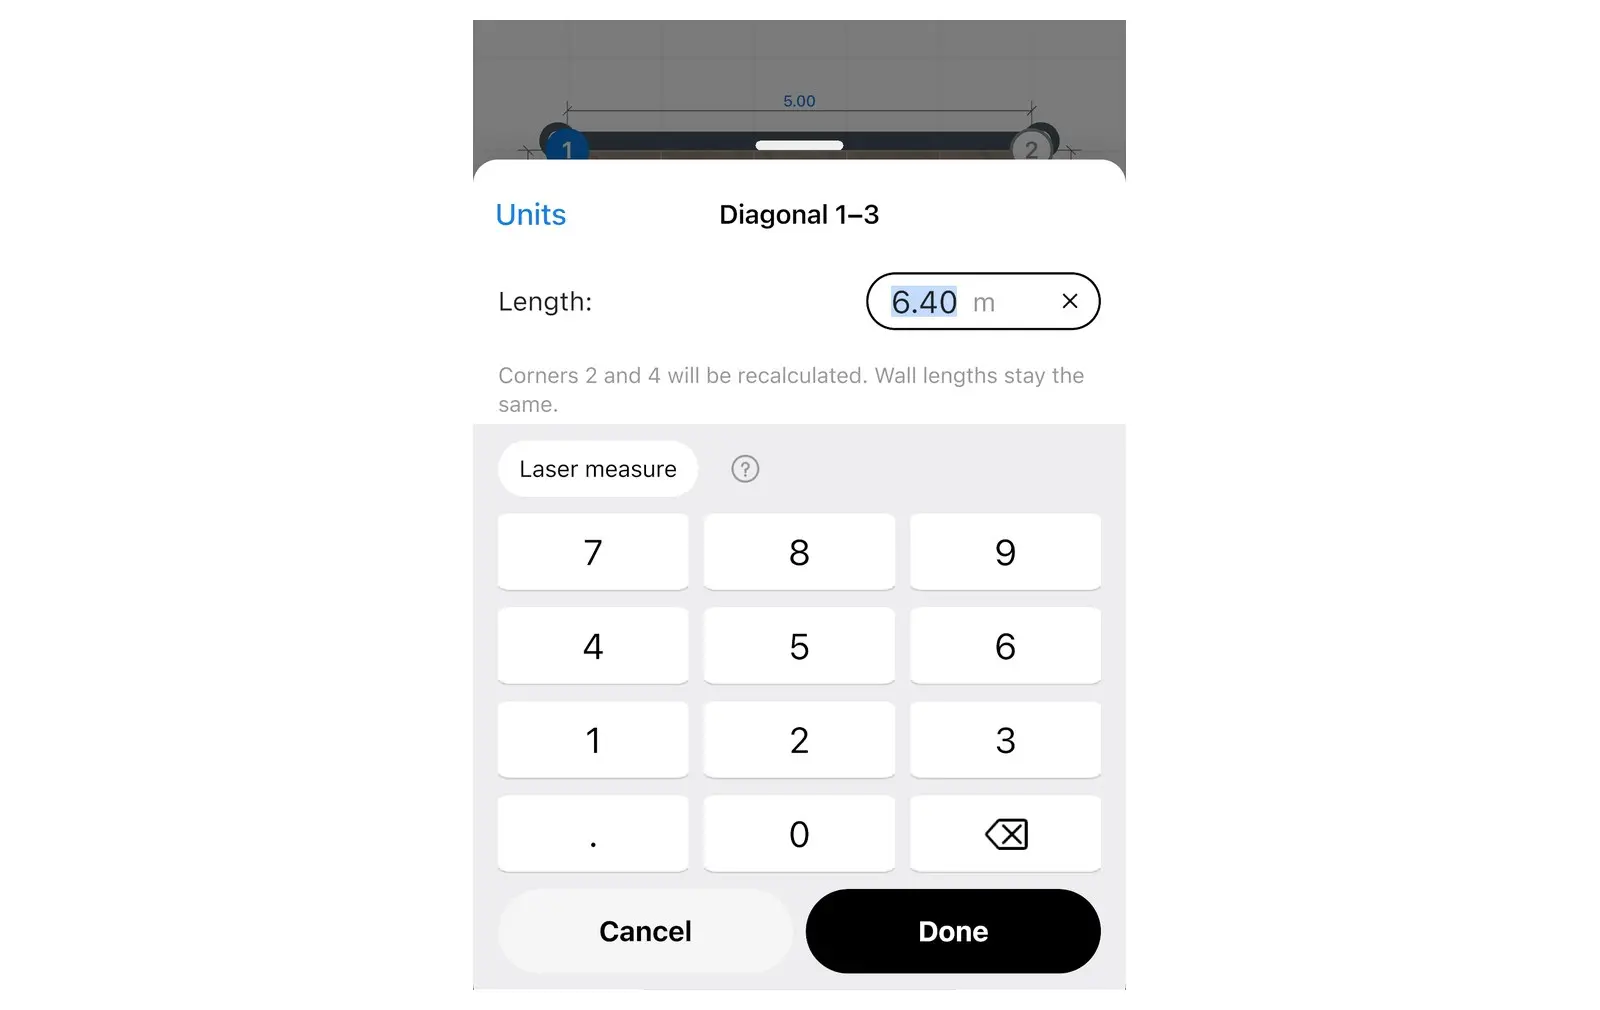
How to draw a curved wall on a floor plan
Home Planner draws straight walls only; it has no curved wall tool. To show a curved wall on a floor plan, build the curve from several short straight walls.
- In Edit Walls, select the wall that must be curved.
- Select the wall at a point, then the plus (+) button, then Split wall. Repeat at evenly spaced points until the wall is five to seven short walls.
- Drag each new corner out a little, so that the corners form an arc. Move the middle corners the most. Without PRO, corners move in grid steps, so the arc is coarser.
- Look at the result in 3D with Open 3D plan. More short walls give a smoother curve.
Set the exact wall length
Select the wall, open Wall Size and type the length.
- Select the wall.
- In the toolbar above the wall, select the size button (the ruler icon), next to the plus (+) icon.
- In Wall Size, select Wall length and type the length. Select Wall height to change the height of the wall.
Without PRO, Wall length and Wall Thickness show a PRO label, and selecting them opens the PRO offer. Wall height stays free.
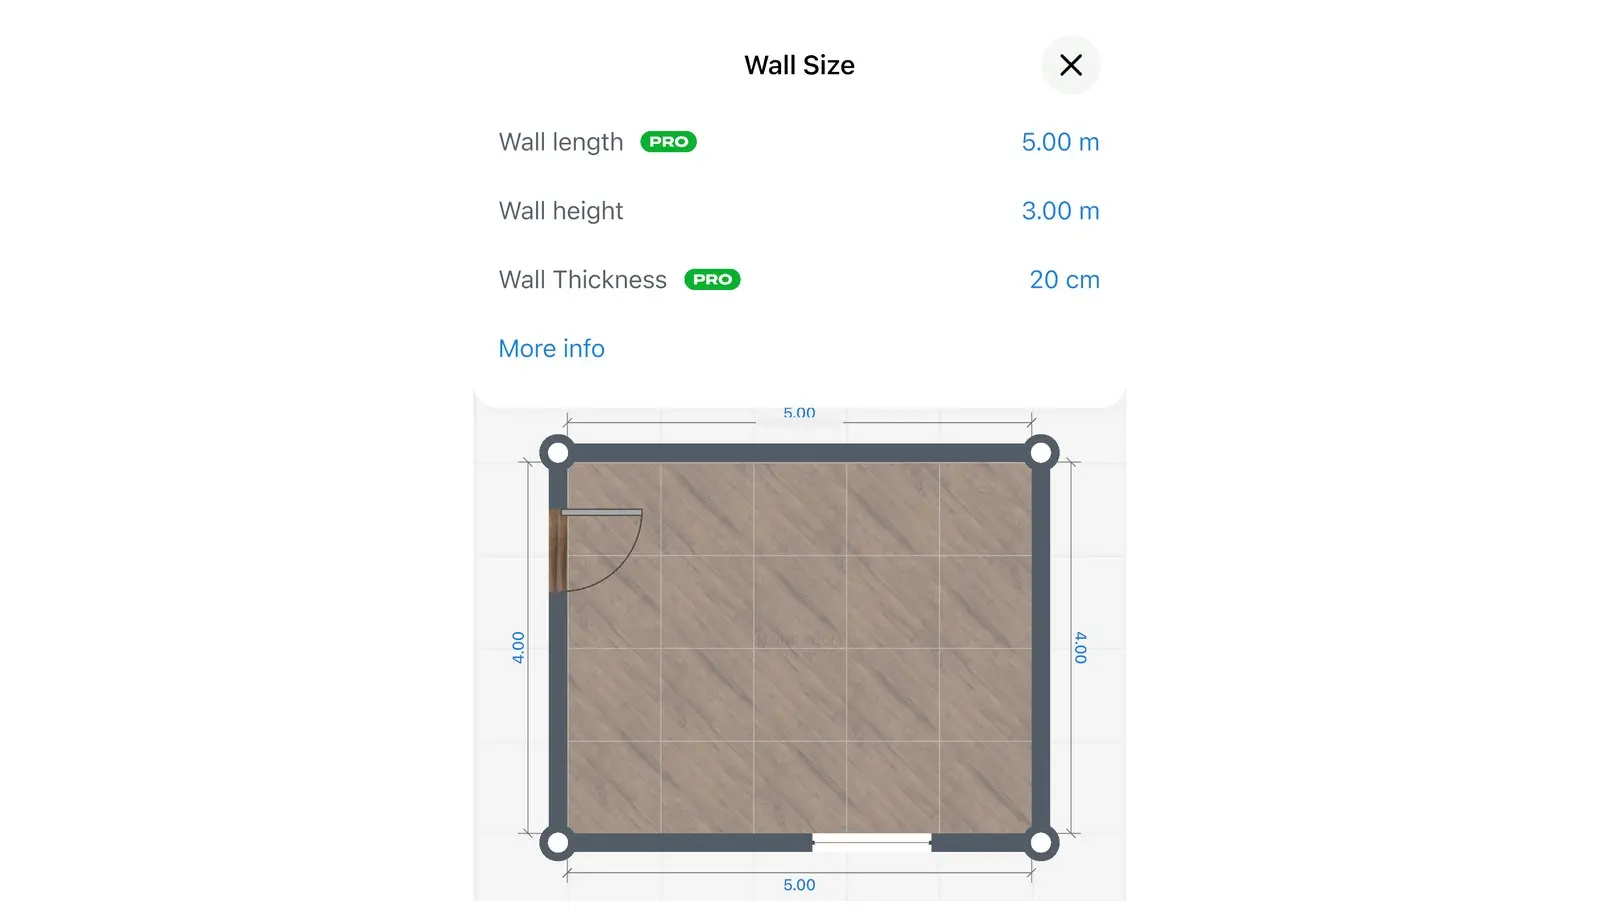
Change wall thickness on a floor plan
Use Wall Size for one wall, Room Size for a whole room, or Wall Thickness for new walls. The maximum is 1 meter (about 3 ft 3 in).
| What to change | Where in Home Planner |
|---|---|
| One wall | Select the wall, then the size button (the ruler icon), then Wall Thickness in Wall Size. Needs PRO. |
| All walls of a room | In Edit Walls with Draw Wall off, or in 3D, select the room, then the size button (the ruler icon), then Walls Thickness in Room Size. Needs PRO. |
| New walls you draw | Select Draw Wall first: Wall Thickness appears only while Draw Wall is on. On a Mac or Windows computer, it is next to Draw Wall. On a phone or a tablet, select the arrow button at the bottom left, then Wall Thickness. Typing a value is free. |
A wall thicker than 1 meter is not possible. For a thick block, such as a chimney or a column, Home Planner offers Go to Primitives: a cube from this category gives you a solid block that you can resize.
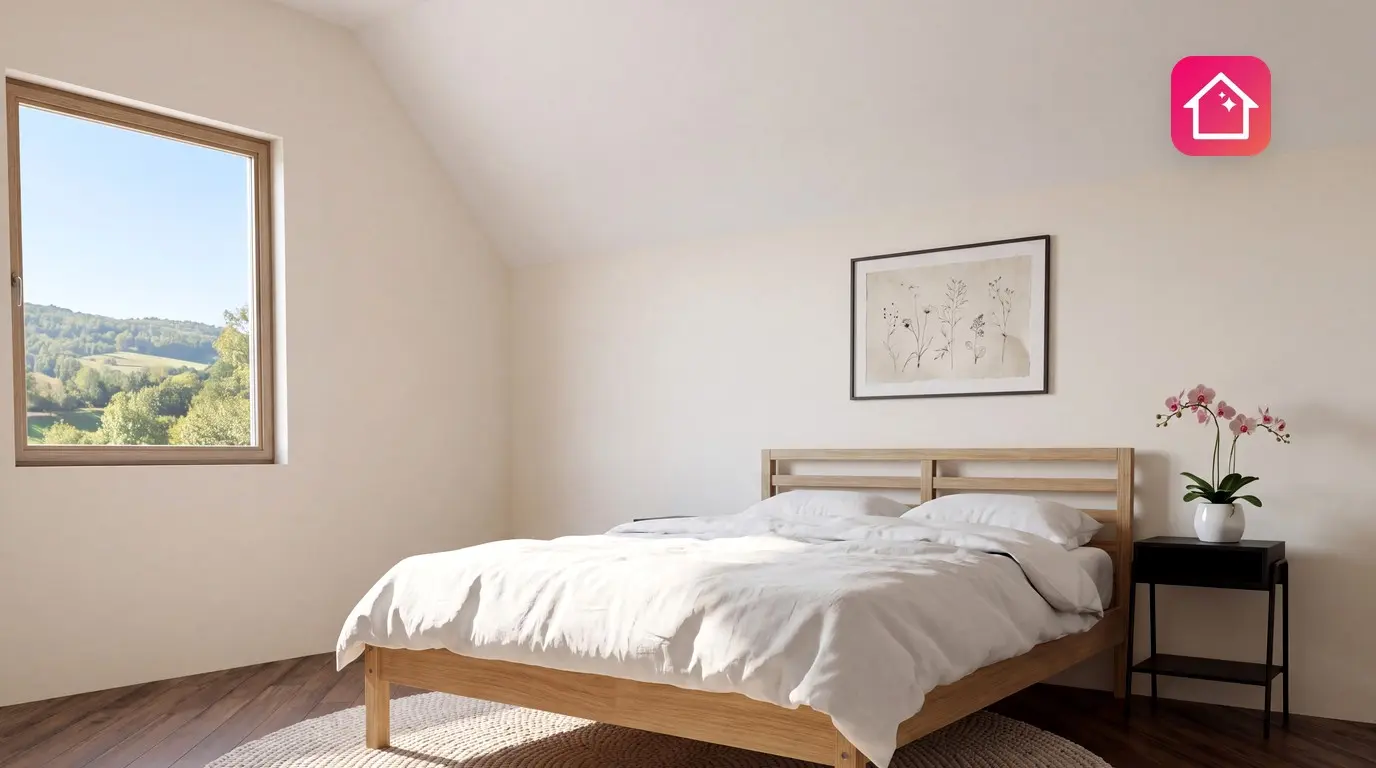
Add a sloped ceiling for an attic room
Home Planner makes a sloped ceiling with an attic piece that you place along a wall in 3D. Use it for an attic room or a room under the roof.
- Open the room in 3D with Open 3D plan.
- Select the wall under the slope. Circular plus (+) buttons appear at the top of the walls.
- Select the plus (+) button on the wall under the slope.
- Select Add Attic. Home Planner adds a sloped ceiling along the full length of this wall.
- Drag the two round arrow buttons (left-right and up-down) to resize the sloped ceiling.
The same menu has Add Molding, which adds a molding along the top of the wall. The plus (+) buttons are not shown on the 2D plan.
To change the height of the flat part of the ceiling, select the room, then the size button (the ruler icon), then Ceiling Height.
Trademark notice. Home Planner is not affiliated with, endorsed or sponsored by Apple Inc., Google LLC or Microsoft Corporation; their names and marks belong to their owners. iPhone, iPad and Mac are trademarks of Apple Inc., registered in the U.S. and other countries. Android is a trademark of Google LLC. Other trademarks are the property of their respective owners.
Try it on your own project
Free app for iPhone, iPad, Mac, Android and Windows.