How to Make a 2-Story Floor Plan with Stairs

Make a 2-story floor plan in Home Planner: add a second floor, place stairs, cut a stair opening and walk up between floors in 3D.
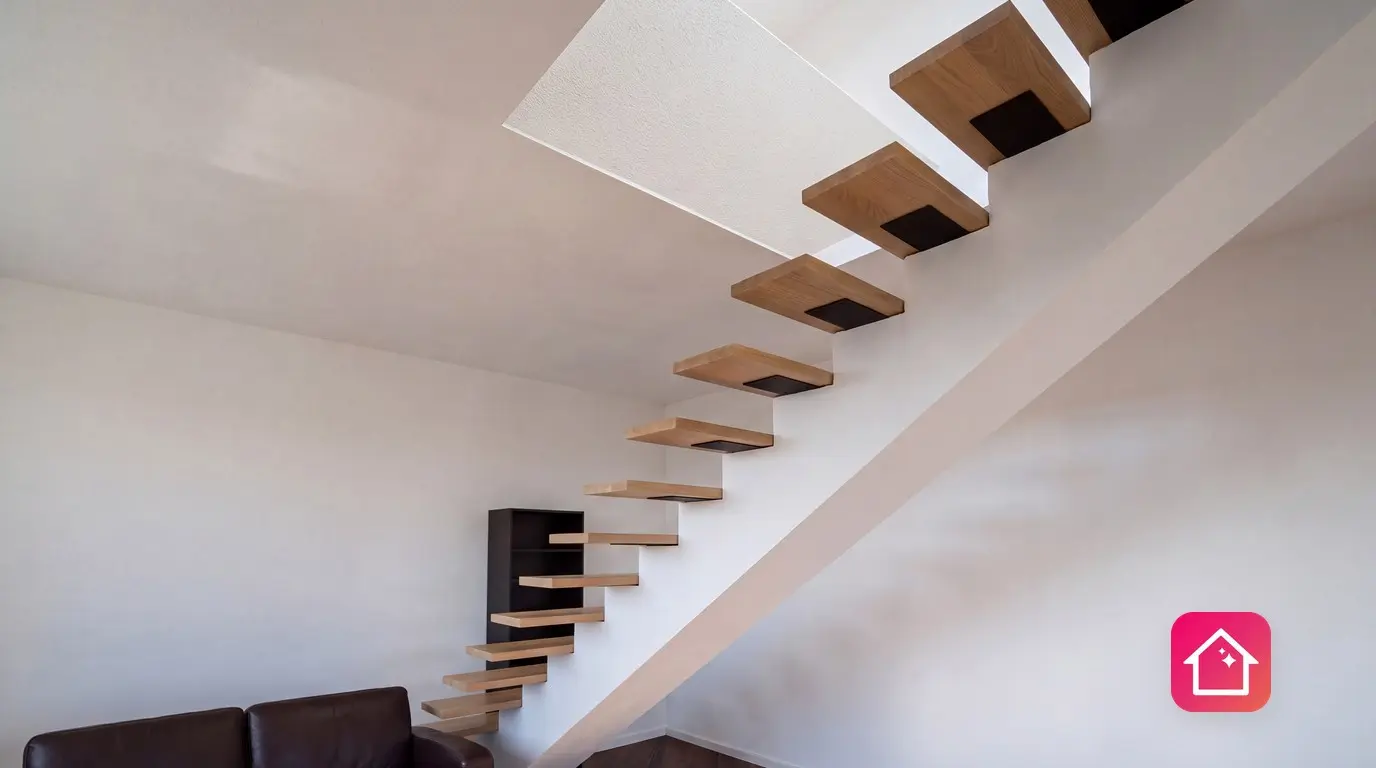
Your lower floor is drawn, and the bedrooms go upstairs. One floor is easy. A house gets tricky at the stairs: they must reach the next floor, and that floor needs a hole for them.
Here is how to make a 2-story floor plan in Home Planner: add a second floor to the same project, place the stairs below, cut the opening above, and walk up in 3D.
Adding floors and a stair opening is free. Some stairs in the catalog carry a PRO mark and need Home Planner PRO. It works on iPhone, iPad, Android, Mac and Windows.
What makes a floor plan with stairs work?
In Home Planner, a 2-story floor plan is one project with two levels, joined by stairs and a stair opening.
- Add a level. Home Planner creates the new floor above the others, with the same walls and no furniture, or as a full copy.
- Place stairs on the lower floor from the Stairs section of the catalog.
- Add a stair opening in the floor of the upper level, over the stairs. Home Planner cuts the same opening in the ceiling below.
Before you start
You need a Home Planner project with at least one room on the lower floor.
| You need | Why |
|---|---|
| A project with the lower floor drawn | A new level copies the walls of the existing floor. Draw the walls by hand, or start the project from a floor plan image or PDF. |
| Room for one more floor | A project holds up to 5 floors; a roof is not counted. When it has 5 floors, + Add Level and the Add button in the Levels list are not shown. |
Can you draw a second floor plan on top of the first?
Yes. In Home Planner, you add a second floor from the Build section of the catalog. The app asks for the level name and how to fill the new floor.
- Open your project and select Add Furniture. If you see Add instead, you are editing walls: select Done at the top left.
- In the catalog, open Build and select + Add Level.
- In New Level Name, keep the suggested name (for example, Second floor in US English) or type your own.
- Select Add Level to build the new floor on top (below the roof, if the project has one). To add a basement instead, select Add Lower Level.
- In the next window, select Add Level for the same walls as the neighbouring floor, without furniture, or Copy Level to copy the current floor with all its furniture. The same window opens after Add Lower Level.
- If the copied floor is very large, Home Planner warns that the project can slow down. Select Continue to copy it anyway, or Cancel.
Home Planner opens the new floor. The upper floor does not have to repeat the floor below: change, move or delete its walls.
Add Level or Copy Level? Choose Add Level when the upper floor gets its own rooms and furniture: you start from the walls only. Choose Copy Level when the two floors are almost the same.
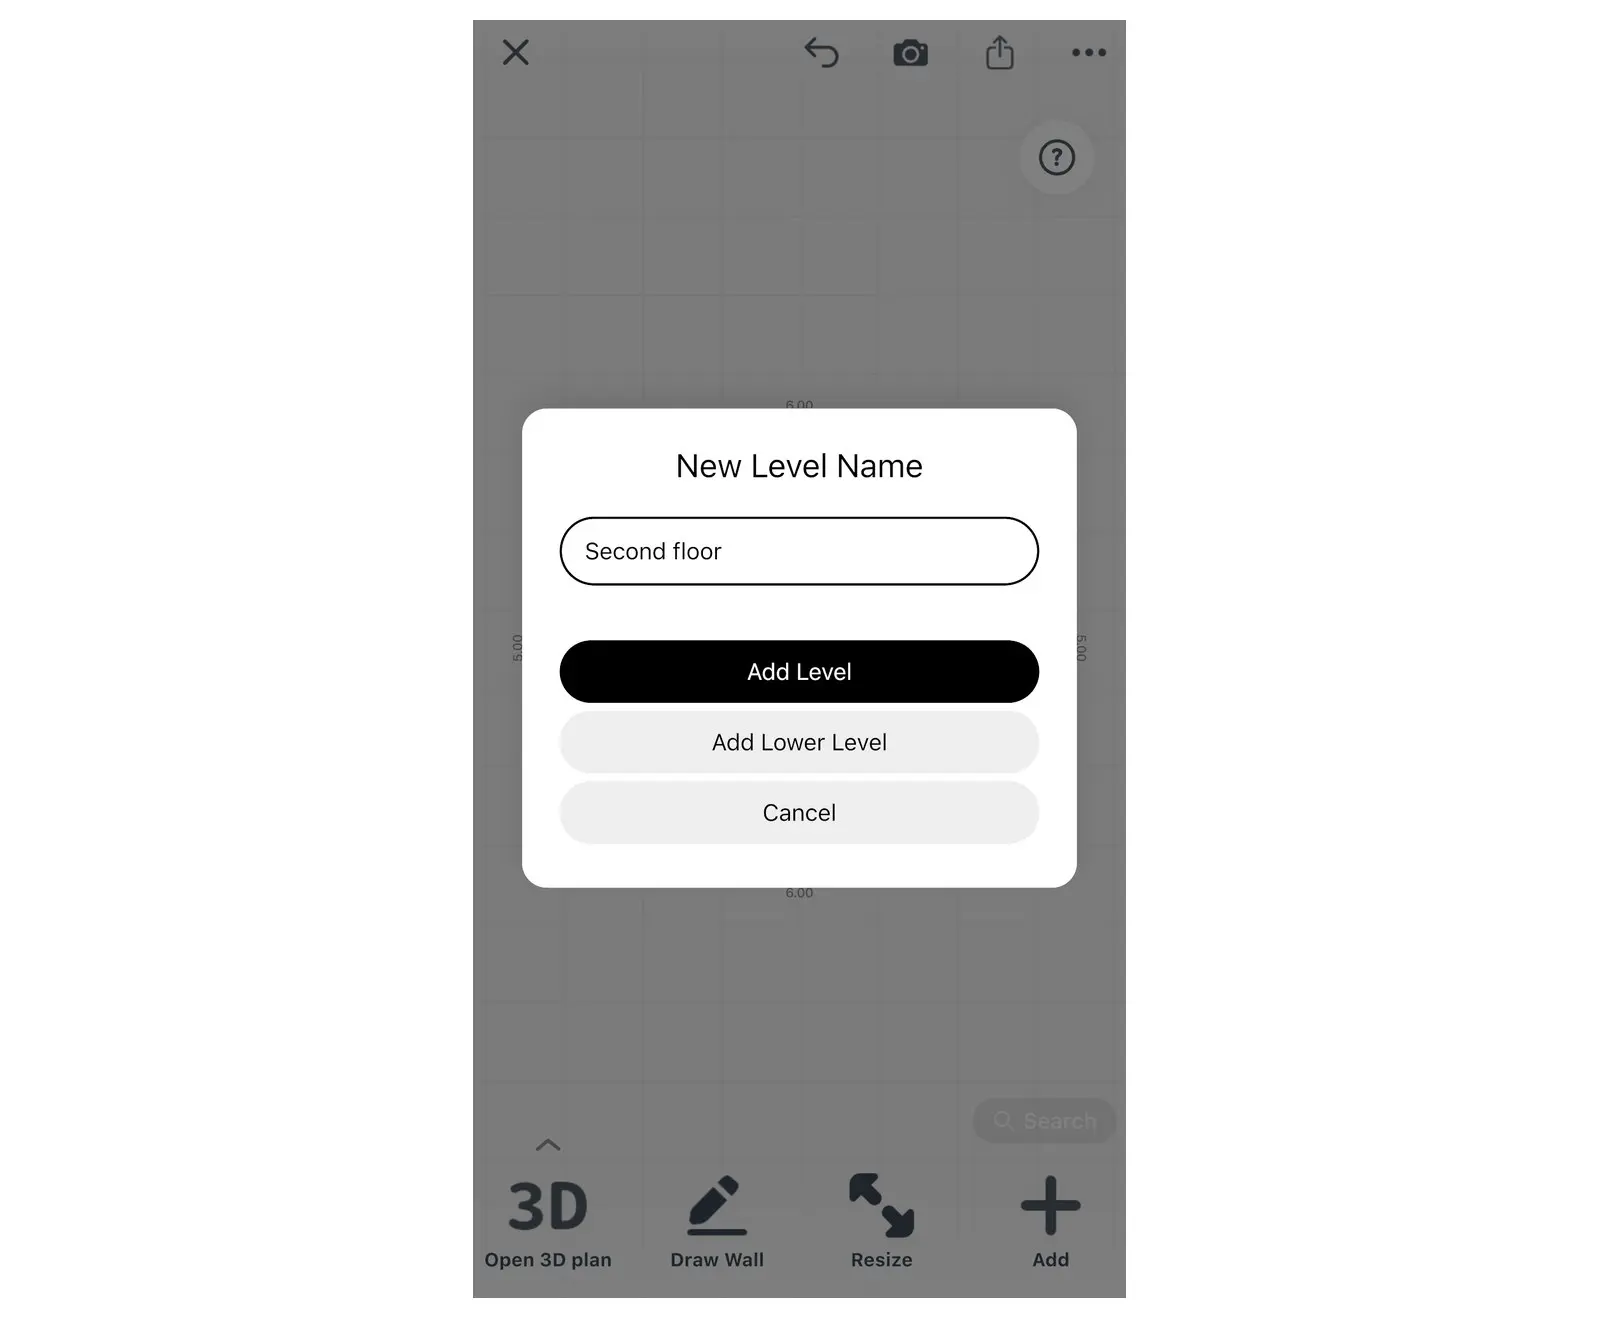
The two buttons decide where the new floor goes: on top of the house or below it.
Level names follow your language and region. In US and Canadian English the floors are First floor, Second floor and so on. In English for other regions they start from Ground floor. Levels below ground are Lower Level 1, Lower Level 2.
Starting from floor plan images? A new project can import up to 5 plans at once, one per floor: see how to convert a 2D floor plan to 3D.
Switch between floors
When a project has two or more levels, Home Planner shows the name of the current floor at the top of the screen. Select it to open the Levels list.
- Select the floor name at the top of the screen. The Levels list opens, with the top floor first.
- Select a floor to edit it. The list stays open: select Done to close it and see the floor.
- Select Add in the Levels list to add one more level.
No floor name at the top? The name is hidden while you measure, in the wall view, and while another window is open. Close the window or leave that mode, and the name comes back.
Each floor in the list has an options button with Rename, Move Up and Move Down (when a move is possible) and Delete. Delete asks you to confirm, for example Delete "Second floor"?
Deleted the wrong floor? Close the Levels list and select Undo at once.

How do you draw stairs on a floor plan?
In Home Planner, you place a ready staircase from the catalog on the lower floor, where the stairs start.
- Switch to the lower floor and open the 2D plan.
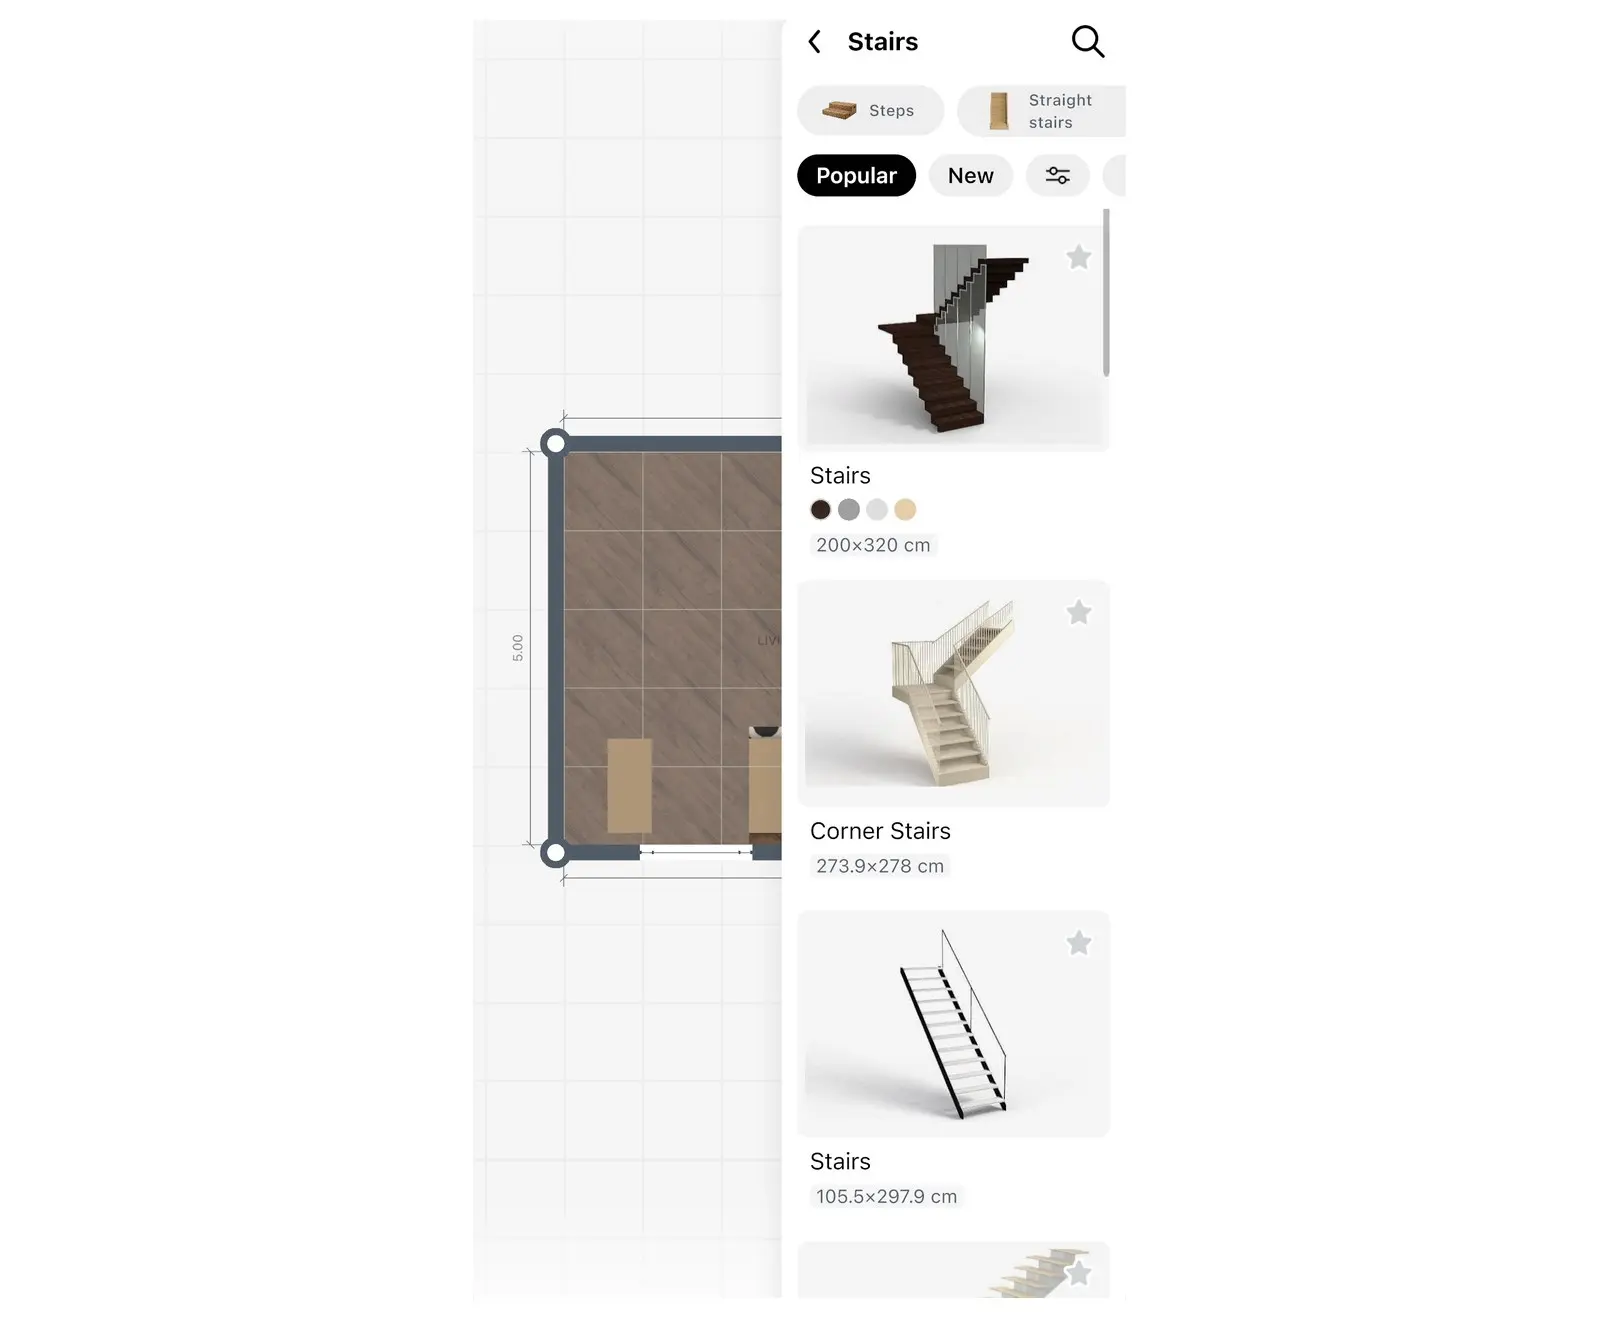
- Select the room where the stairs go. Select + in the room's toolbar, then Stairs, podiums. You can also select Add Furniture, go back to the main catalog if needed, then select Build → Stairs.
- In the Stairs section, filter by type, for example Straight stairs, L-shape stairs or Spiral stairs, and choose a staircase.
- Move the stairs into place in the room.
- Switch to 3D and check that the stairs reach the upper floor. If the top step does not meet the upper floor, select the stairs, then the size icon, and in Furniture Size change Height until it does.
Plan to walk up the stairs in 3D later? Choose Straight stairs or L-shape stairs. Walking between floors does not work on Spiral stairs or a Ladder.
What do the stairs on the second floor plan need?
They need a stair opening. A stair opening is a hole in the floor of the upper level above the stairs. Home Planner adds the matching hole to the ceiling of the floor below on its own.
- Switch to the upper floor and open the 2D plan.
- Select the room above the stairs.
- Select + in the room's toolbar, then Stair opening.
- Home Planner places the opening in the room and selects it. Drag it over the stairs. To make it large enough for the stairs to pass through, select the size icon in the small toolbar next to the opening.
You can also start from the floor below. In 3D, select the ceiling above the stairs, select +, then Stair opening. Either way, the opening is free.
More than two floors? For a third floor or a basement, repeat the stairs and the opening for each pair of neighbouring floors. The stairs go on the lower floor of the pair, the opening in the upper one.
Walk up the stairs in 3D
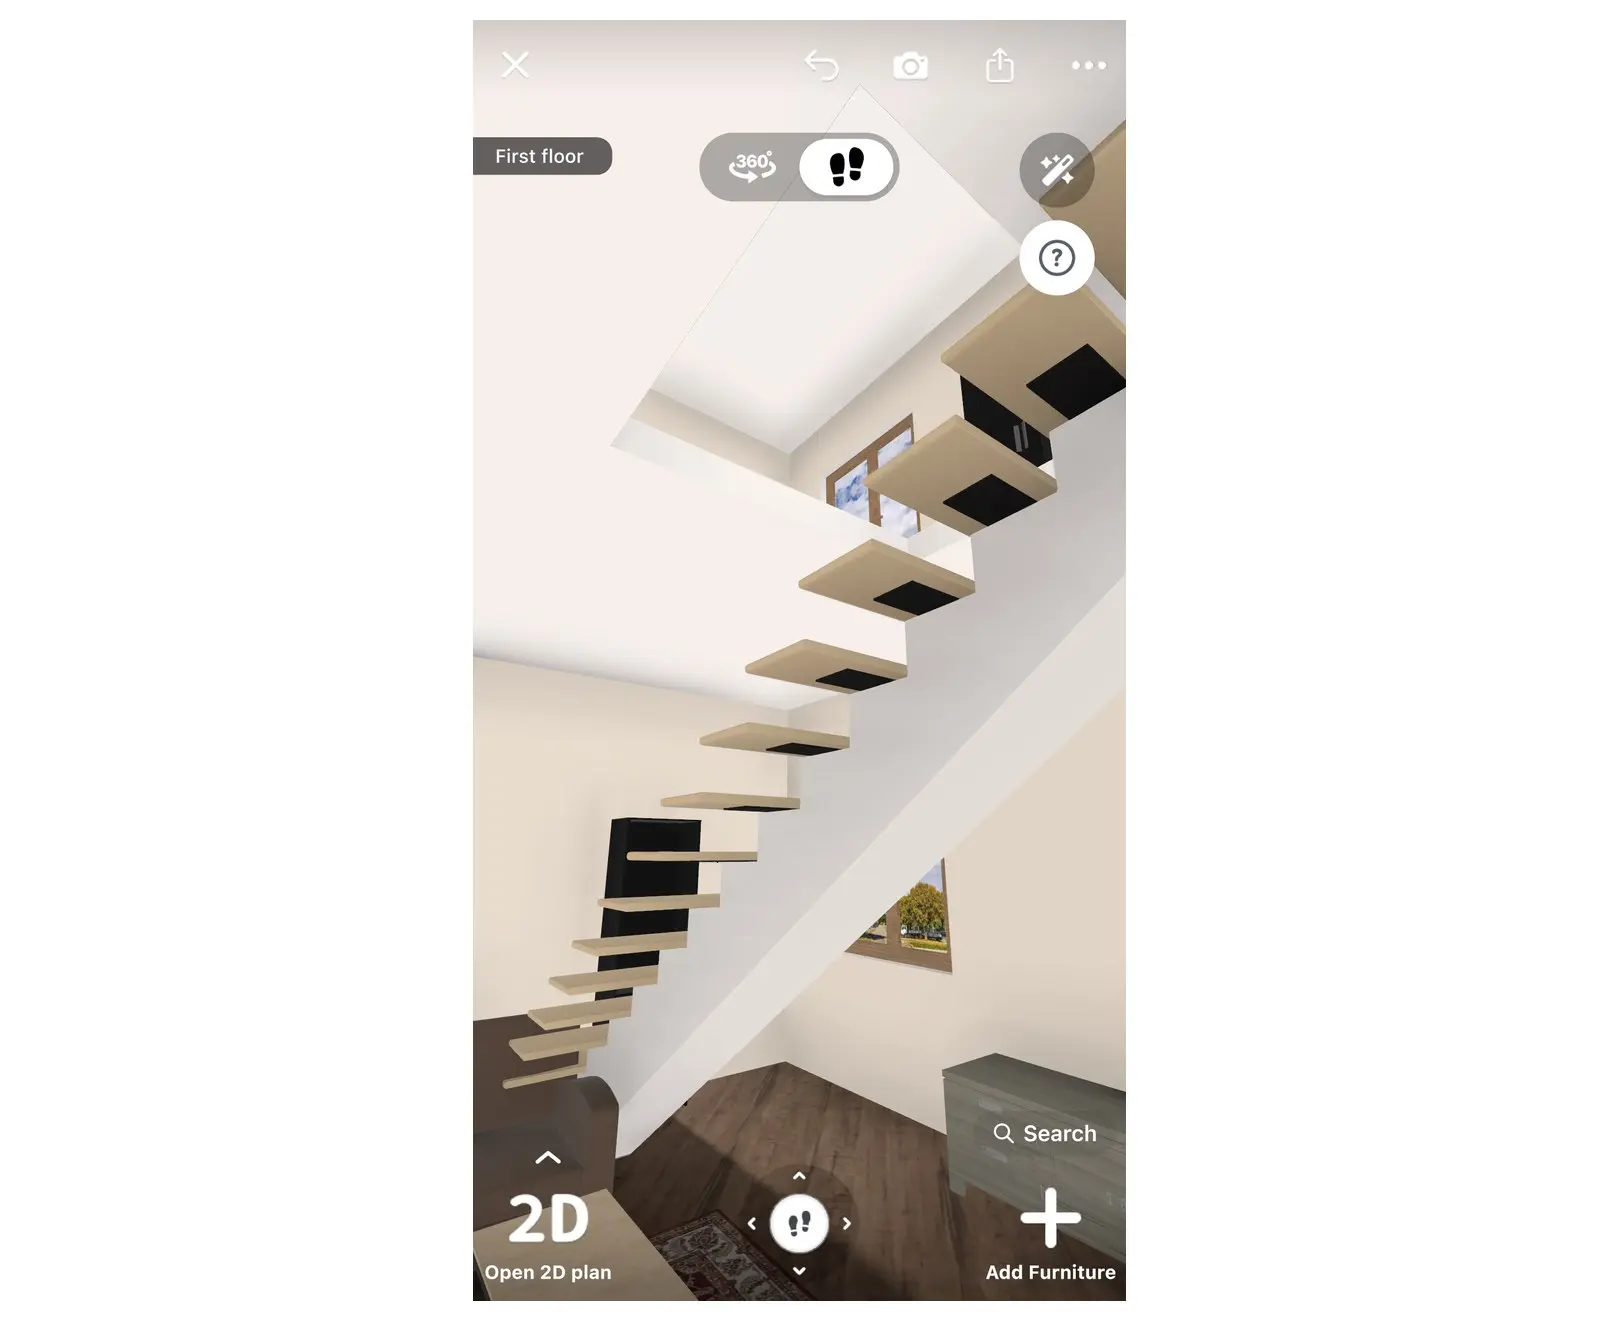
In the 3D-Walkthrough view of Home Planner, you can walk up the stairs to the next floor and back down. It shows you whether the two floors really connect.
- Open the view menu: select the small arrow button next to Open 3D plan or Open 2D plan, or press and hold that button. Then select 3D-Walkthrough.
- Walk to the stairs: on a phone or tablet, push the on-screen joystick at the bottom of the screen; on a computer, use the W, A, S, D or arrow keys. Walk up the steps. When you reach the opening, Home Planner moves you to the upper floor.
- Walk back down the same stairs to return to the floor below.
Walking between floors needs three things:
- sloped stairs;
- a stair opening over them;
- a room on the other floor at the place of the opening.
It works on sloped stairs such as Straight stairs and L-shape stairs. It does not work on a Ladder or Spiral stairs. If another type does not take you up, try a straight or L-shape staircase.
Stuck at the top step? Check that the opening sits over the stairs and that the upper floor has a room at that spot.
A staircase that looks right on a flat plan can still end in the wrong room upstairs. Draw both floors of your own home in Home Planner and walk up the stairs before anyone builds them.
Trademark notice. Home Planner is not affiliated with, endorsed or sponsored by Apple Inc., Google LLC or Microsoft Corporation; their names and marks belong to their owners. iPhone, iPad and Mac are trademarks of Apple Inc., registered in the U.S. and other countries. Android is a trademark of Google LLC. Other trademarks are the property of their respective owners.
Try it on your own project
Free app for iPhone, iPad, Mac, Android and Windows.