How to Convert a 2D Floor Plan to 3D from a Photo or PDF

Convert a 2D floor plan to 3D in Home Planner: upload a photo, image or PDF, let automatic recognition build the walls, doors and rooms, then check the scale.
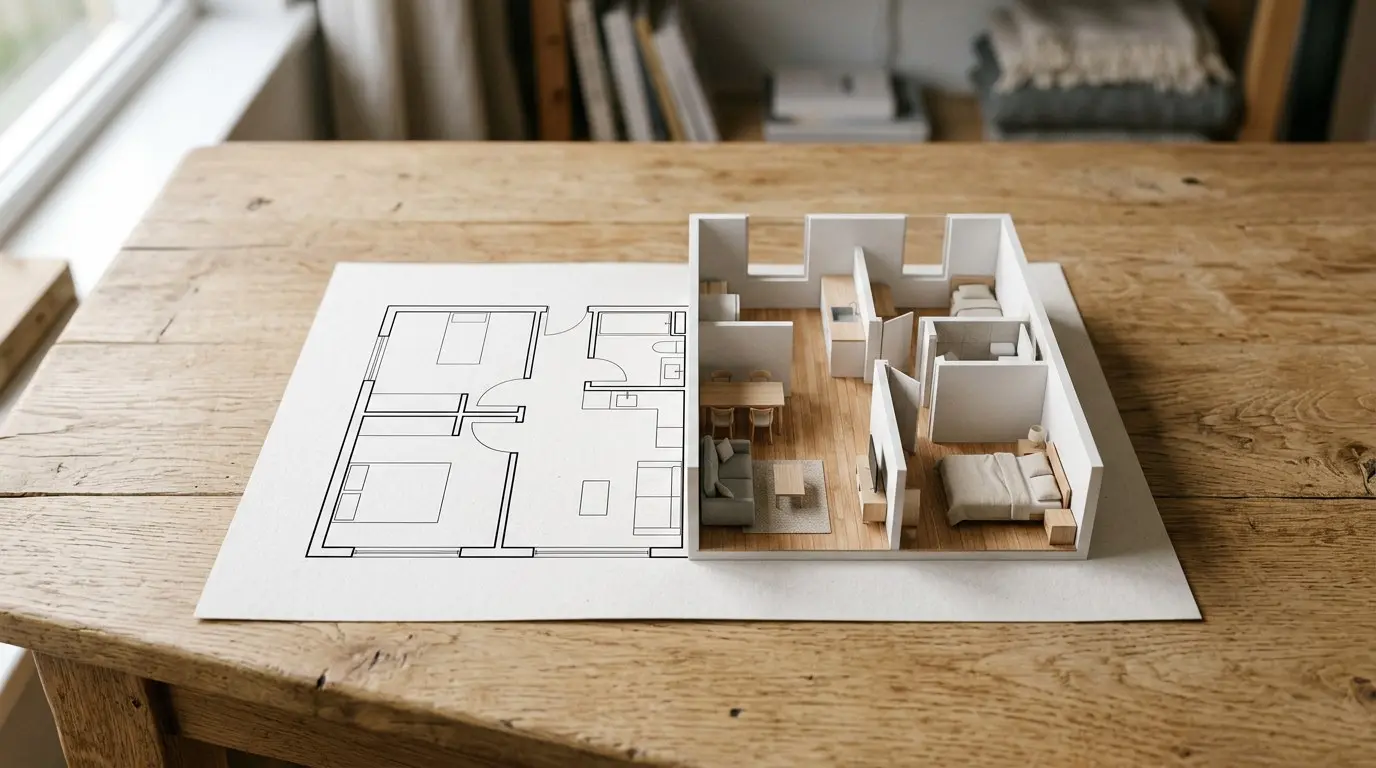
The builder sent a PDF of your new flat: thin black lines and a few numbers. Convert a 2D floor plan to 3D in Home Planner and walk through the rooms before you buy, renovate or choose a sofa. A house? Upload up to 5 floors at once.
How it works
Home Planner turns a floor plan image or PDF into an editable 3D project in three steps.
- Upload the plan: a photo from your camera, an image from your gallery, or a file such as a PDF.
- Choose Automatic recognition. Home Planner draws the plan for you.
- Check the result and the scale, fix a wall if needed, and see your home in 3D.
Before you start
| You need | Why |
|---|---|
| Home Planner PRO | Automatic recognition is a PRO feature. Without PRO, the app opens the subscription screen when you choose it. |
| An internet connection | Recognition runs on Home Planner servers. |
| A clear plan of one floor | One floor per image. See the tips below. |
| Home Planner on a phone, tablet or computer | On a Mac with macOS 13 or older, automatic recognition is not available: the plan opens as a background image, and you draw the walls by hand. |
Which floor plan files you can upload
Home Planner accepts common image files, PDF floor plans and CAD drawings. A PDF or TIFF with several pages opens a page picker, so you choose the page with the plan.
| File | What to know |
|---|---|
| JPG, PNG, WEBP | A photo or a screenshot of the plan. |
| Select the page with the plan. For a house, select one page per floor (up to 5). | |
| TIFF, BMP, GIF | A multi-page TIFF opens the page picker. A GIF uses its first frame. |
| HEIC | Photos from iPhone, iPad, Mac and Android. Home Planner on Windows does not open HEIC: convert the photo to JPG first. |
| DWG, DXF | Drawings from CAD programs, for example the file your architect sent. |
Convert a floor plan to 3D, step by step
1. Upload your floor plan
- Open Home Planner and select Create.
- Select Plan from a Photo, then Start.
- On a phone or tablet, the window Choose floor plans opens: select Photo Gallery, Camera or Files. On a computer, the file dialog opens.
- For a PDF or TIFF with several pages, a second window with the same name, Choose floor plans, lists the pages. Select the page with the plan, then select Continue.
- In Adjust photo, crop away the border and text around the plan if needed: select Crop, move the frame, and select Apply. Then select Continue.
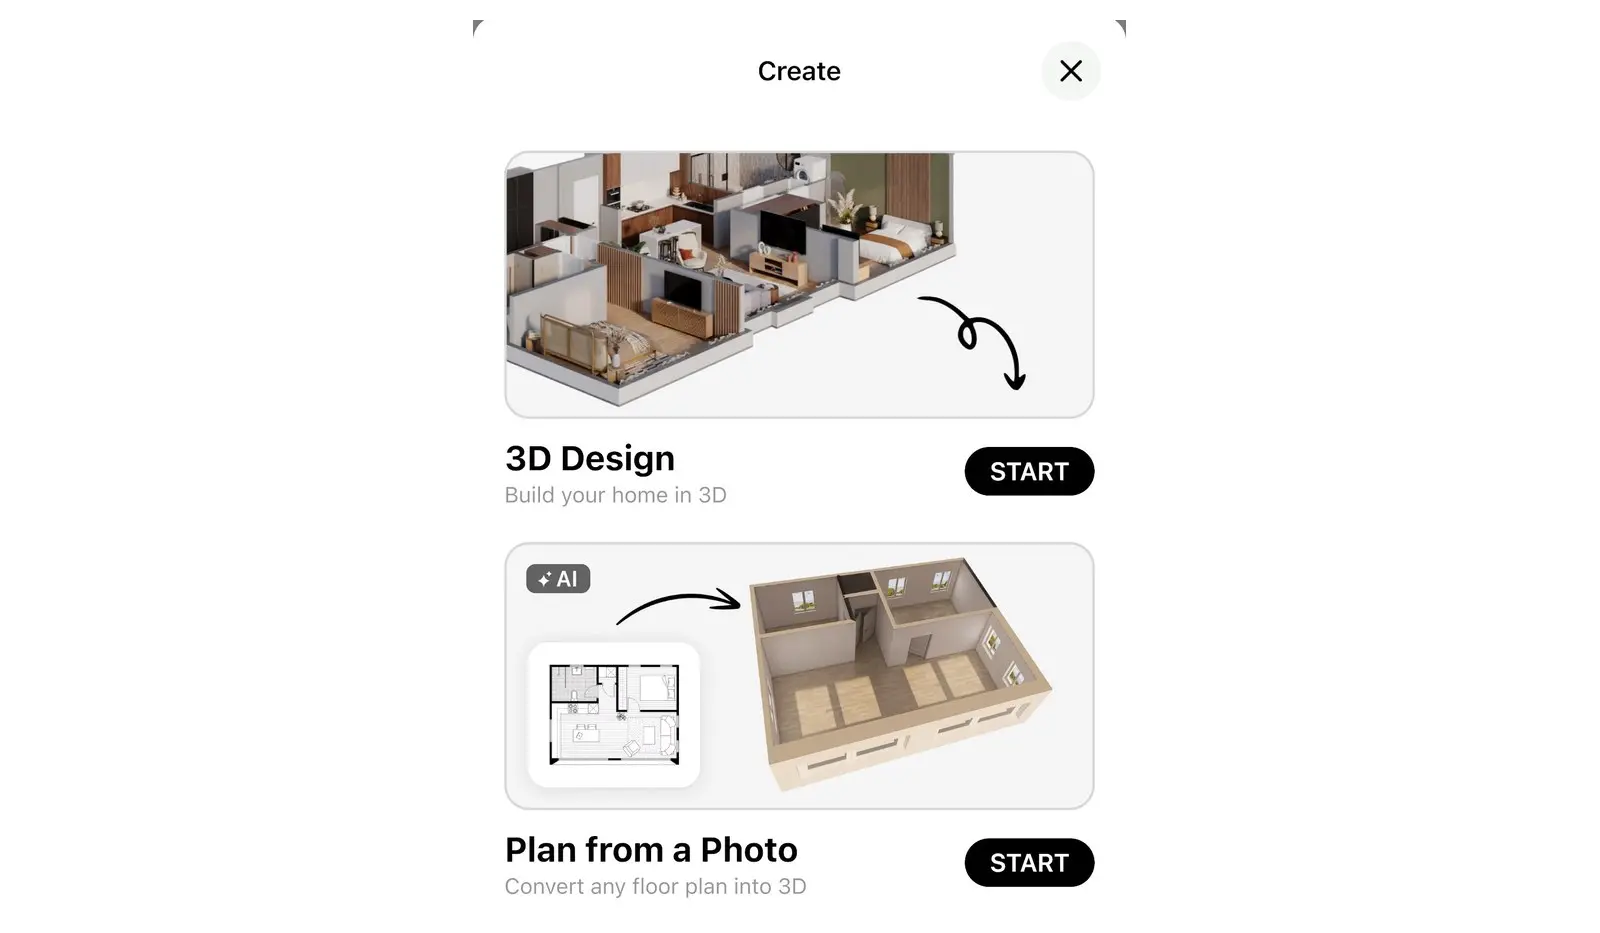
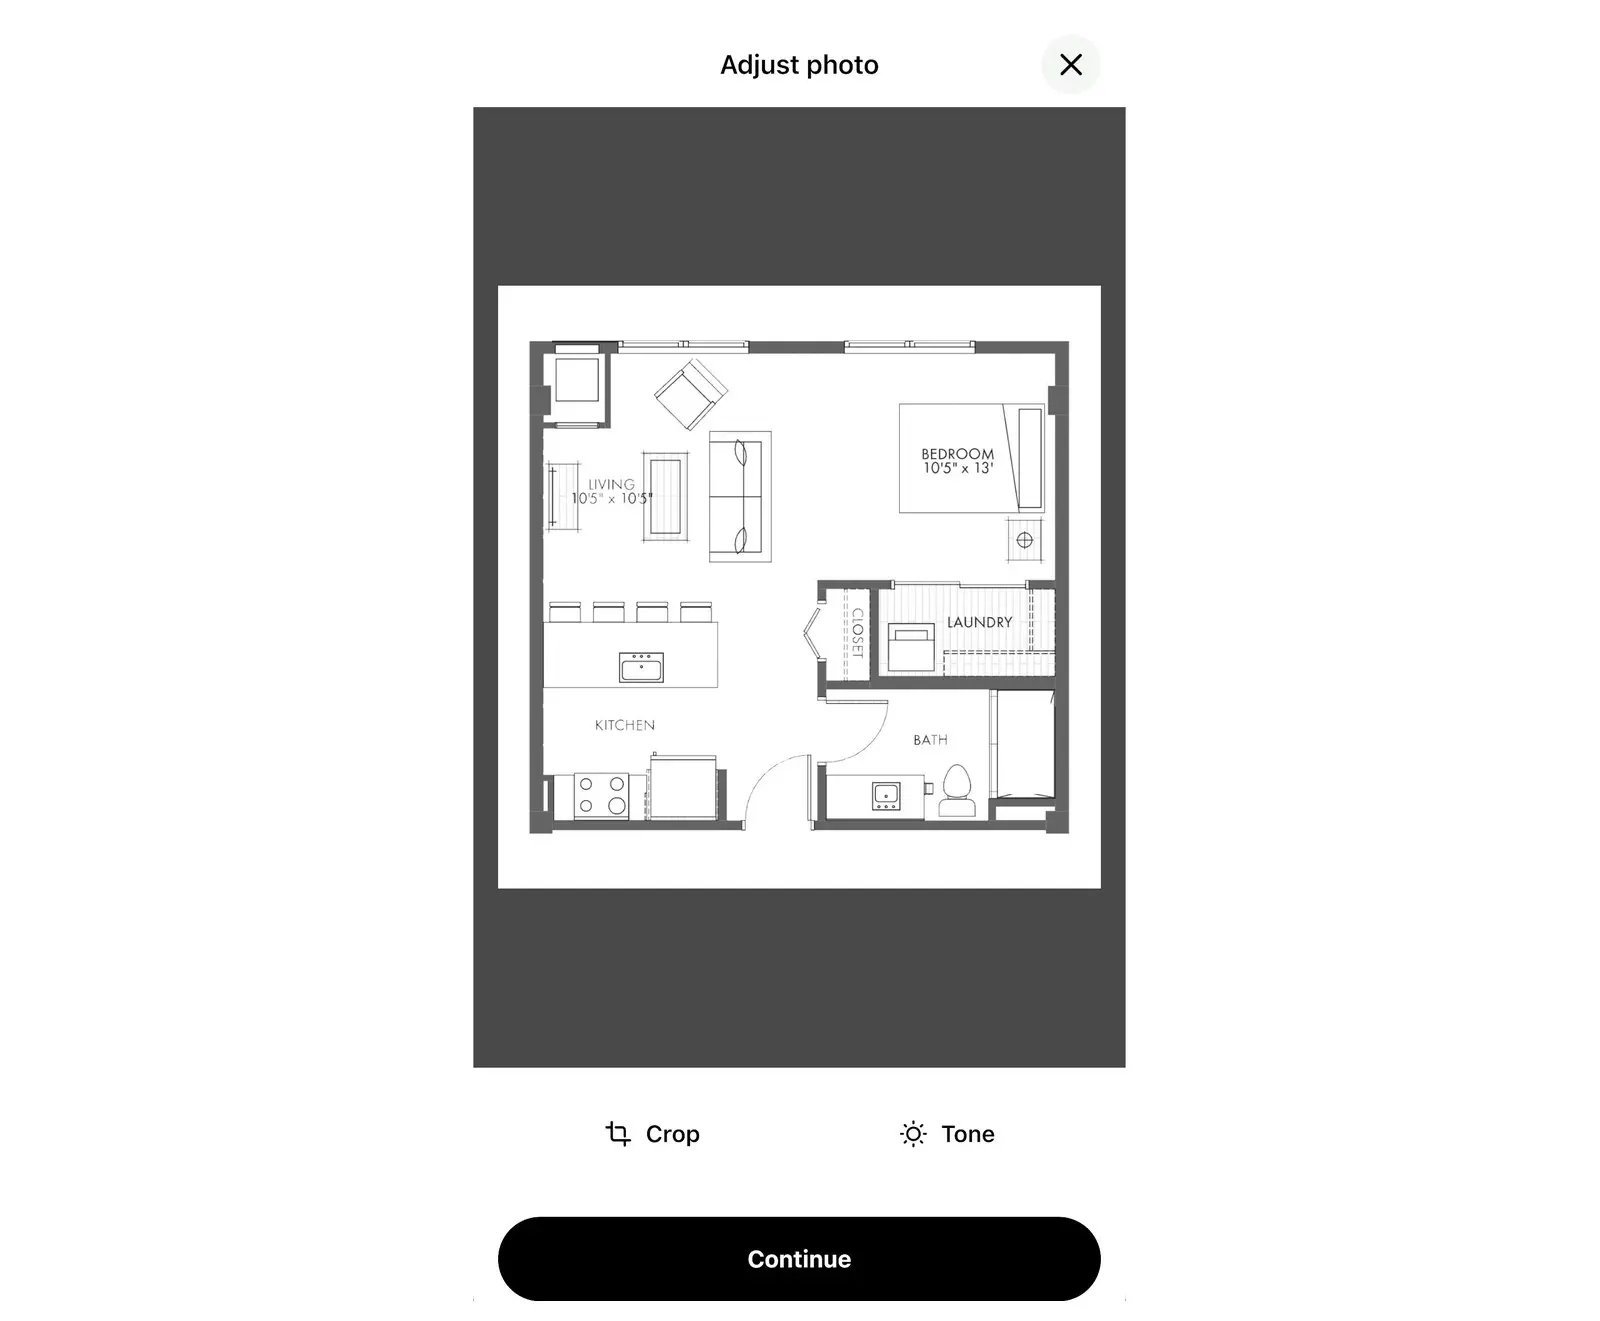
To add a plan to a project that is already open, select Upload Floor Plan. The button shows in the 2D toolbar of a floor that has no plan image and no rooms yet, or while you draw walls. For a file with several pages, the window Choose the page with the plan opens: select the page to import it. Then go on with 2. Choose Automatic recognition below.
2. Choose Automatic recognition
In Choose import option, select Automatic recognition. Home Planner reads the plan and builds the project. Keep the app open until the plan appears. If the plan is not recognized, Home Planner offers to upload another image or to draw the walls by hand.
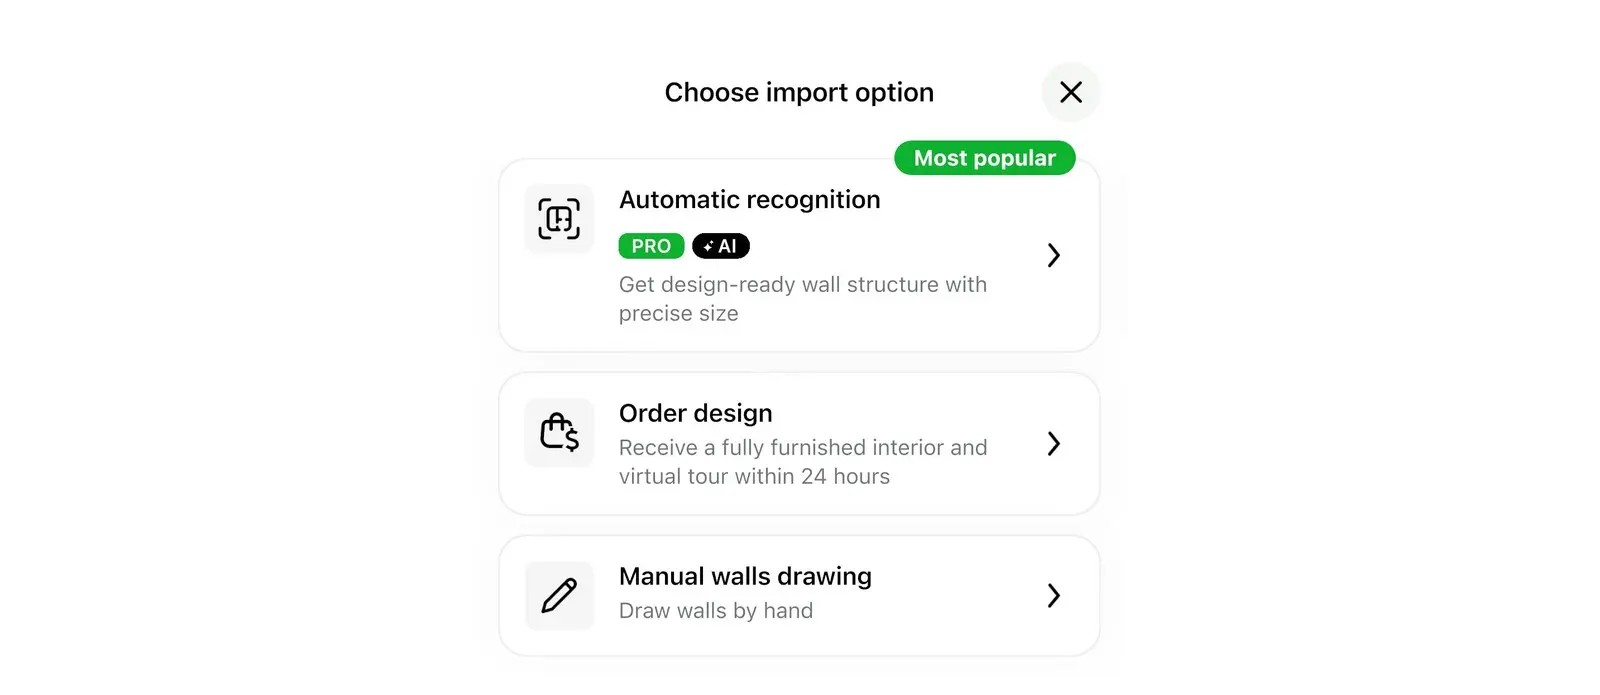
The same window has two other options:
- Manual walls drawing: the plan becomes a background image, and you draw the walls over it by hand.
- Order design: a paid service where designers furnish the plan for you. Shown only where available.
3. Check the result and the scale
After recognition, the plan opens in 2D. If Home Planner is not sure of the result, it first shows Check the result, which asks you to check the scale, walls, windows and doors. Select OK to close it. If recognition found many errors, the plan opens in wall editing mode.
In every case, compare one wall length with the size on your original plan. If they differ, fix the scale:
- Select Resize (the Check the result message calls this Change Scale). If you do not see it, select Edit Walls first: Resize shows only while you edit walls.
- If the app asks, select Change plan scale. With several floors, choose Change for current floor or Change for all floors.
- Select a wall length or a room area: the numbers shown on the walls and inside the rooms of the plan. Type the correct size from your original plan. Home Planner rescales the whole plan.
- Correct walls, windows and doors where needed.
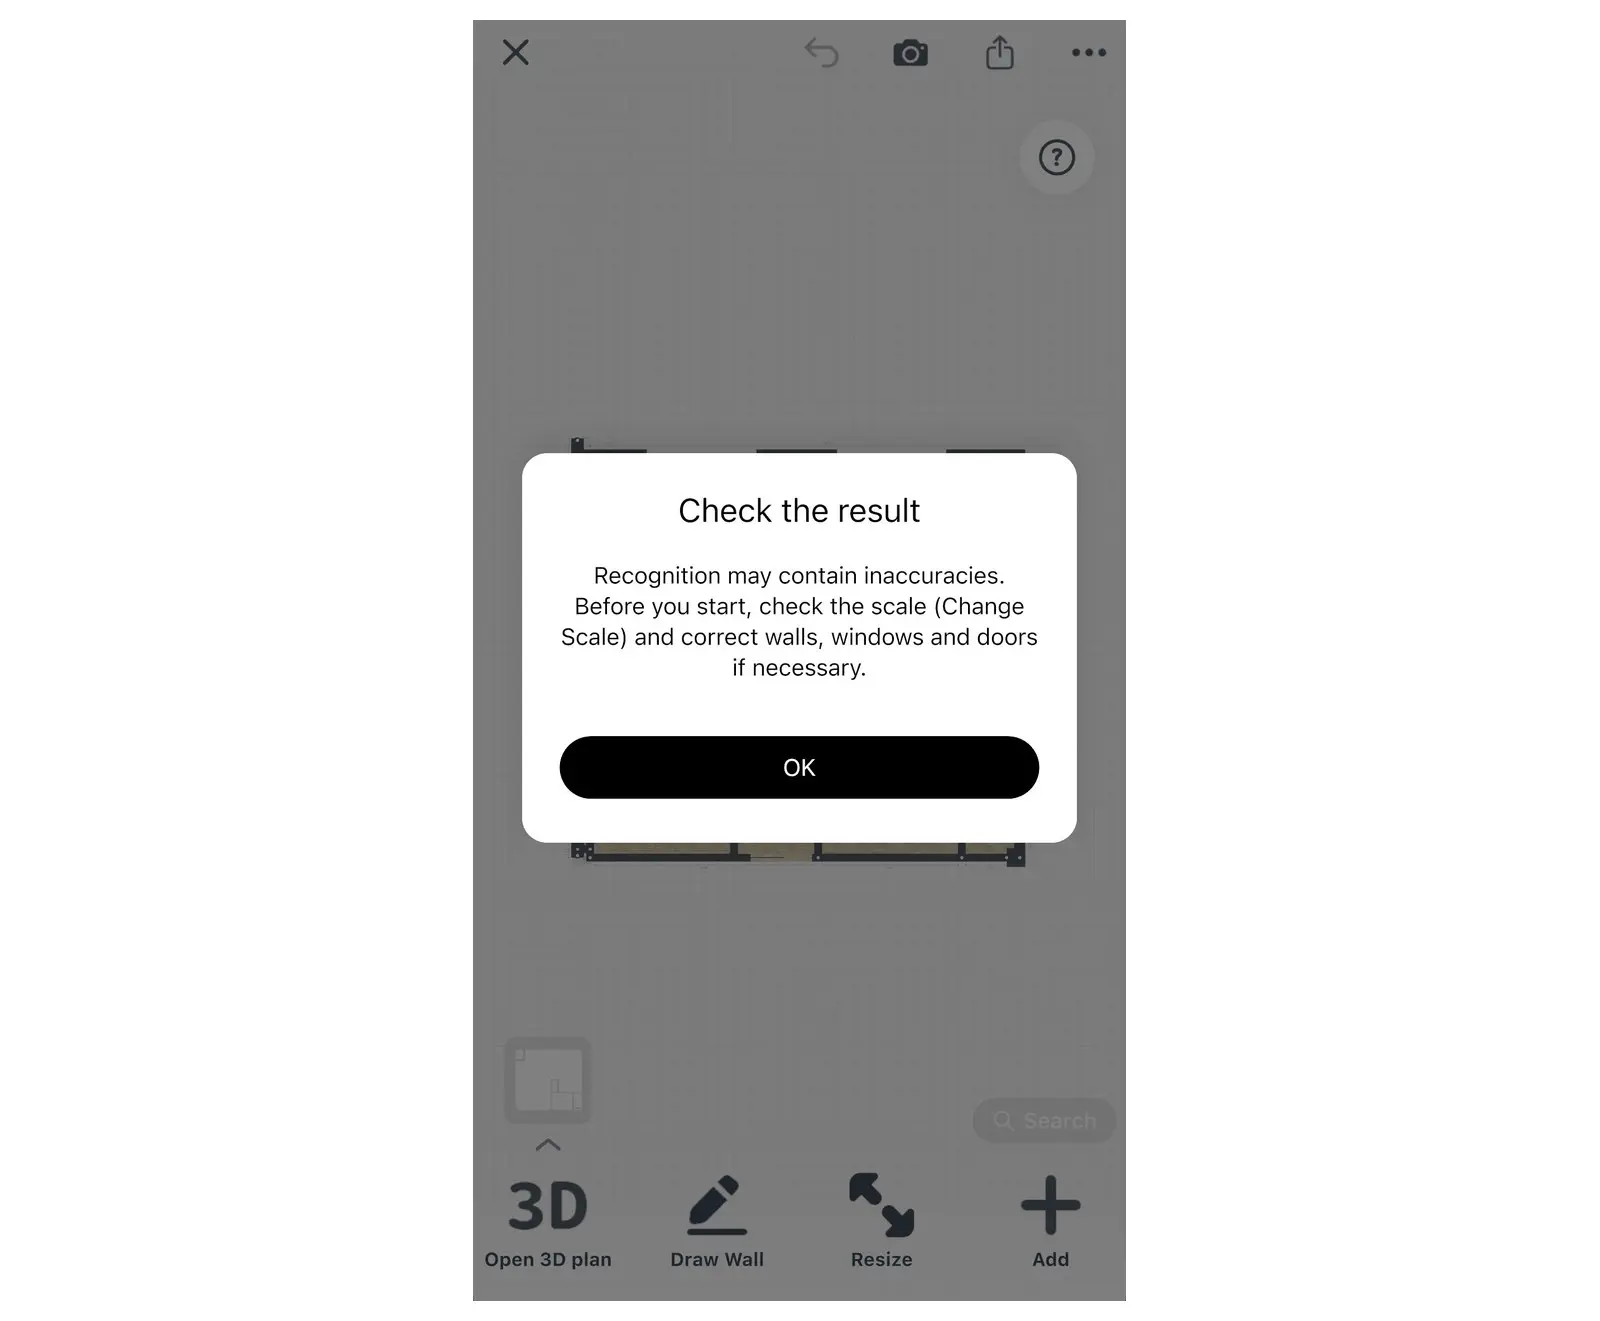
A plan with sizes or room areas on it usually gets the correct scale automatically. You can change the scale later the same way.
4. See your floor plan in 3D
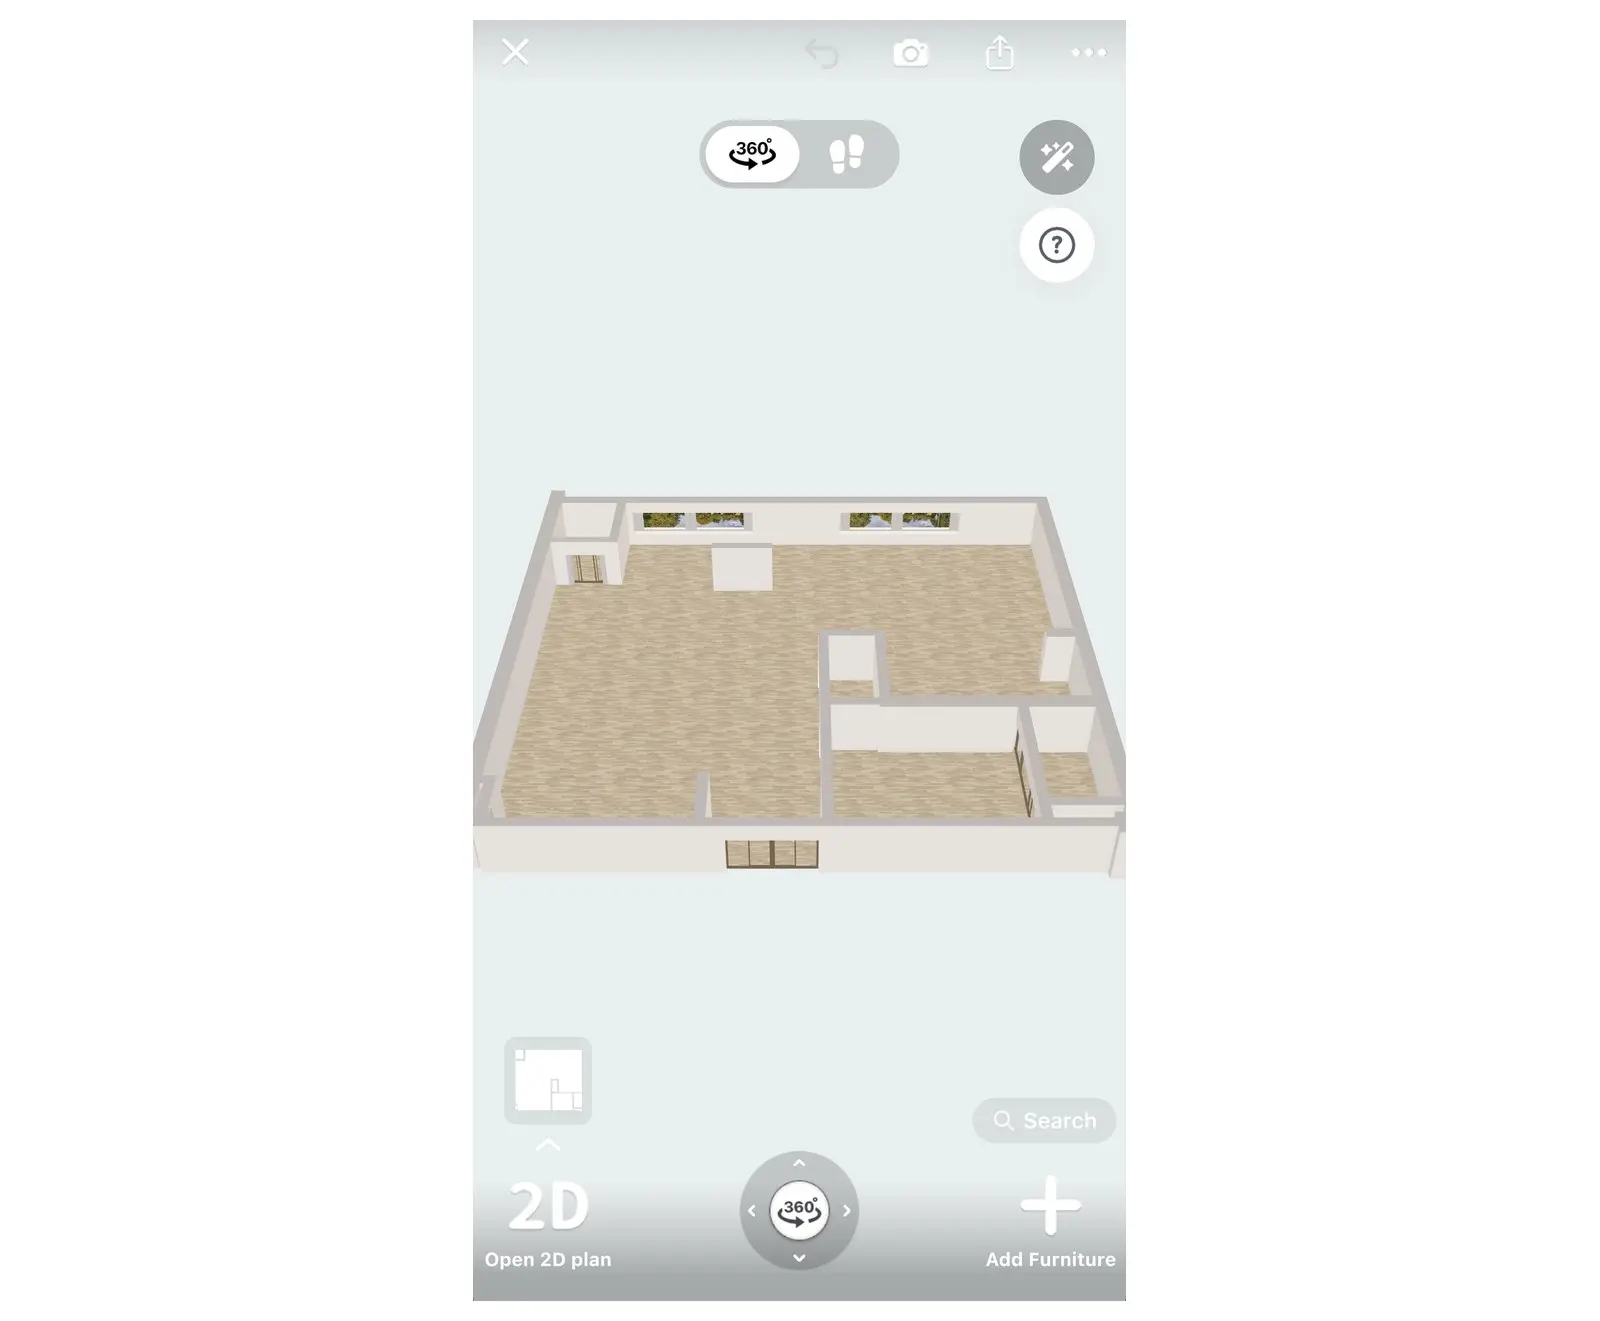
Select Open 3D plan at the bottom left of the 2D plan to walk around your home. Then add furniture, change floors and wall colors, and make photo renders, the same as in any Home Planner project.
Convert a multi-story floor plan to 3D
In Home Planner, you can upload the plans of up to 5 floors at once when you start a new project, one plan per floor. To add a floor and stairs by hand, see how to make a 2-story floor plan with stairs.
- Select Create, then Plan from a Photo, then Start. On a phone, select several images in Photo Gallery, or open one PDF from Files and choose its pages in Choose floor plans. On a computer, select several files in the file dialog, or one PDF and select its pages in Choose floor plans.
- In Floor order, put the plans in order. The bottom plan is floor 1: the other floors use its scale and position.
- Select Continue and choose Automatic recognition. Home Planner recognizes the floors one at a time and stacks each floor on the floor below.
- At the end, Floor plans imported shows the result for each floor. A floor that failed can be added again later, or drawn by hand.
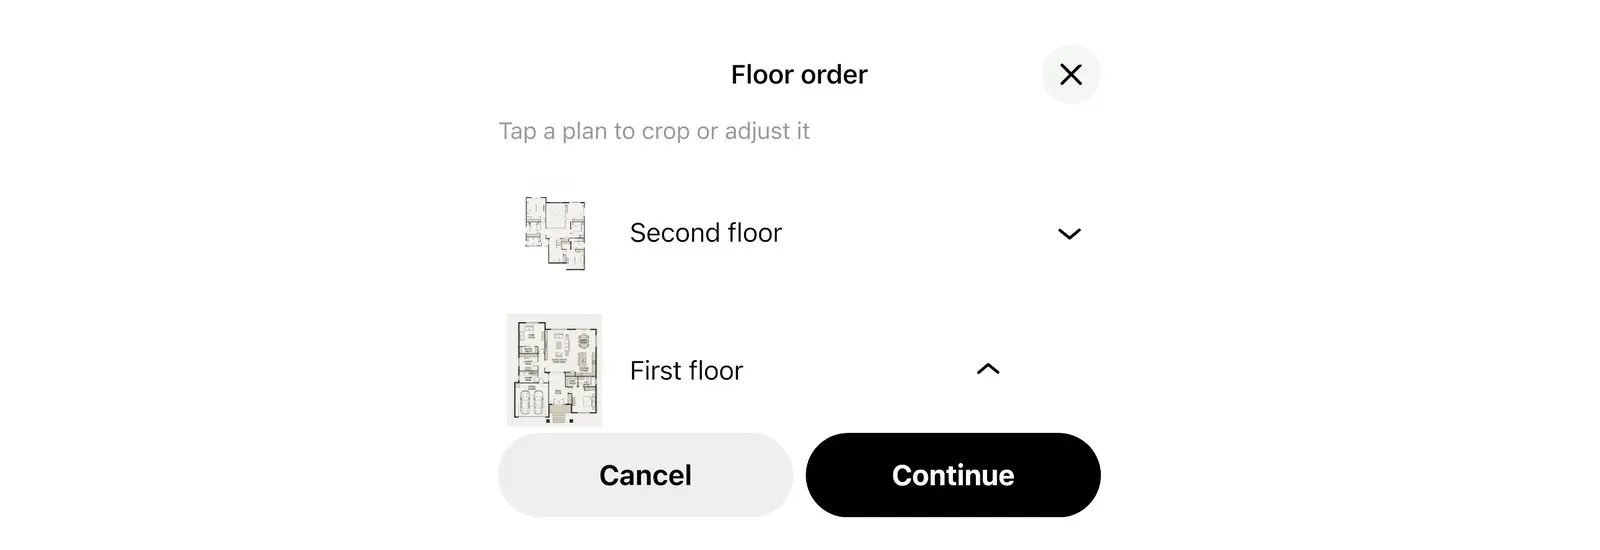
Select Stop to end the import early. The floors that are already done stay in the project.
Tips for the best recognition
Home Planner recognizes a plan best when it is clean, sharp and has sizes and room names.
- Use the original image or a screenshot of the plan. A photo of a paper plan can work: hold the camera straight above it, in good light.
- A rough sketch without clear lines and sizes may not be recognized. Use Manual walls drawing for it.
- Use a high-quality image. If the app says the file is too large, upload a screenshot of the plan.
- Keep sizes, doors, windows and room names on the plan: they set the scale and the room types.
For the file requirements of the Order design service, see Upload your floor plan and get a 3D design.
Trademark notice. Home Planner is not affiliated with, endorsed or sponsored by Apple Inc., Autodesk, Inc., Google LLC or Microsoft Corporation; their names and marks belong to their owners. iPhone, iPad, Mac and macOS are trademarks of Apple Inc., registered in the U.S. and other countries. Android is a trademark of Google LLC. Other trademarks are the property of their respective owners.
Try it on your own project
Free app for iPhone, iPad, Mac, Android and Windows.