How to Add Custom Furniture 3D Models to a Floor Plan

How to add furniture to a floor plan when the catalog does not have it: import your own 3D model or a photo into Home Planner and place it in your room.
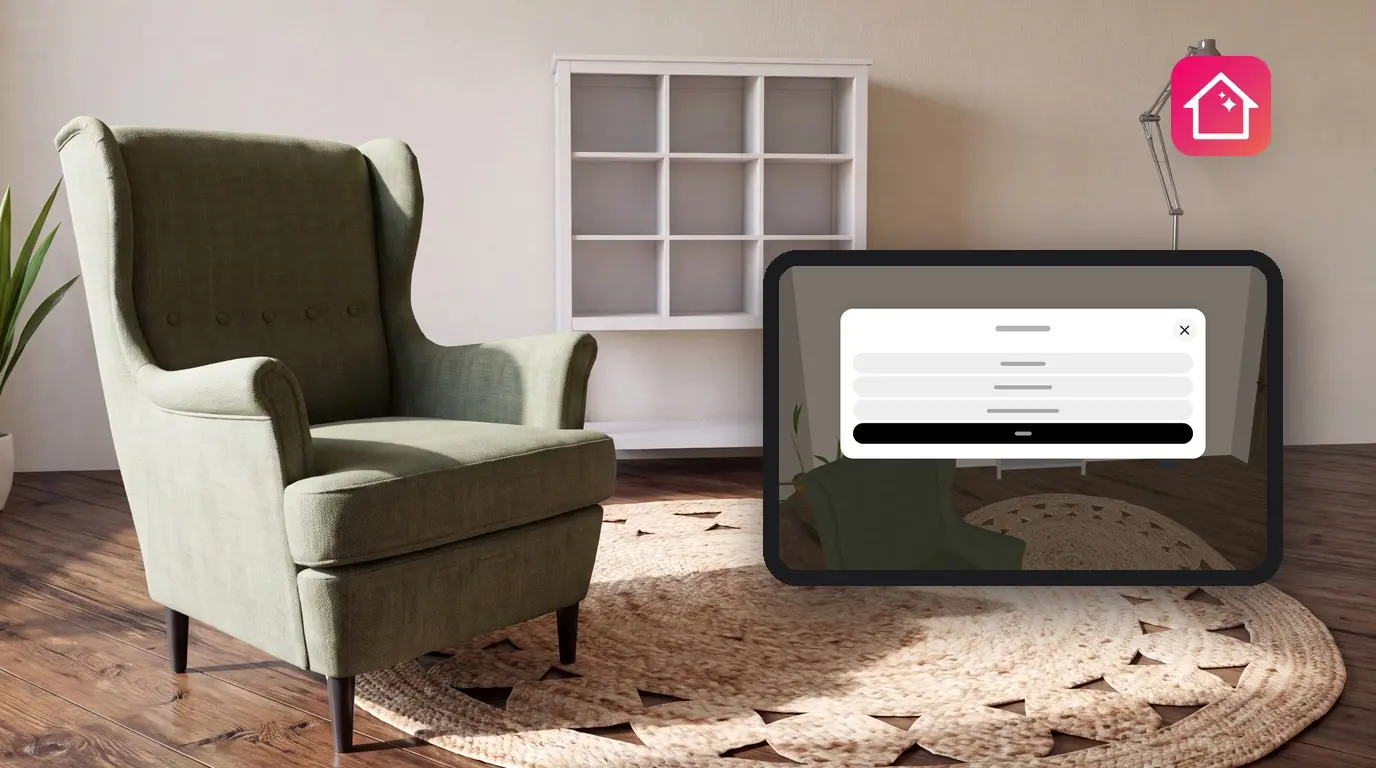
You found the right sofa in a shop, but the Home Planner catalog has nothing like it. Bring it in yourself. To add furniture to a floor plan in Home Planner when the catalog does not have your piece, import a photo of it, a link to its store page, or a 3D model if the brand offers one to download. A 3D file usually imports in about 7 minutes. The steps are the same on iPhone, iPad, Android, Mac and Windows. If the catalog already has your piece, select Add Furniture and choose it there, or search the catalog by photo.
Importing is free with a Home Planner account: 5 items to start, up to 25 as you furnish projects; PRO raises the limit to 100. Import only models and images that you have the right to use.
Button names and messages in this guide are quoted from the English version of the app.
How it works
Home Planner sends your 3D file to its server, turns it into a catalog item and keeps it in My Items.
- Open My Items: in your project, select Add Furniture, then More → My Items.
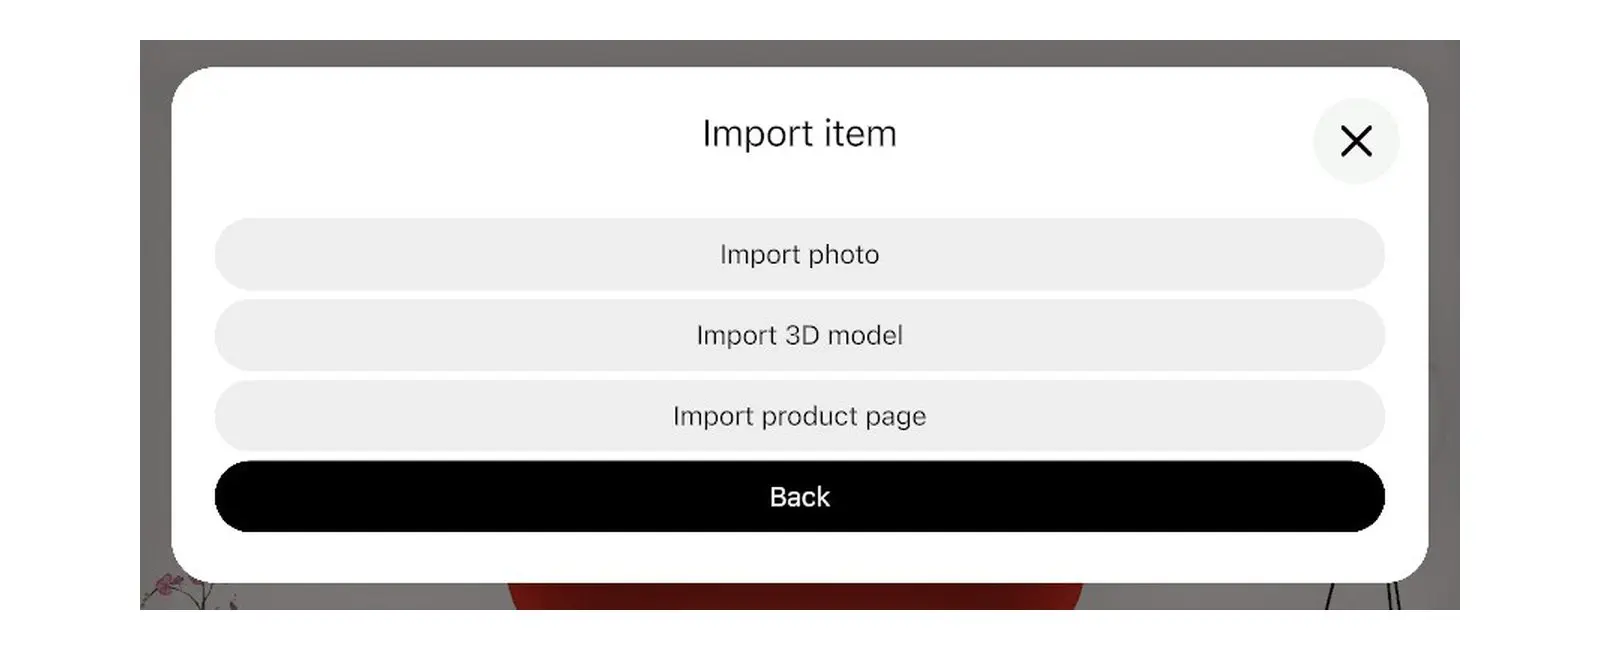
- Import the file: select Add item → Import item → Import 3D model and choose the file.
- Check and place the item: when the model is ready, Home Planner tells you. Check its size, then select the item in My Items → View → Add to room.
Before you start
To import a custom 3D model into Home Planner, you need an account, an internet connection and a file in a supported format.
| You need | Why |
|---|---|
| A Home Planner account | Your items are saved to your account. Home Planner asks you to sign in when you select Add item. When you are not signed in, My Items shows a Sign in button. |
| An internet connection | The model is processed on the Home Planner server. |
| A model package up to 15 MB (30 MB with PRO++) | Home Planner removes extra files and shrinks large images before the upload. If the result is still over your limit, it is refused. |
| Room in your item limit | Free: 5 items, up to 25 as you furnish more projects. PRO: 100. PRO+: 500. PRO++: 2,500. |
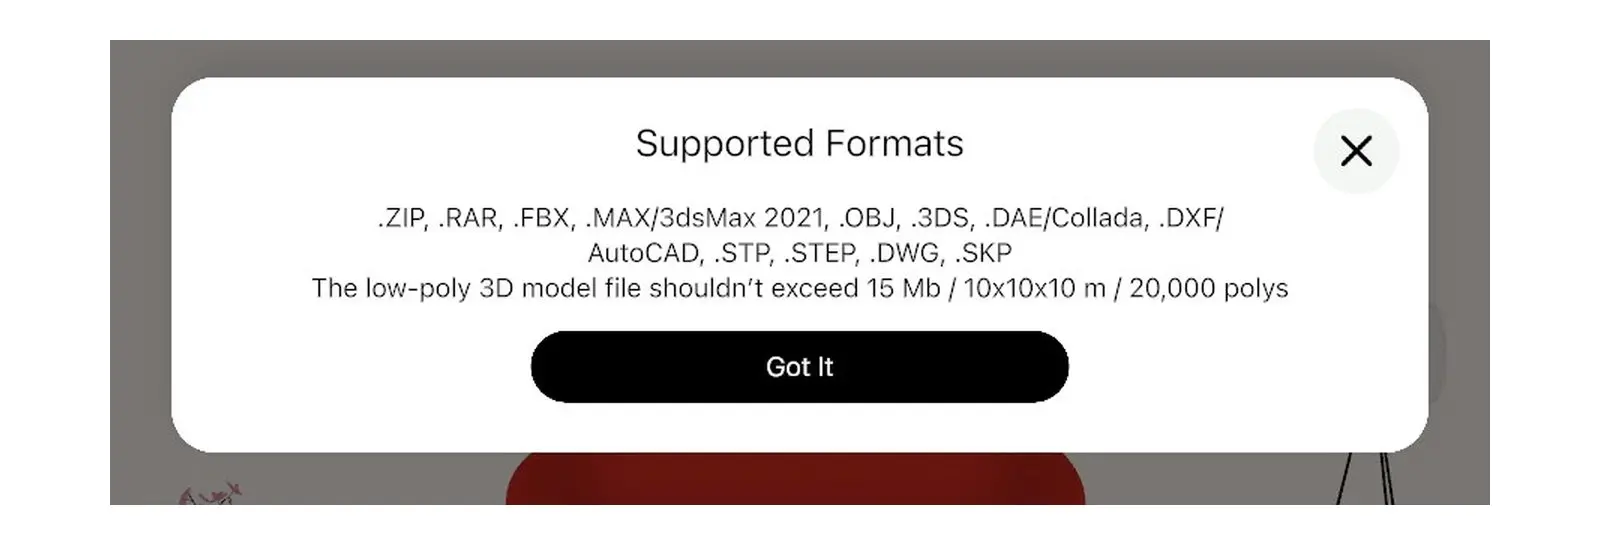
| A supported format | FBX works best; OBJ and SketchUp (SKP) work too. Home Planner shows the full list in Supported Formats. A GLB file does not import. Download the FBX, OBJ or SKP version from the same page, or use Import photo below. |
| Textures in a ZIP (if the model has texture files) | Put the model and its JPG or PNG textures in one folder, zip it, and choose the ZIP file itself. |
| The file on your device | On a phone or a tablet, save the file where the app can open it, for example in your files or device storage. If the file picker does not let you choose your file, import it from a Mac or Windows computer with the same account. On a computer, any folder works. |
The quick way: a photo or a store link
If you have no 3D file, Home Planner can make a catalog item from a photo of the furniture. A photo item counts toward the same item limit.
- Select Add Furniture, then More → My Items. Select Add item → Import item → Import photo, and choose the photo.
- For some photos, Home Planner asks "Convert this photo to a 3D model?". Select Yes for a 3D item, or No, thanks for a flat picture item.
- For a flat picture, Home Planner asks "Would you like to remove the background of an image?". Select Remove the background or No, thanks.
In the same window, Import product page asks you to "Enter item URL at online store" and makes a flat picture item from the image and size on that page. Import material (in the Add item window) adds your own material texture.
Step 1: Open My Items in the catalog
In Home Planner, your own items live in the My Items category of the furniture catalog.
- Open your project. Add Furniture appears once the plan has a wall or a room.
- Select Add Furniture. It is on the 3D view and on the 2D floor plan. (In Edit Walls, the 2D plan shows Add instead: select Done first.)
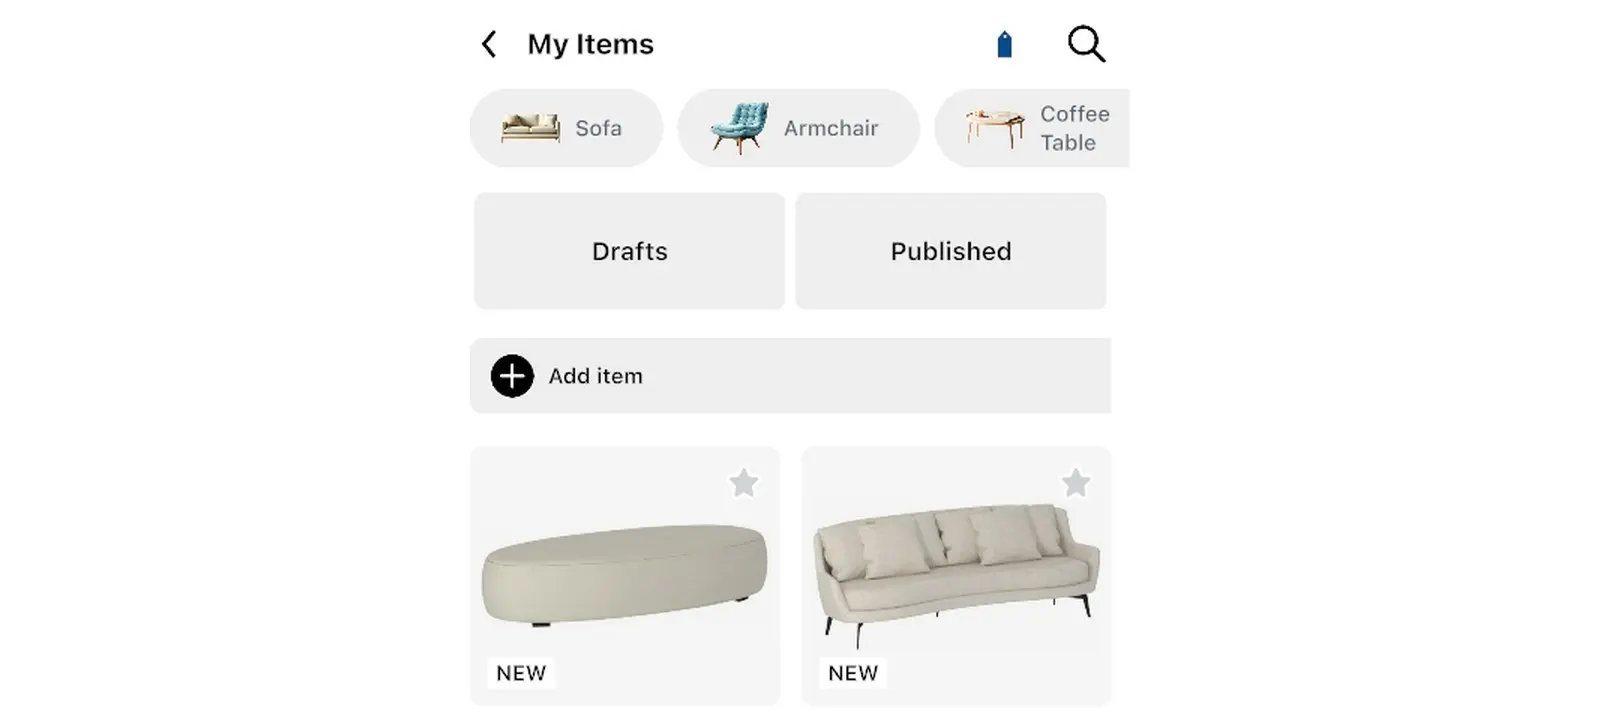
- In the catalog, select More, then My Items.
- The first item in the list is Add item. On a personal account, Home Planner shows under it how many items you have and your limit, for example (3 / 5).
Another way in: when a catalog search finds nothing, Home Planner shows "Couldn't find what you're looking for?". Select Ask to add to open the same import window.
Step 2: Import your own furniture 3D model
- Select Add item. In the Add item window, select Import item. (Import material in the same window adds a material texture.)
- Select Import 3D model. (Use Back to return to the first window.)
- The first time, Home Planner shows Supported Formats. Select Got It.
- Choose your file. If a ZIP or RAR archive holds more than one model, Home Planner asks you to choose one in the Select File window.
Home Planner uploads the file and shows "Importing usually takes about 7 minutes. You will be notified when it is completed." The import runs on its own: keep working on your project while it imports.
Step 3: Add the imported model to your floor plan
When the model is ready, it appears in My Items of the Home Planner catalog, and you add it like any other catalog item.
- When the import ends, Home Planner shows "Your 3D model is ready for adjust size and color". Select the message: the item window opens.
- Missed the message? In your project, select Add Furniture → More → My Items, select your item, then Edit.
- Check the size. If the item is too big or too small, select the 3D model size row (not Displayed product size). In the 3D model size window, type the real width, depth and height; changing one size does not change the others. Select Done. Then close the item window and select Save in the "Save changes?" message.
- Select Add Furniture, then More → My Items.
- Select your item. In the window that opens, select View.
- On the item card, select Add to room. Home Planner places the item in the room.
- Move the item to its place on the floor plan or in 3D.
If you select the ready message while no project is open, Home Planner opens the item in a new project. Check the size there, then open your own project and add the item from My Items.
If Home Planner says "Failed to import 3D model.", download the FBX version if the store offers one. Put the model file and its textures in one ZIP and import the ZIP. Still failing? Make the item from a photo or the store link: Import photo or Import product page. A very detailed model is simplified on import: check how the item looks.
Trademark notice. Home Planner is not affiliated with, endorsed or sponsored by Apple Inc., Google LLC, Microsoft Corporation, Autodesk, Inc., Trimble Inc. or The Khronos Group, Inc.; their names and marks belong to their owners. iPhone, iPad and Mac are trademarks of Apple Inc., registered in the U.S. and other countries. Android is a trademark of Google LLC. Other trademarks are the property of their respective owners.
Try it on your own project
Free app for iPhone, iPad, Mac, Android and Windows.