I Rendered My Room — and Honestly Thought It Was a Real Photo

Photoreal rendering in Home Planner: what changed, an editor screenshot vs a 4K render, tips on light, materials and angles, and how to render it.
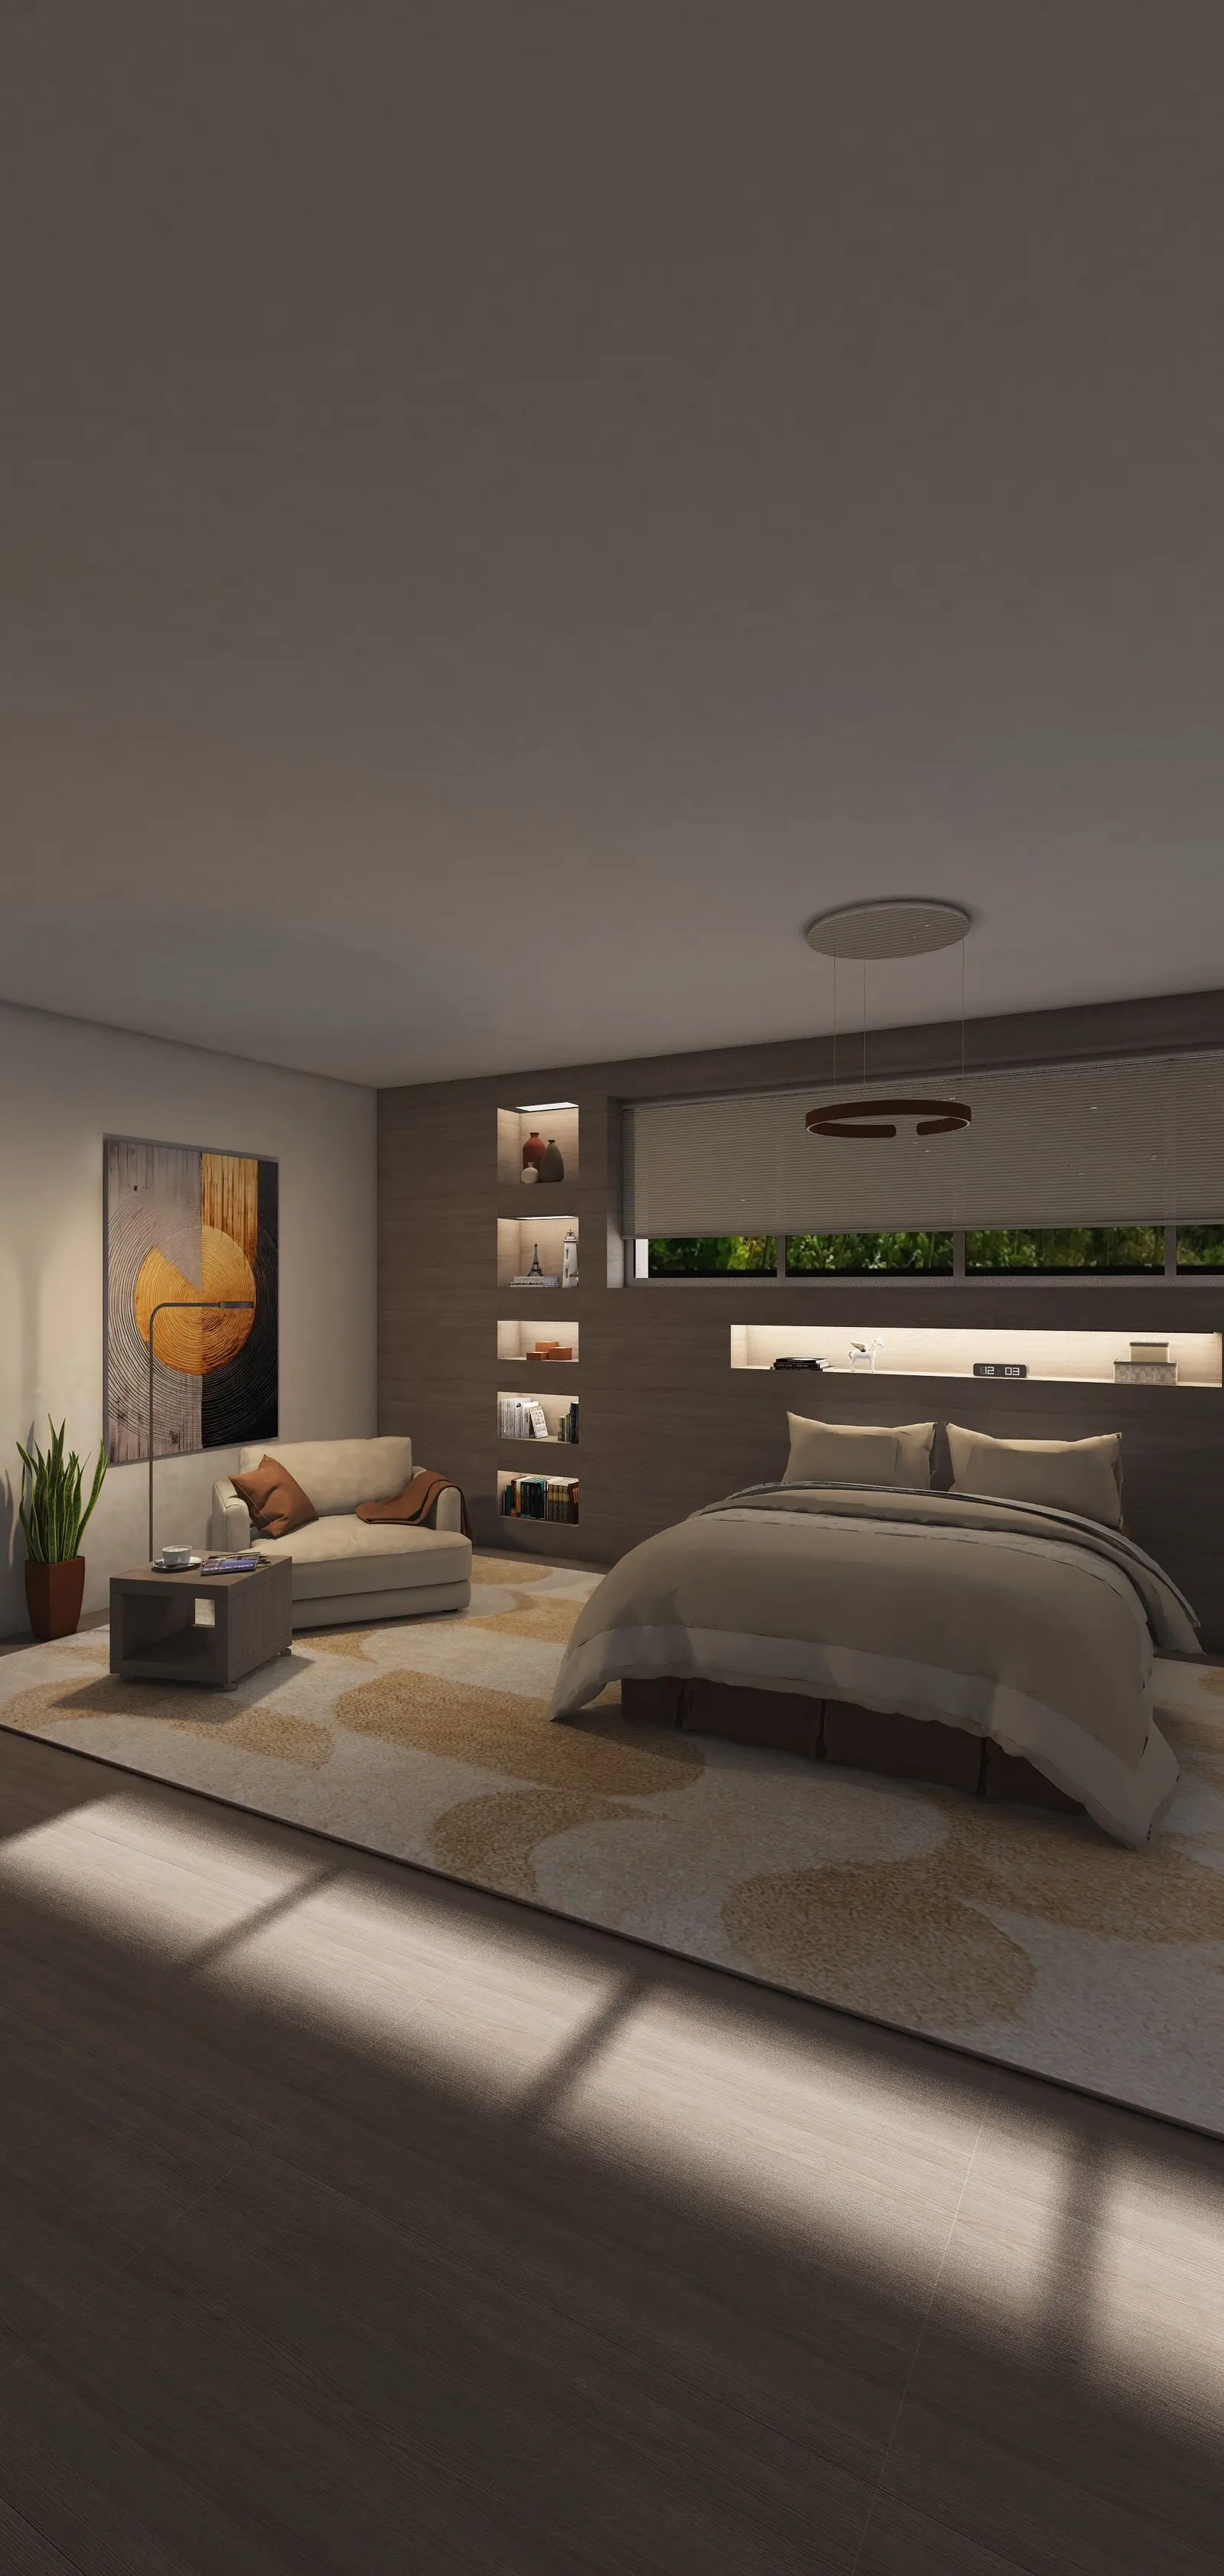
Let’s be honest: 3D visuals in design apps used to be just okay. Not bad. Not amazing.
But then I tried rendering in Home Planner — and thought for a second I was looking at a real photo.
So… what changed?
Home Planner has always supported 3D visualization. But recent updates took rendering quality to a new level — to the point where you can actually fool yourself.
What’s improved:
- Realistic lighting with soft shadows and accurate highlights
- Reflections and textures that respond to light like real materials
- Atmosphere — with depth, subtle shading, and zero flatness
- Better detail in fabrics, wood grains, and even wall surfaces
I tested it — here’s what happened
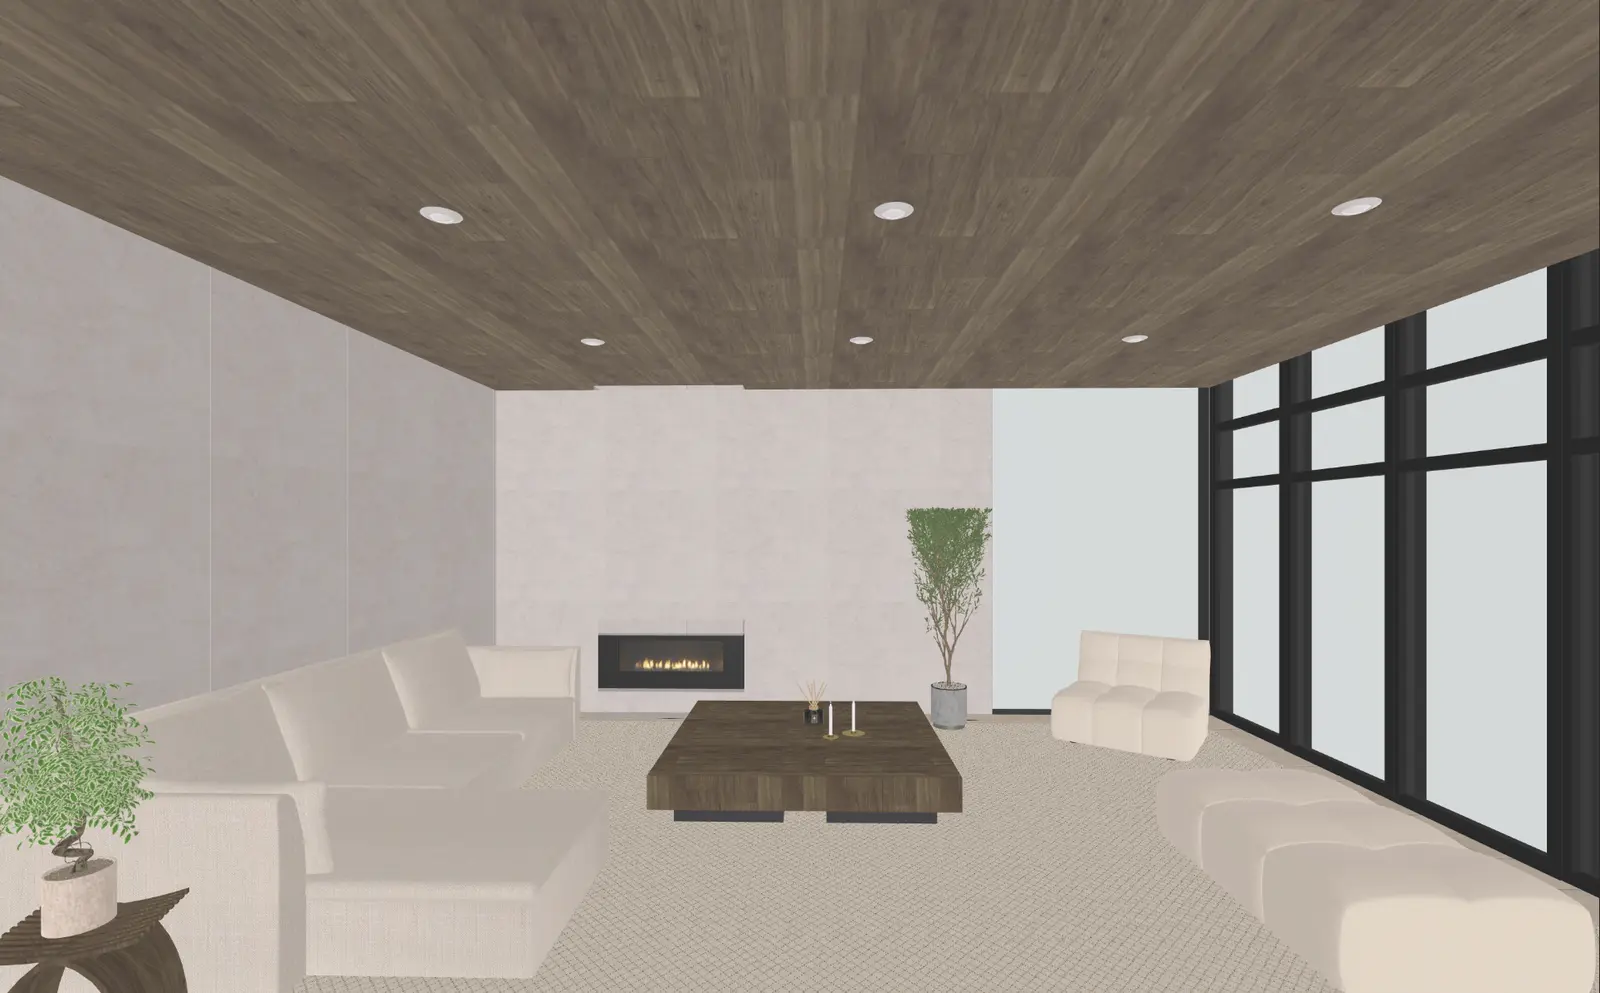
I built a simple living room and saved two versions:
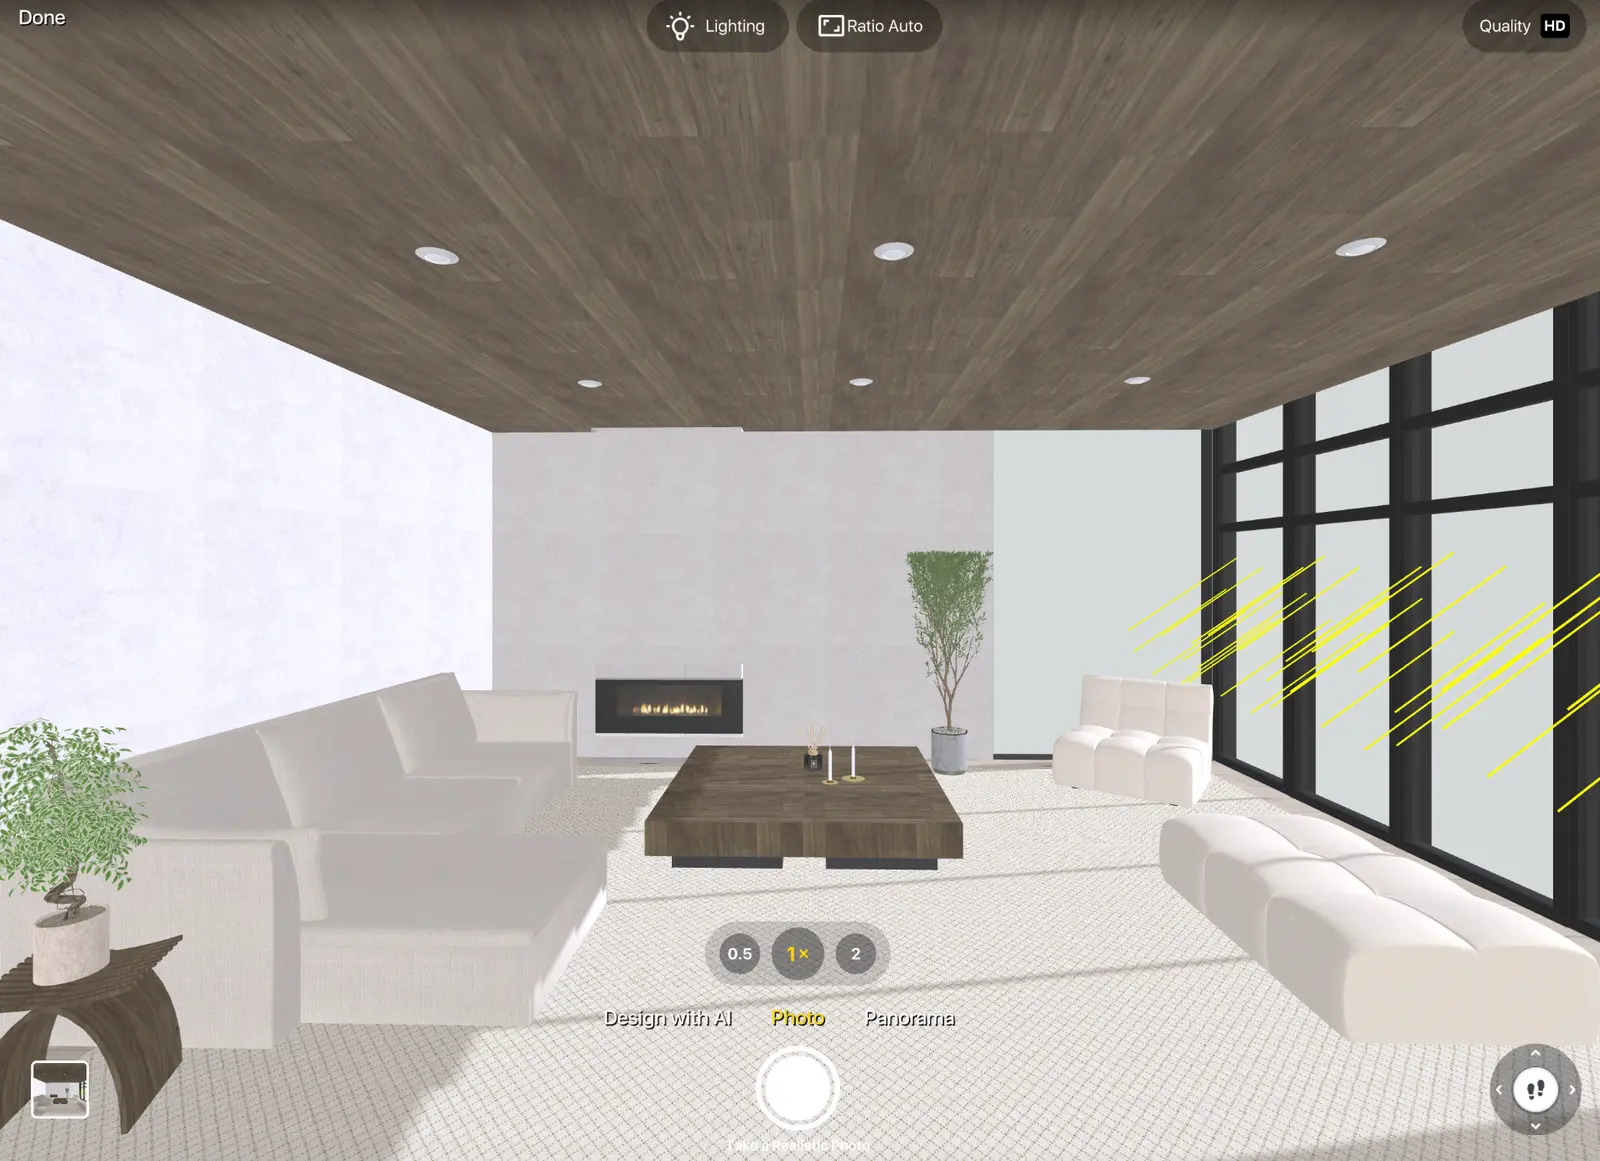
- A screenshot from the editor
- A full 4K render from the app
The first looked fine — clean and clear.
The second? I had to zoom in to believe it wasn’t a real room. Even a friend asked if I’d already finished renovating.
This is how the screenshot looks like:
Want your renders to look real too? Here’s what helps:
Lighting is everything
Use big windows, mix warm and cool light sources, and pay attention to where shadows fall.
Materials make or break realism
Wood grain, stone, metal, matte vs gloss — they all react differently under lighting.
Camera angle matters
Don’t render top-down. Try a human eye level, with natural perspective and a sense of space.
Add small objects
A throw blanket, a mug, an open book — tiny details add life and believability.
Why use rendering at all?
- To see your design as a real room before committing to it
- To test how different colors, layouts, and materials work together
- To create beautiful posts for social media
- To show clients or contractors exactly what the space will look like
How to render in Home Planner
- Design your room as usual
- Tap Photo/Panorama
- Choose resolution (Standard, HD, 4K) and Ratio aspect
- Choose lighting setup
- Wait a moment — and enjoy your photorealistic scene
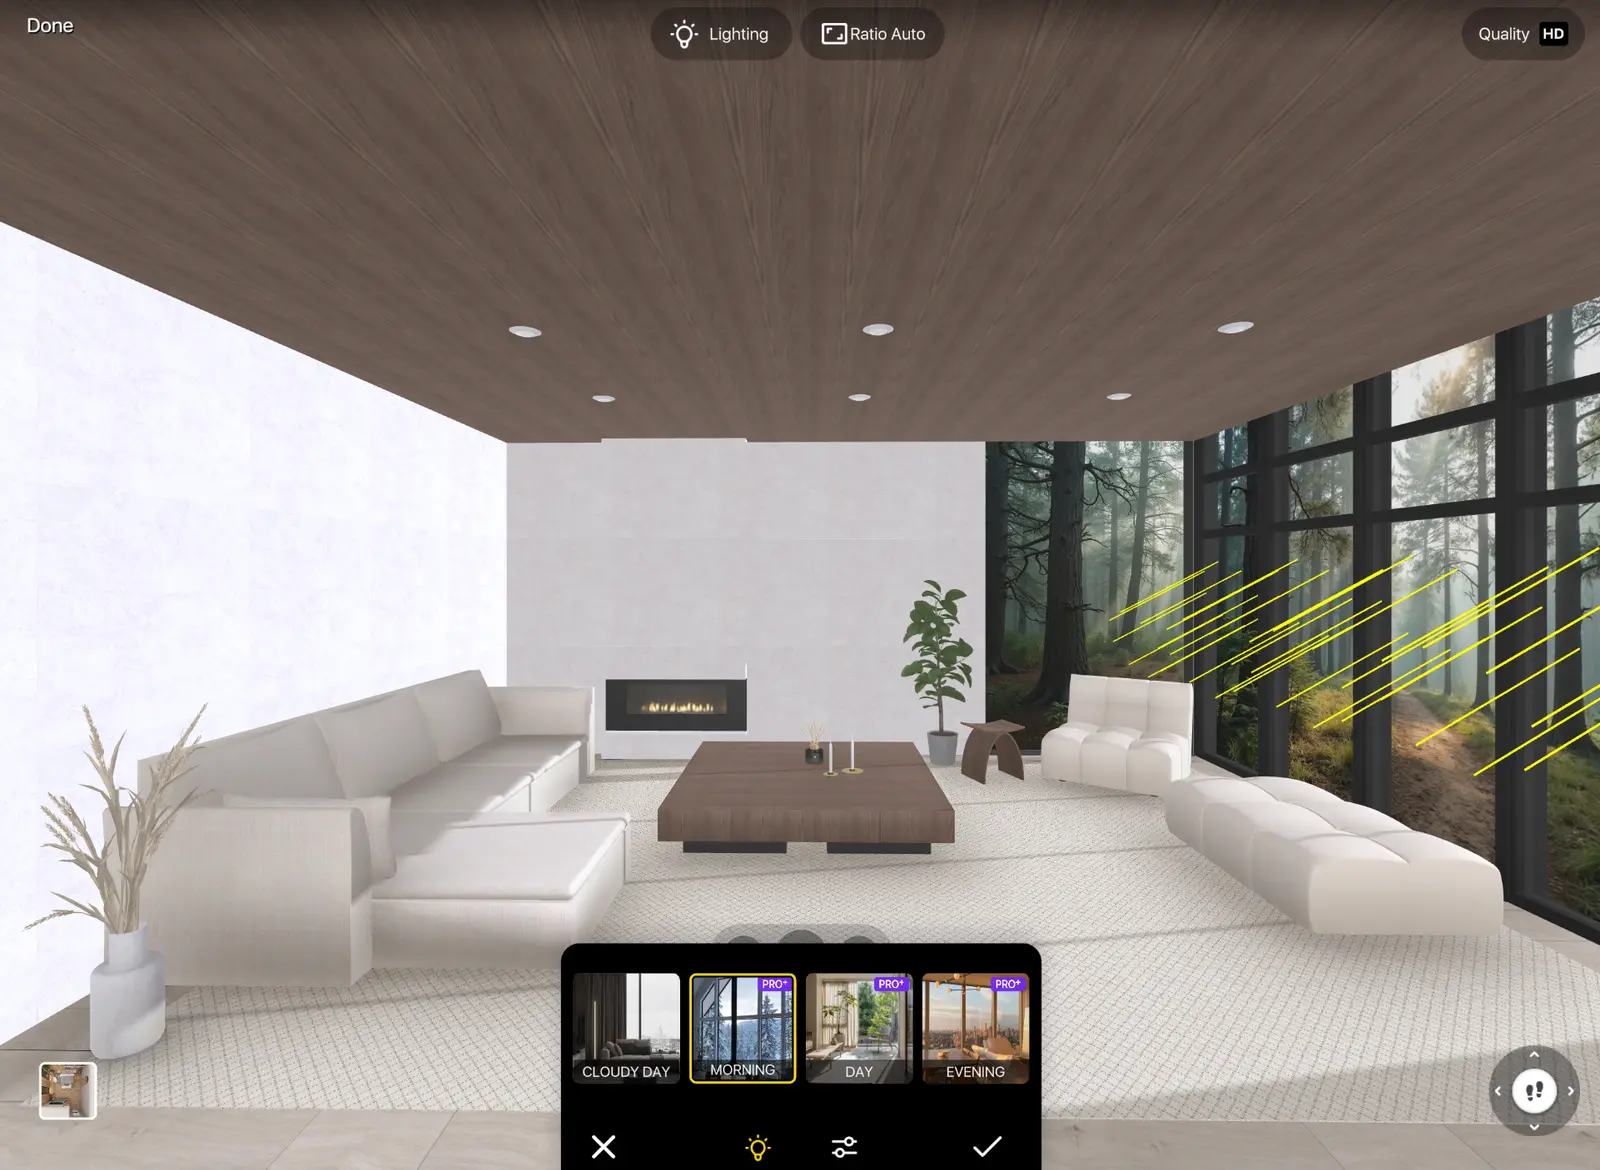
Lighting settings
Pro tip: it looks especially stunning on desktop 😉
Have you tried rendering in Home Planner yet?
What room turned out the most realistic for you?
Tag us if you share it — I’d love to see!
Try the best interior design app Home Planner
Measure your space, create stunning 2D/3D floor plans, decorate and furnish your interior with world-famous brands, make professional visualizations, and get inspiration from predesigned layouts for your bedroom, bathroom, living room, etc.

Try it on your own project
Free app for iPhone, iPad, Mac, Android and Windows.